Foxglove Tank and Dress

IMG_4027

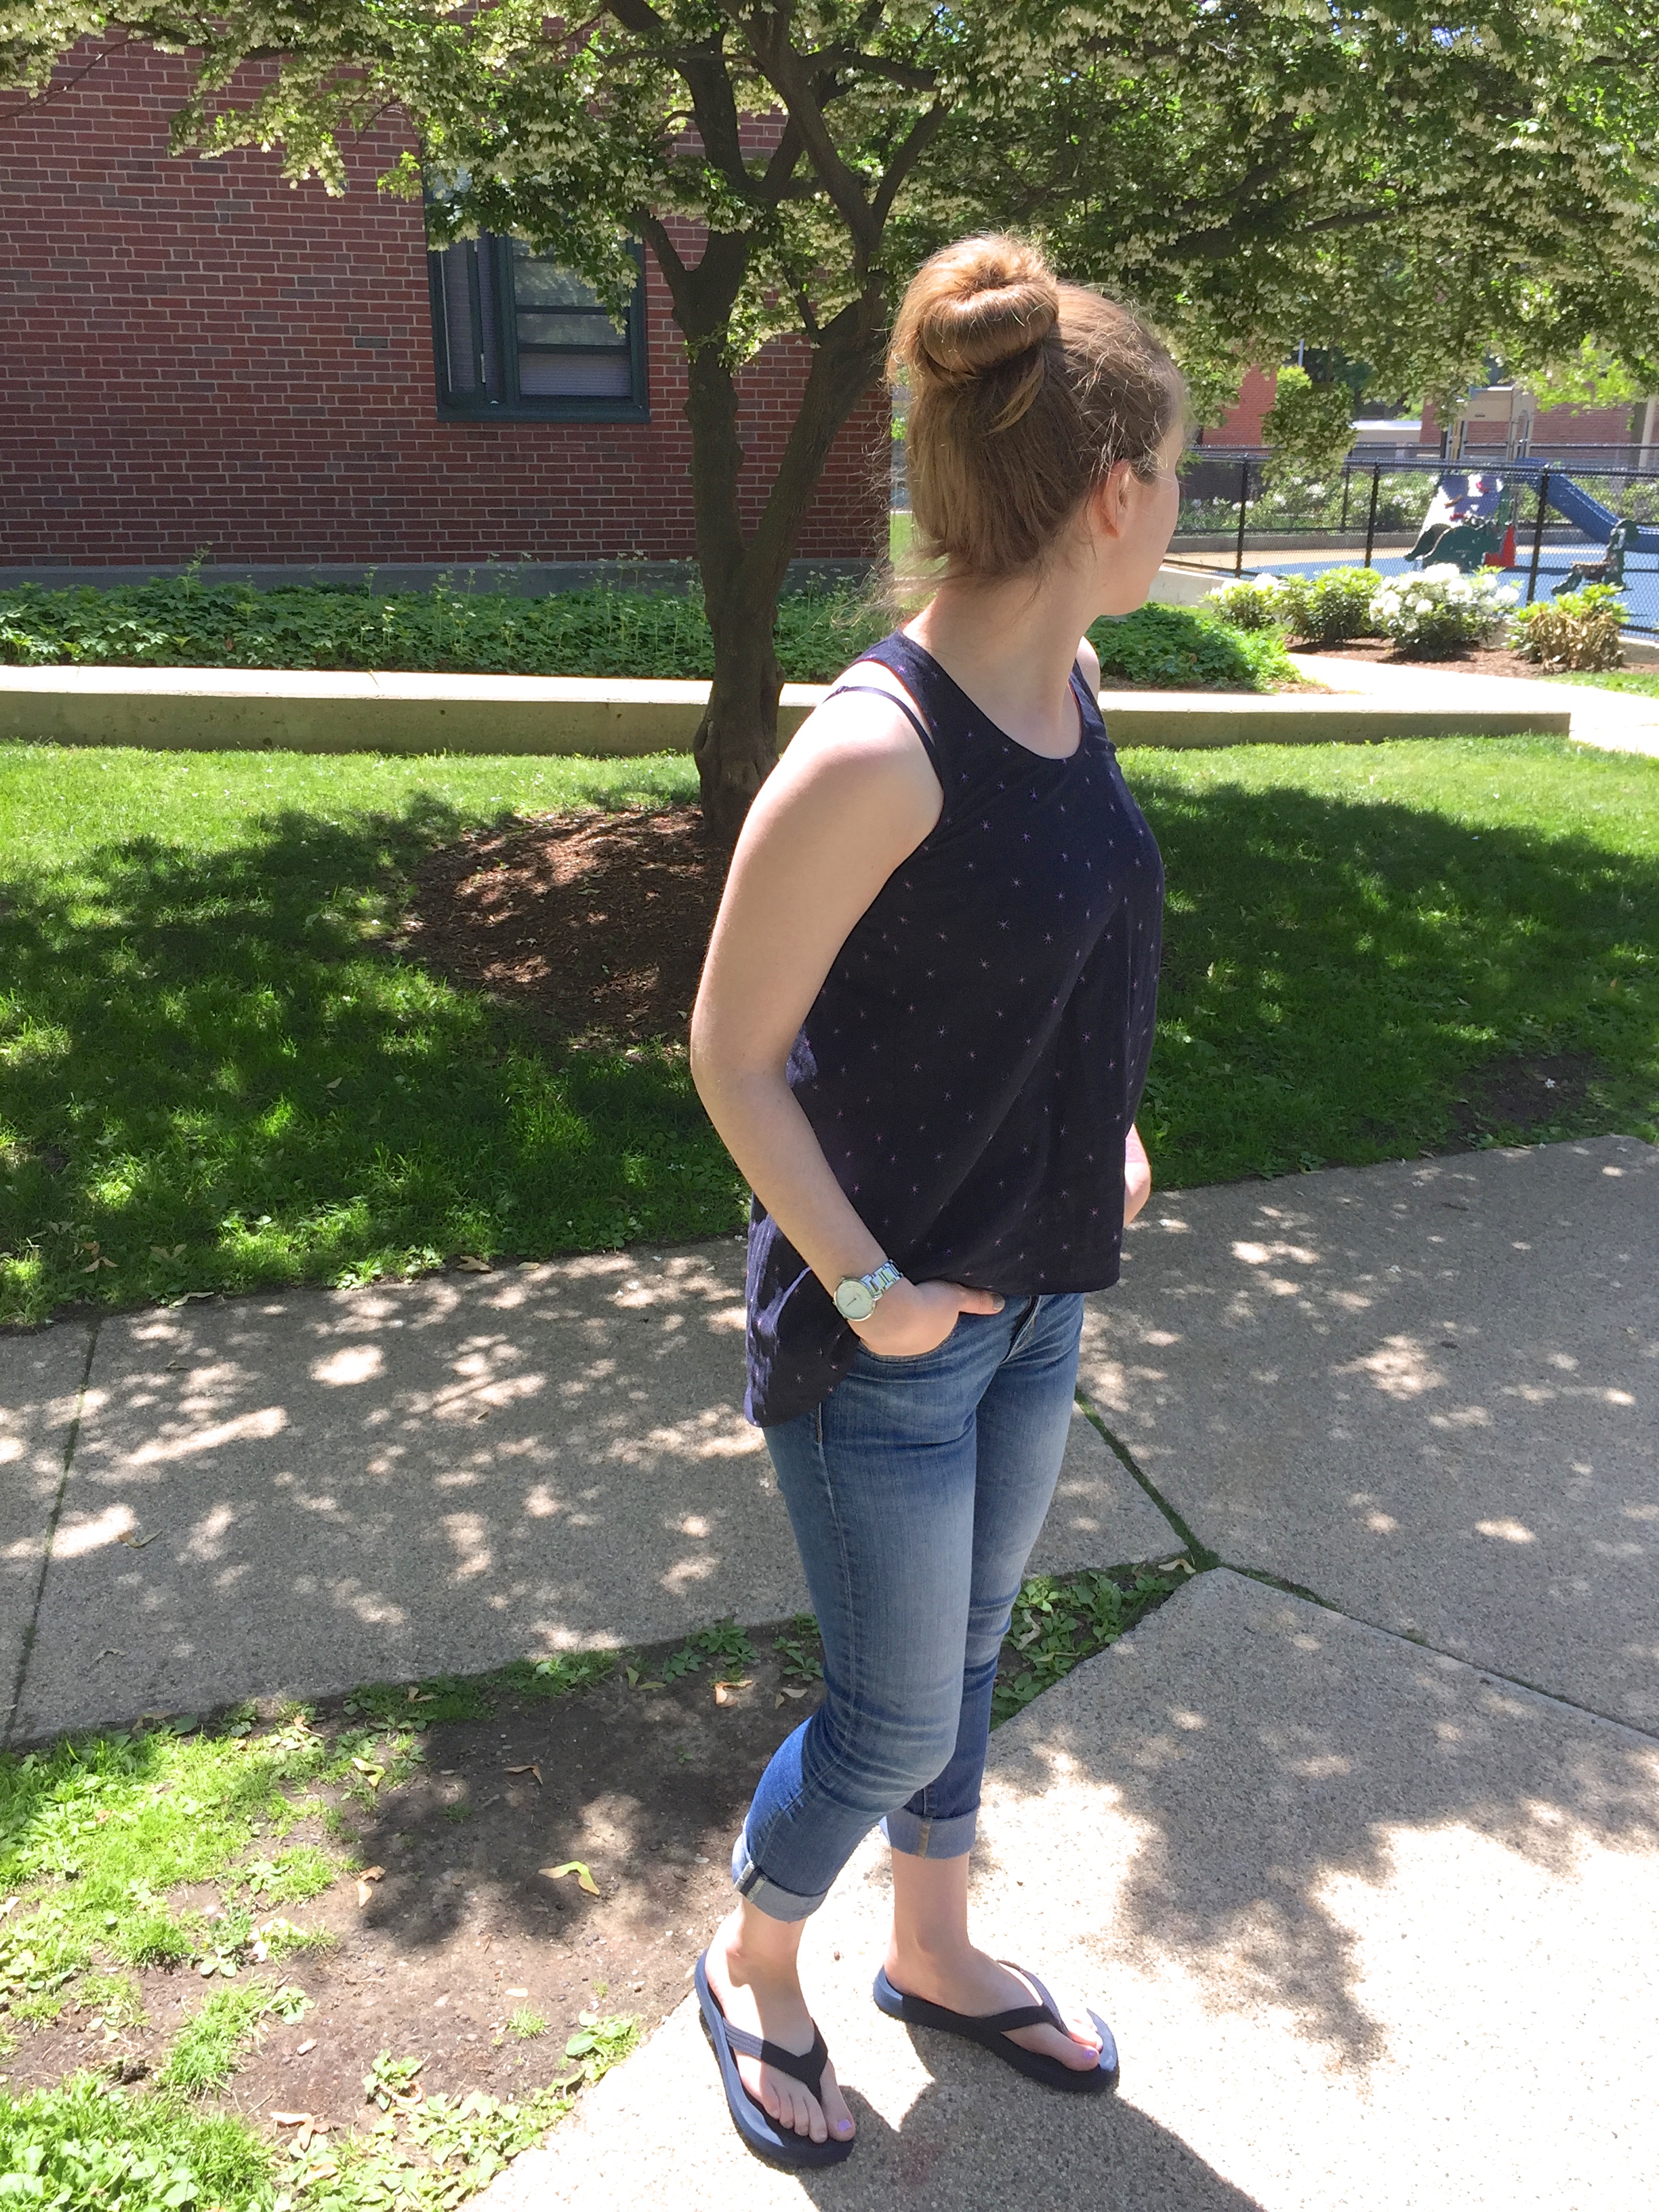
I’ve had my eye on the Foxglove Tank by Selvage Designs for a pretty long time. I remember first seeing on Indie Sew as that site was coming on the scene. I didn’t buy it for a while because it was more expensive than other woven tank patterns and I was still leaning about all that goes into putting a sewing pattern together. Not that I’m an expert by any means but after a year of really regularly following a bunch of indie pattern designers I feel like I have enough of a sense of the workload that I definitely don’t feel like I’m overpaying for a $12 pattern as long as it’s a good one.

IMG_4038

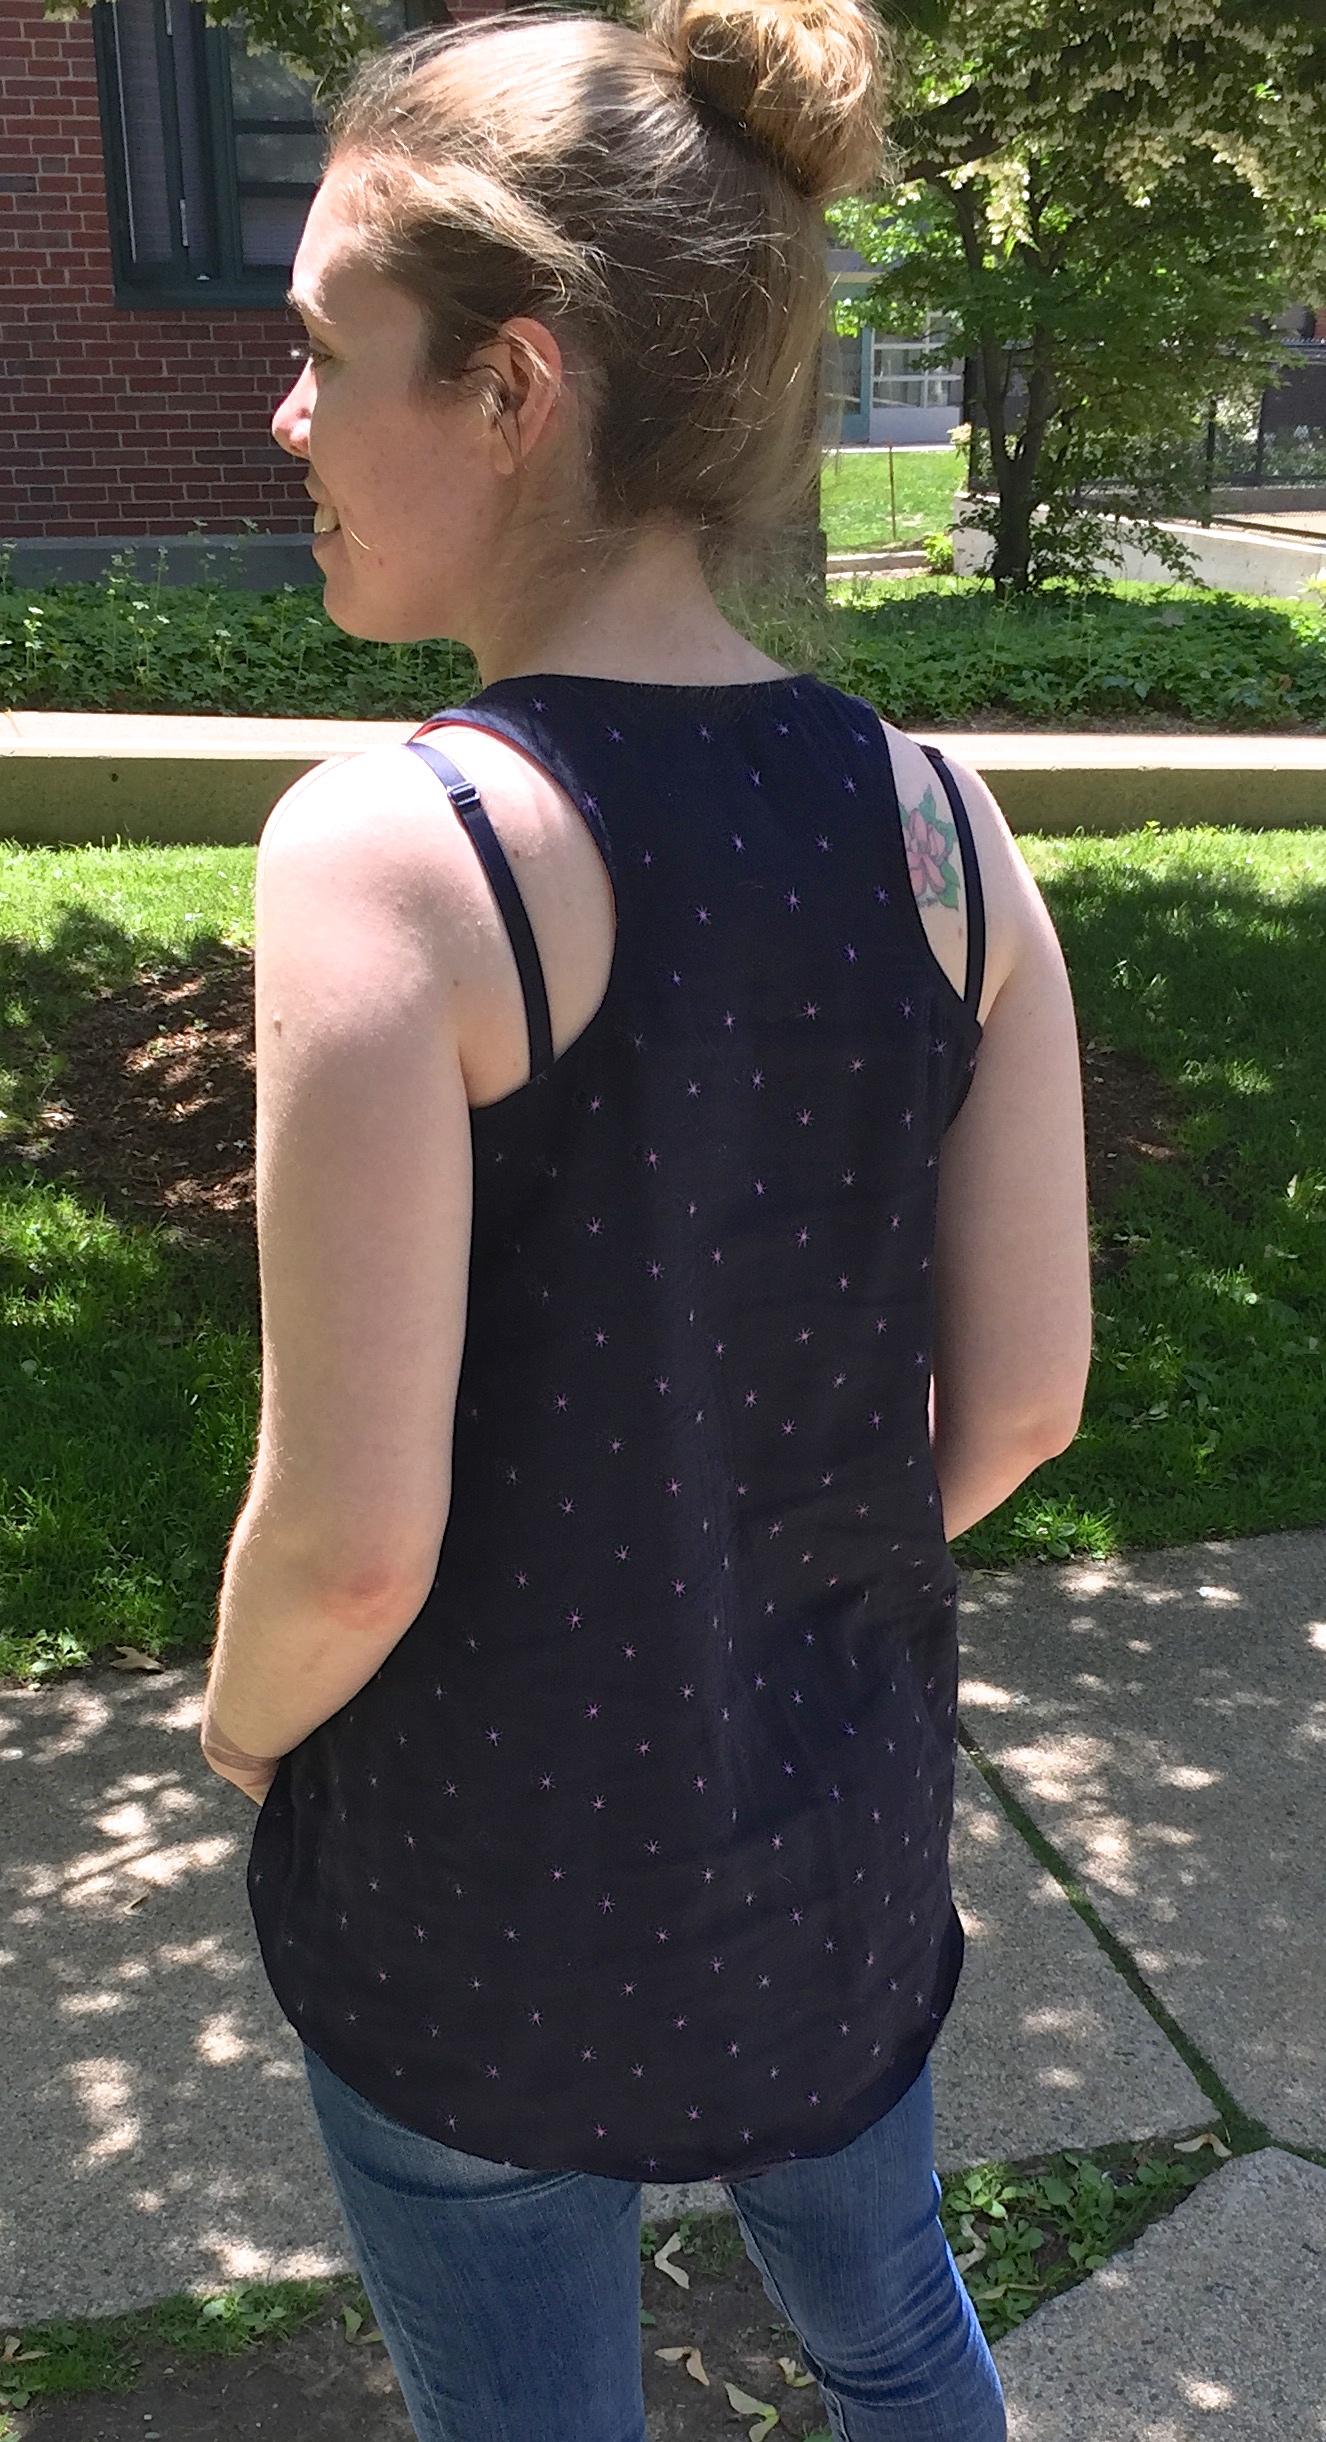
And this one is! The pattern goes together easily, there are only two pattern pieces, the instructions are thorough, and the construction is straight forward.

IMG_4023

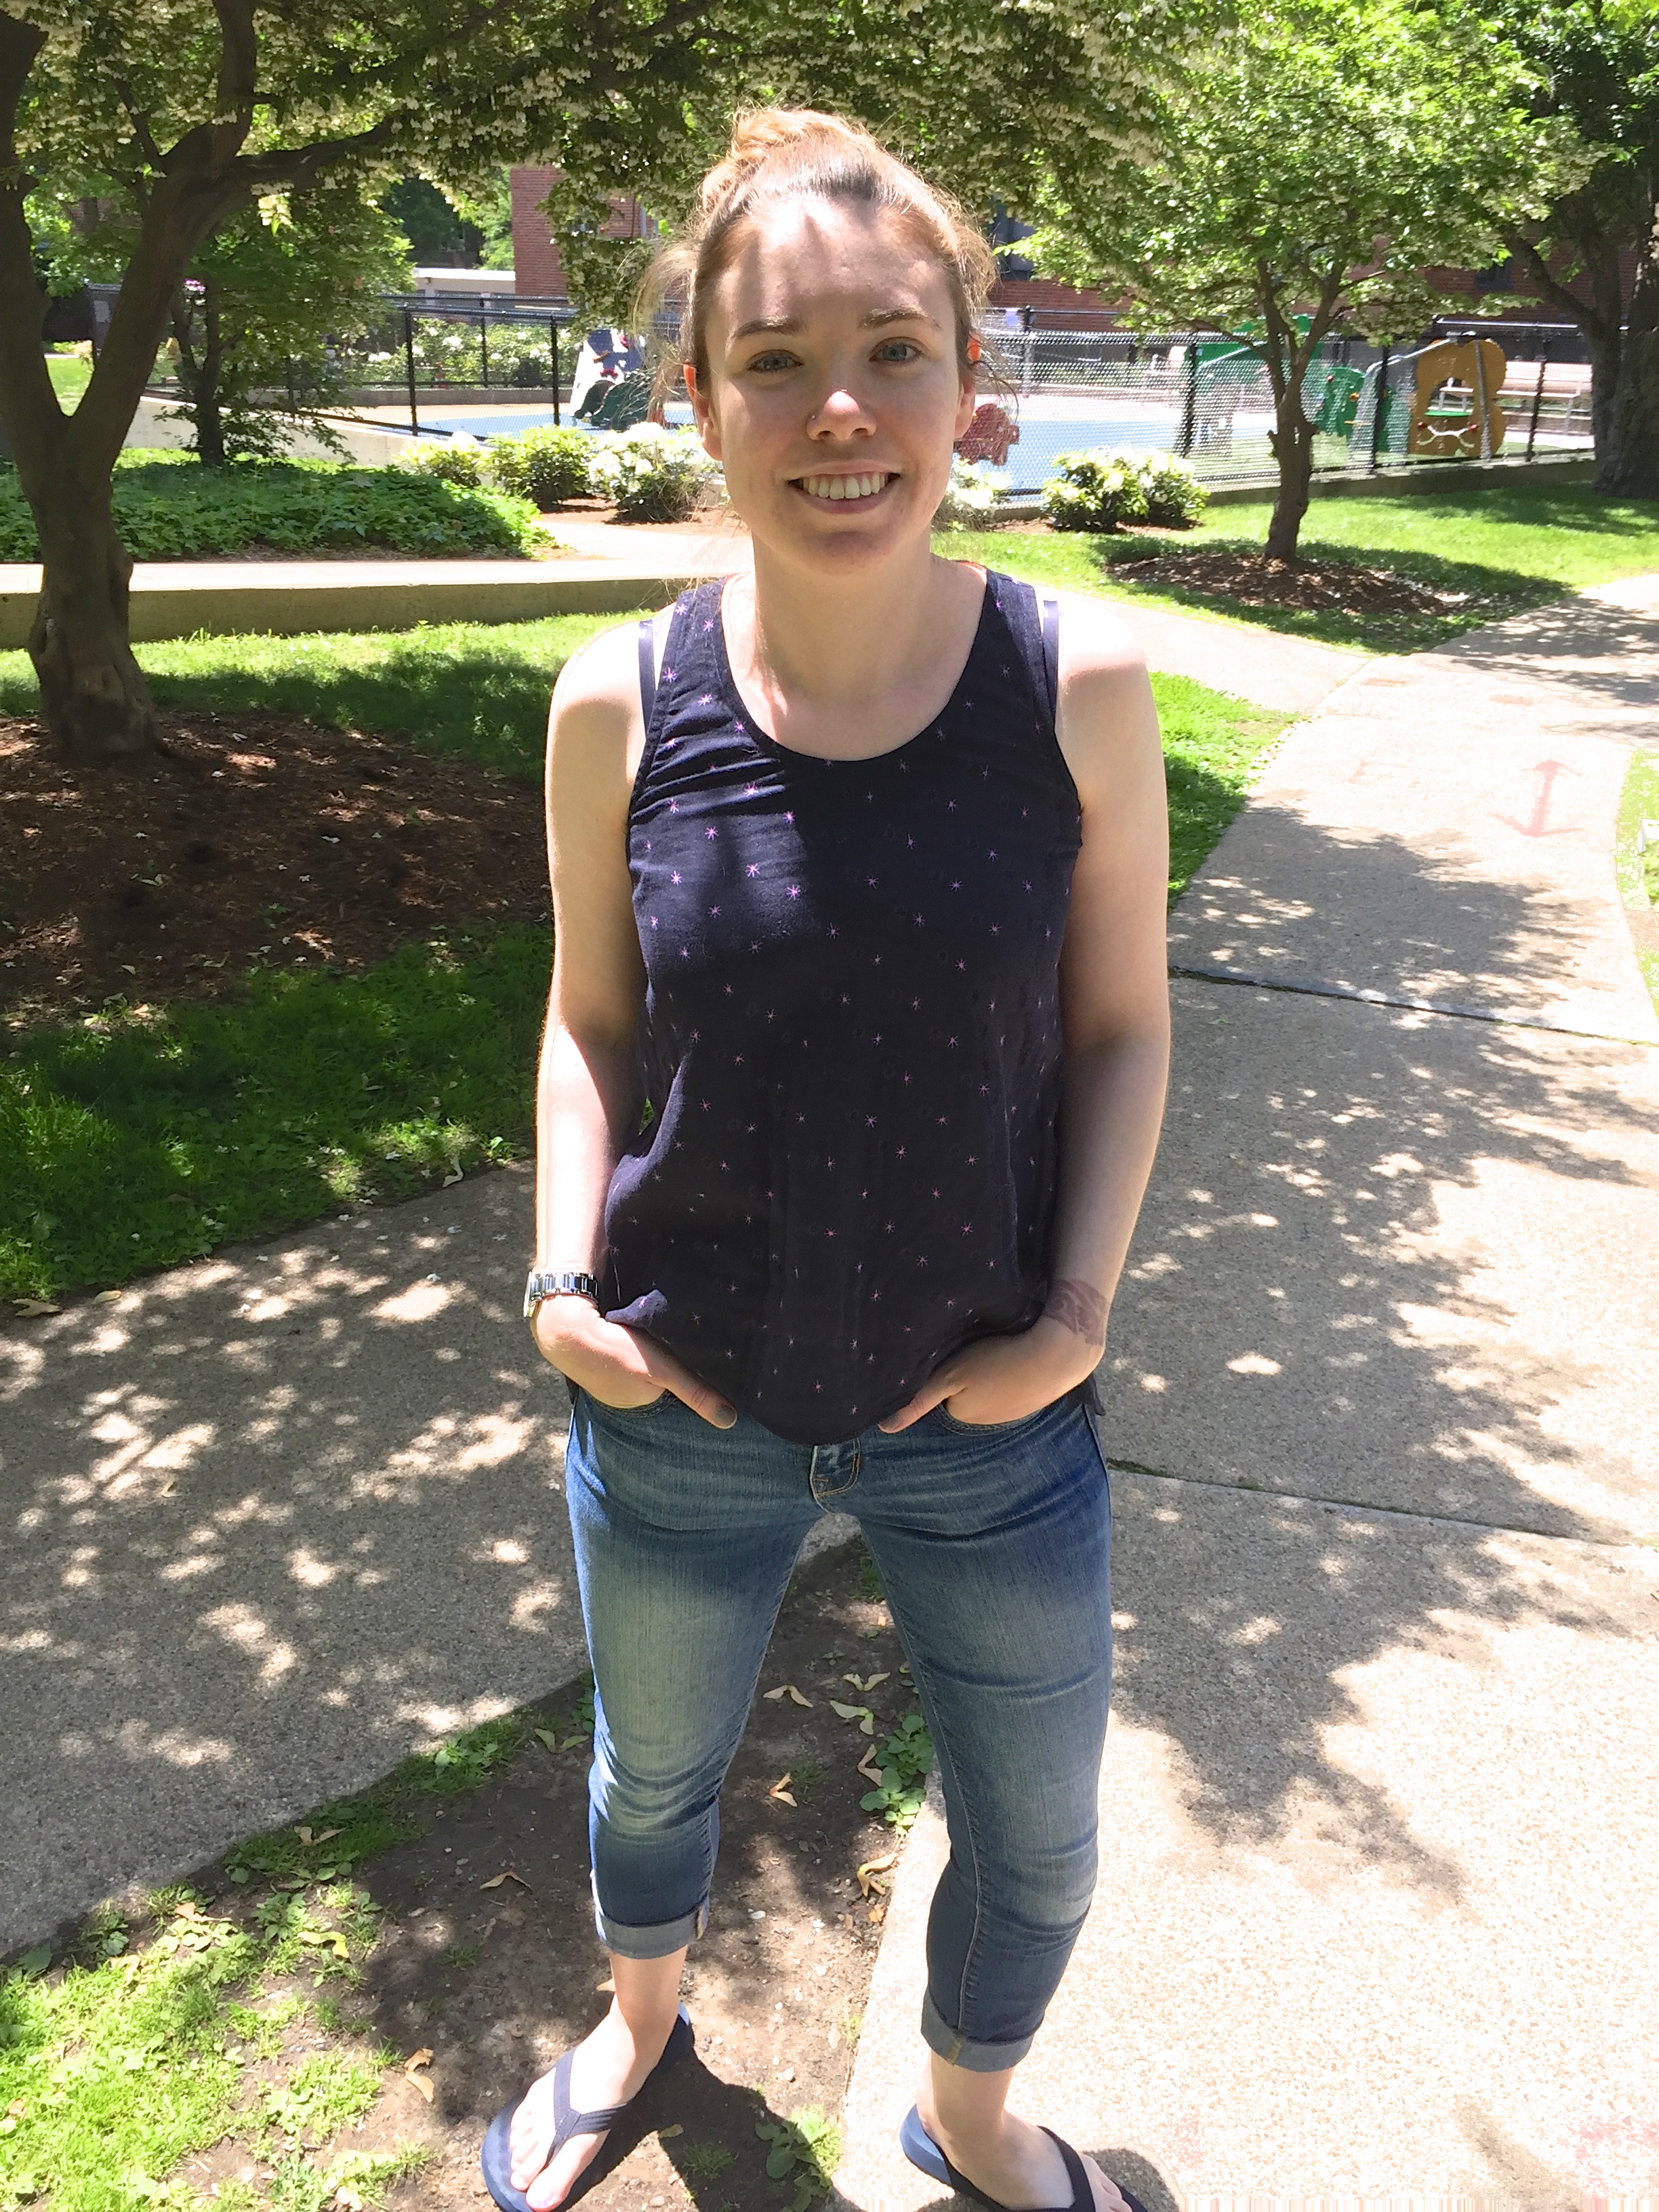
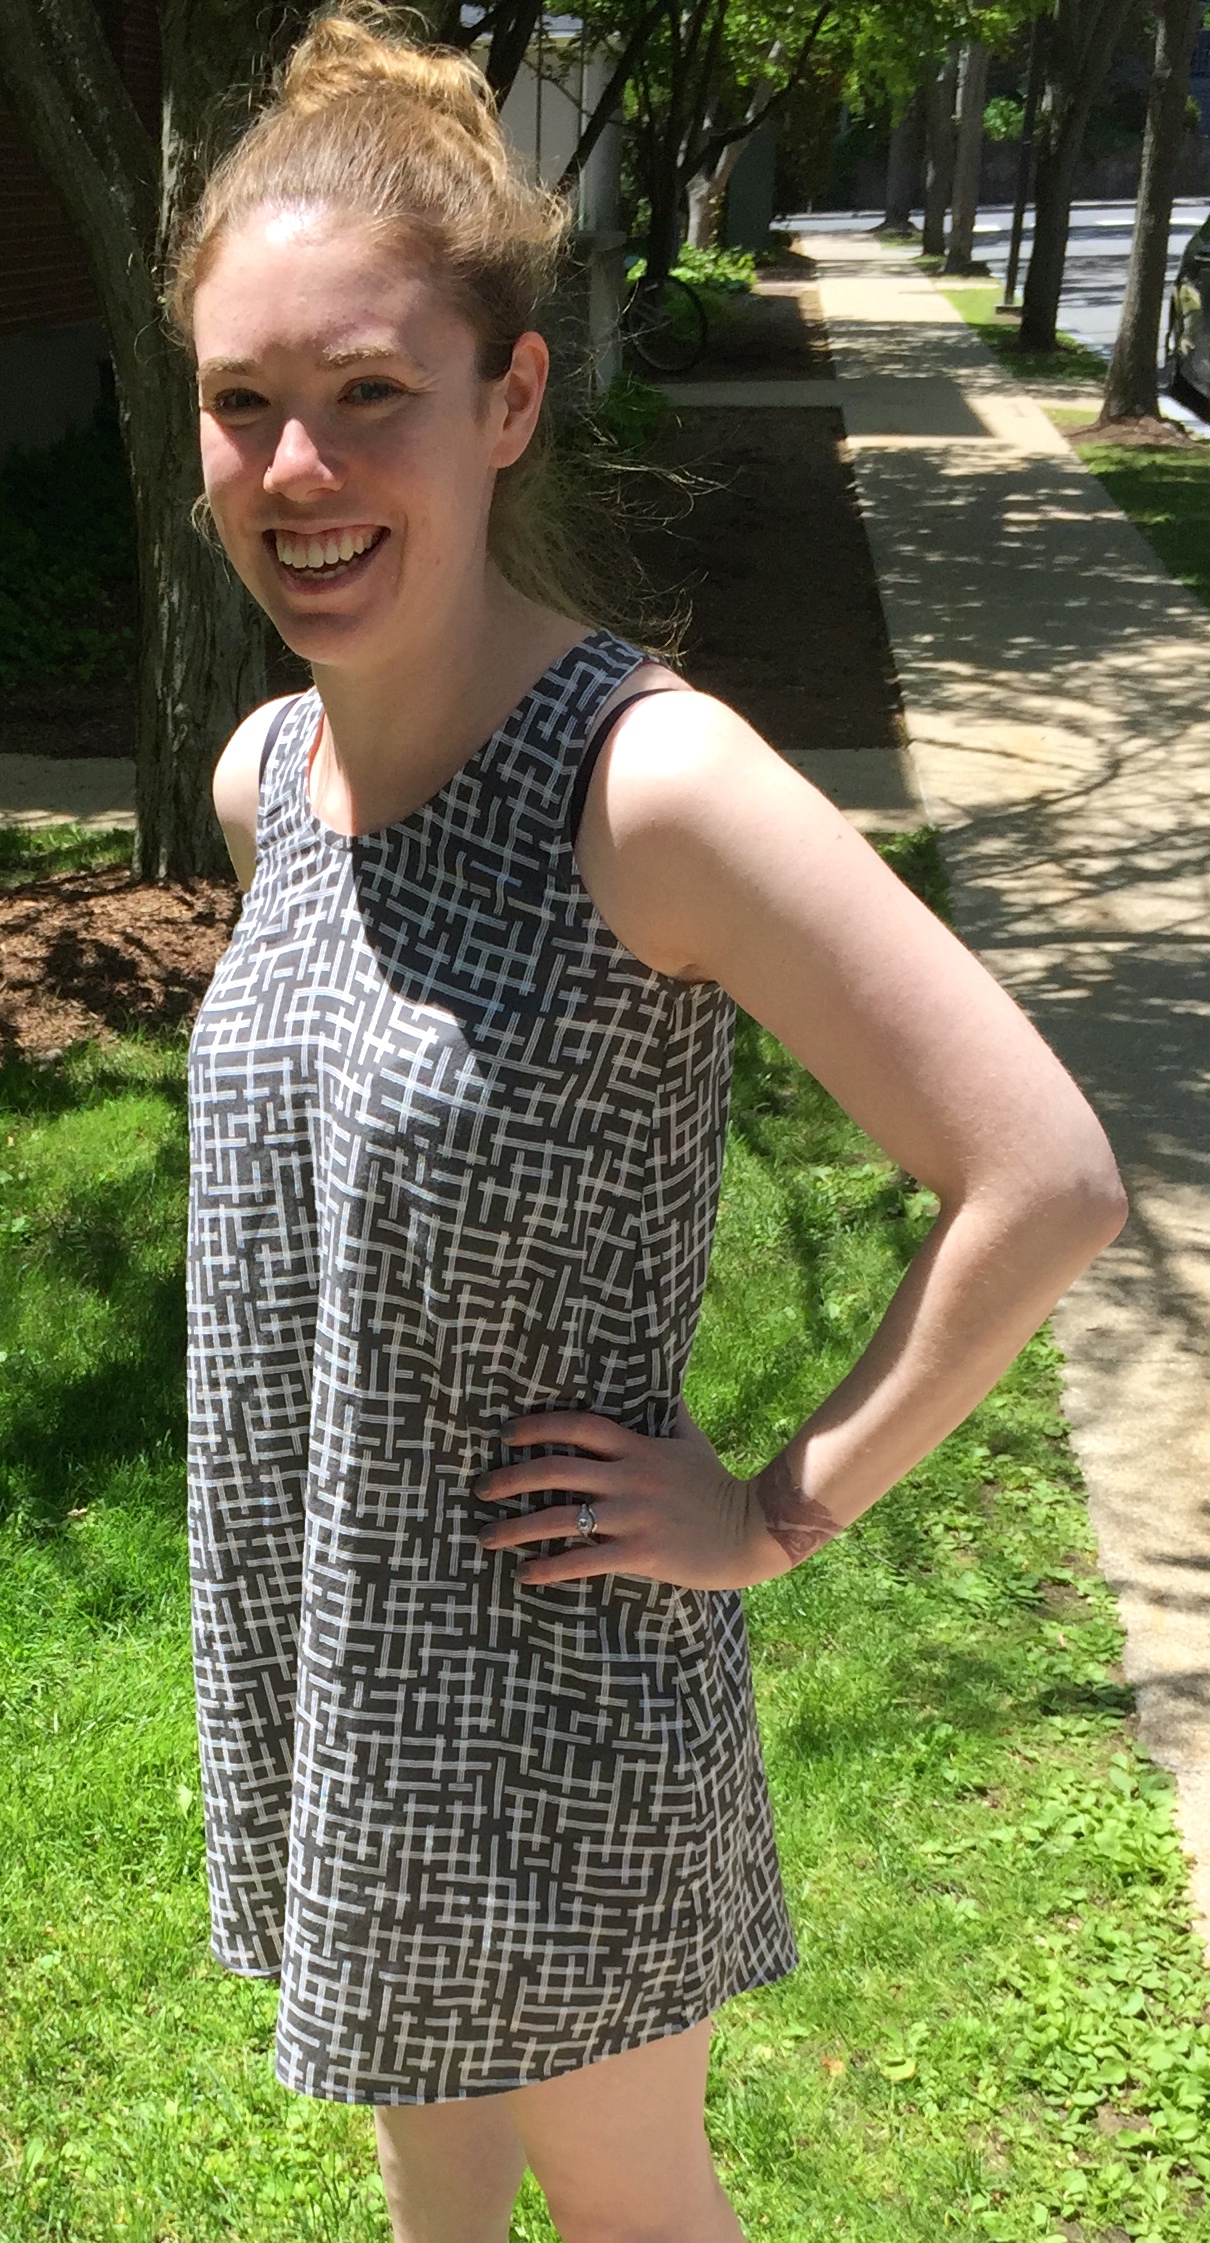
Continuing in my tradition of making two versions of easy patterns (which totally defeats what I’m usually going for, a quick sew) I dove in with a bunch of double gauze and made a tank and a tank dress.

IMG_4045

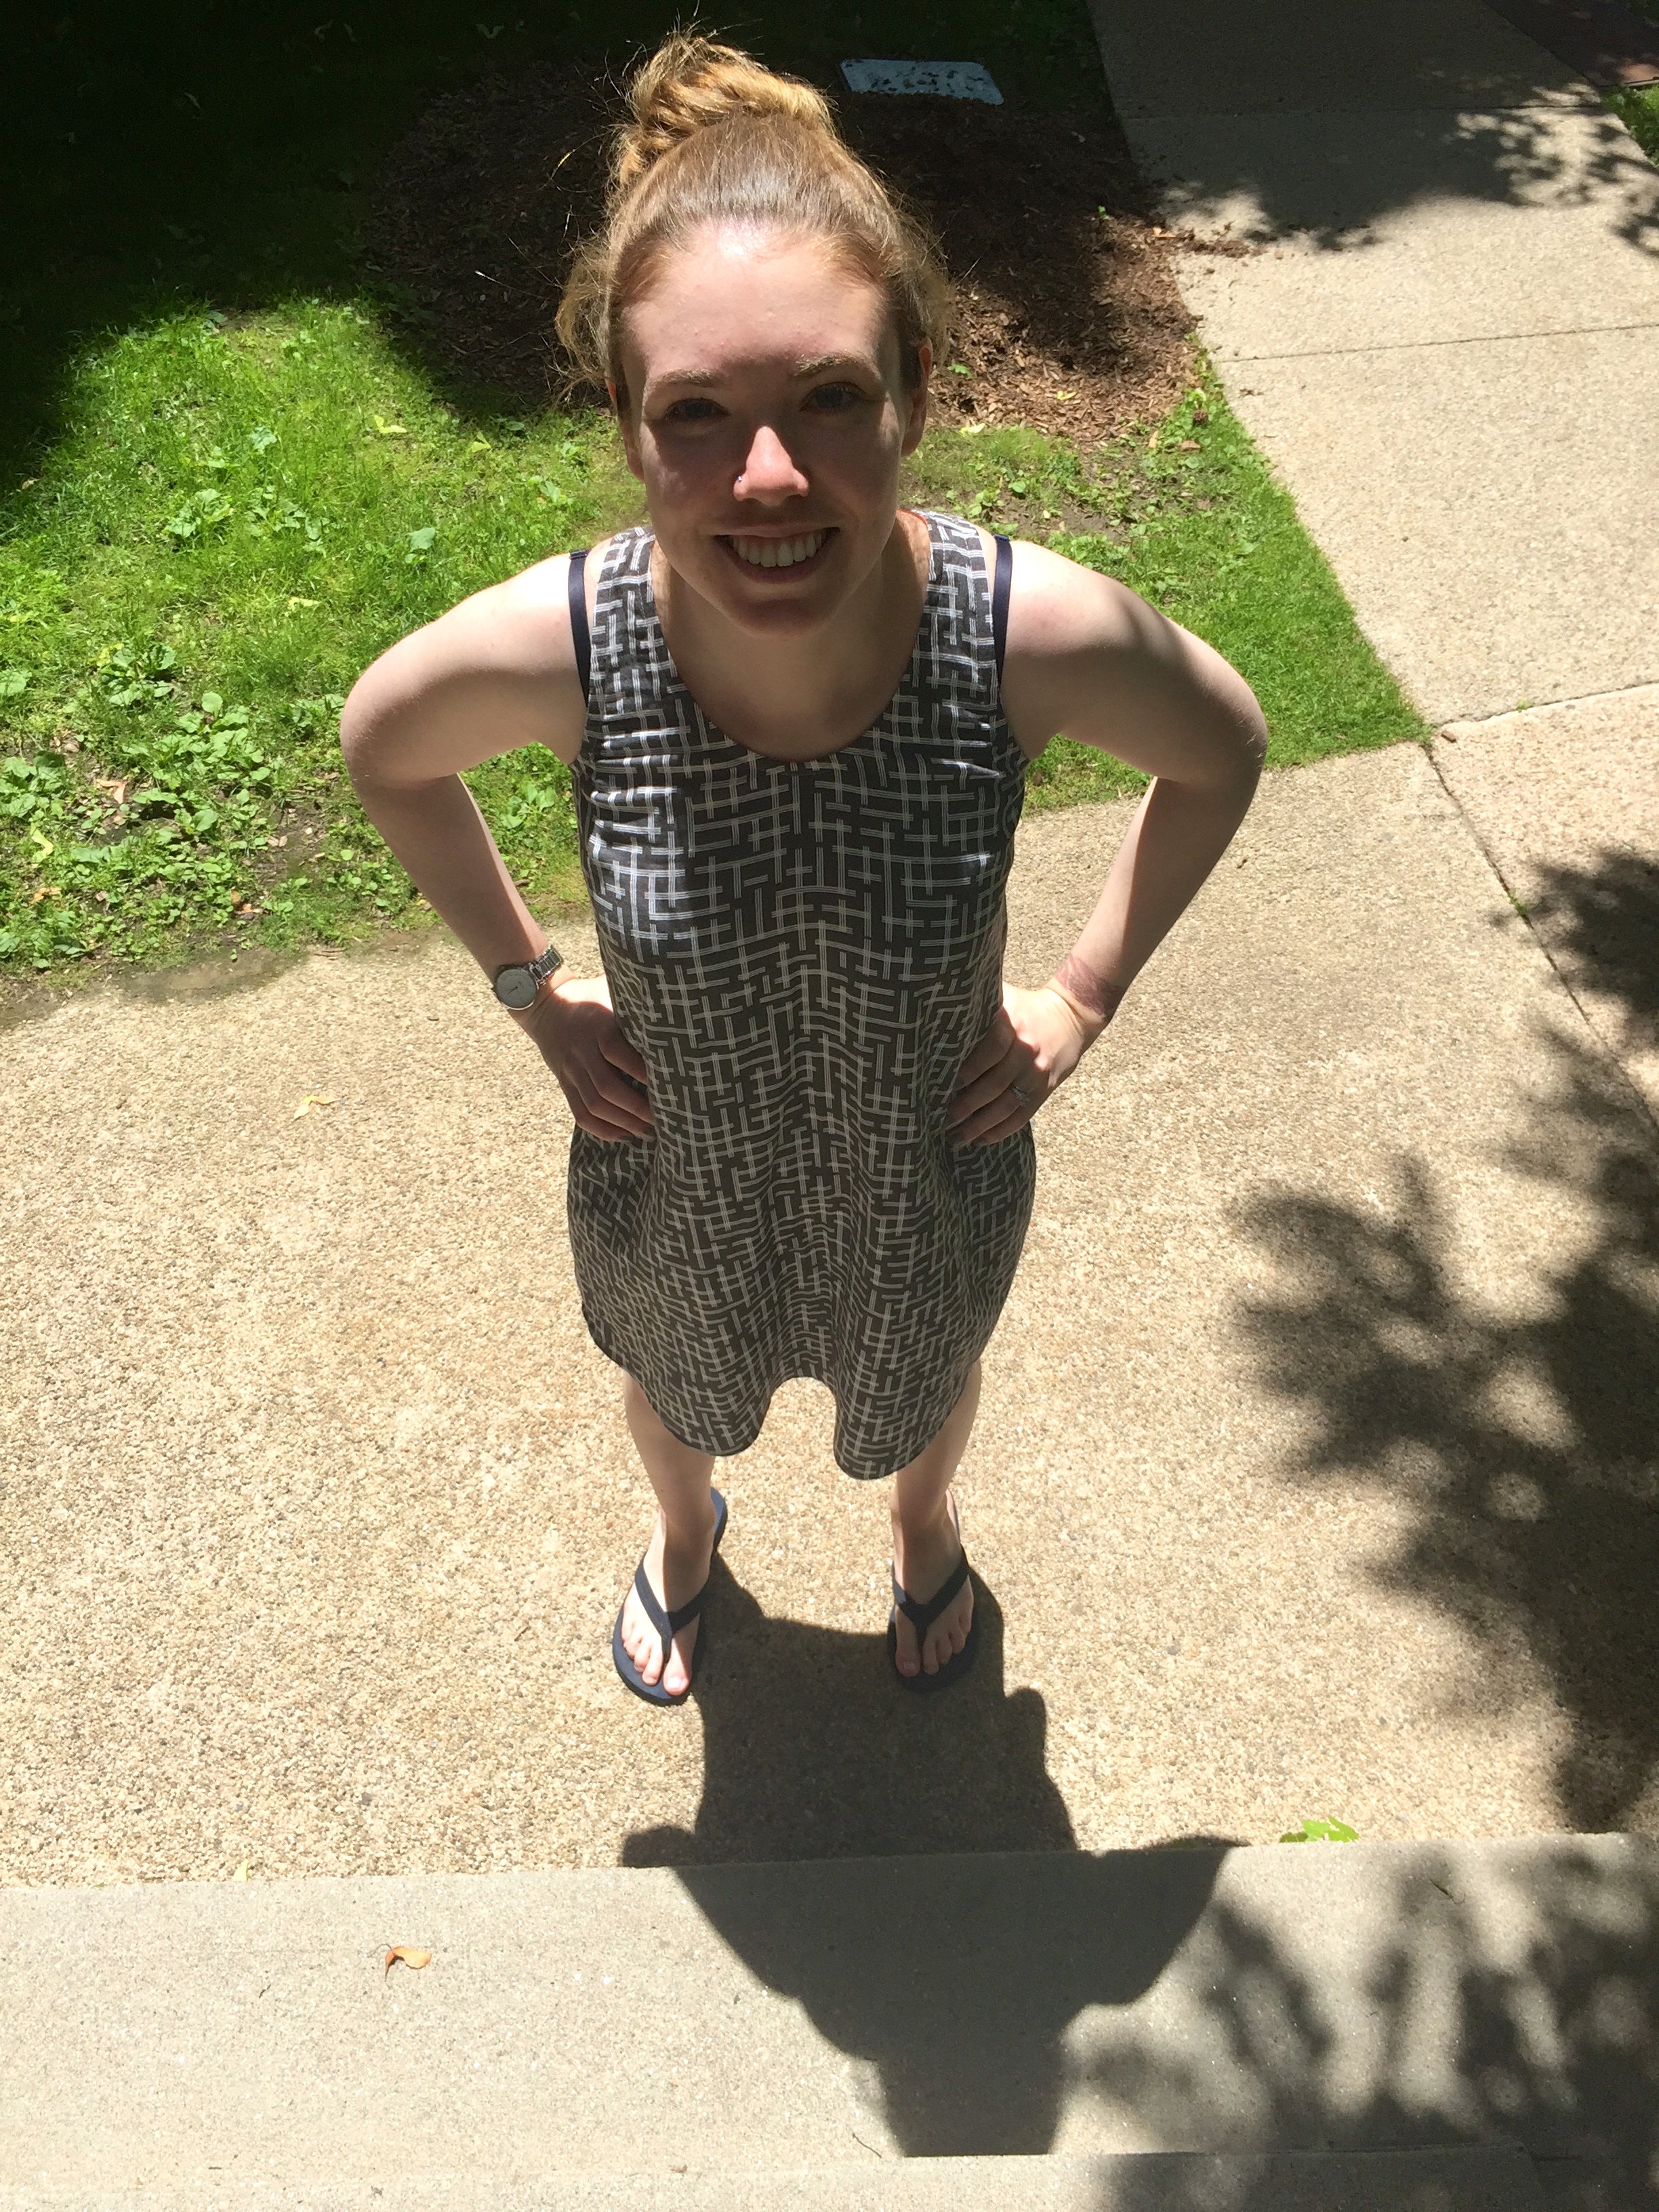
I was inspired to make this pattern when I finally gave in and bought some Cotton & Steel Bespoke double gauze last weekend. After I got home I decided that I wanted to try turning the pattern into a tank dress but of course I hadn’t bought enough fabric for that. So I dug up this Kokka broken plaid double gauze that I bought last year and never cut into.

IMG_4042

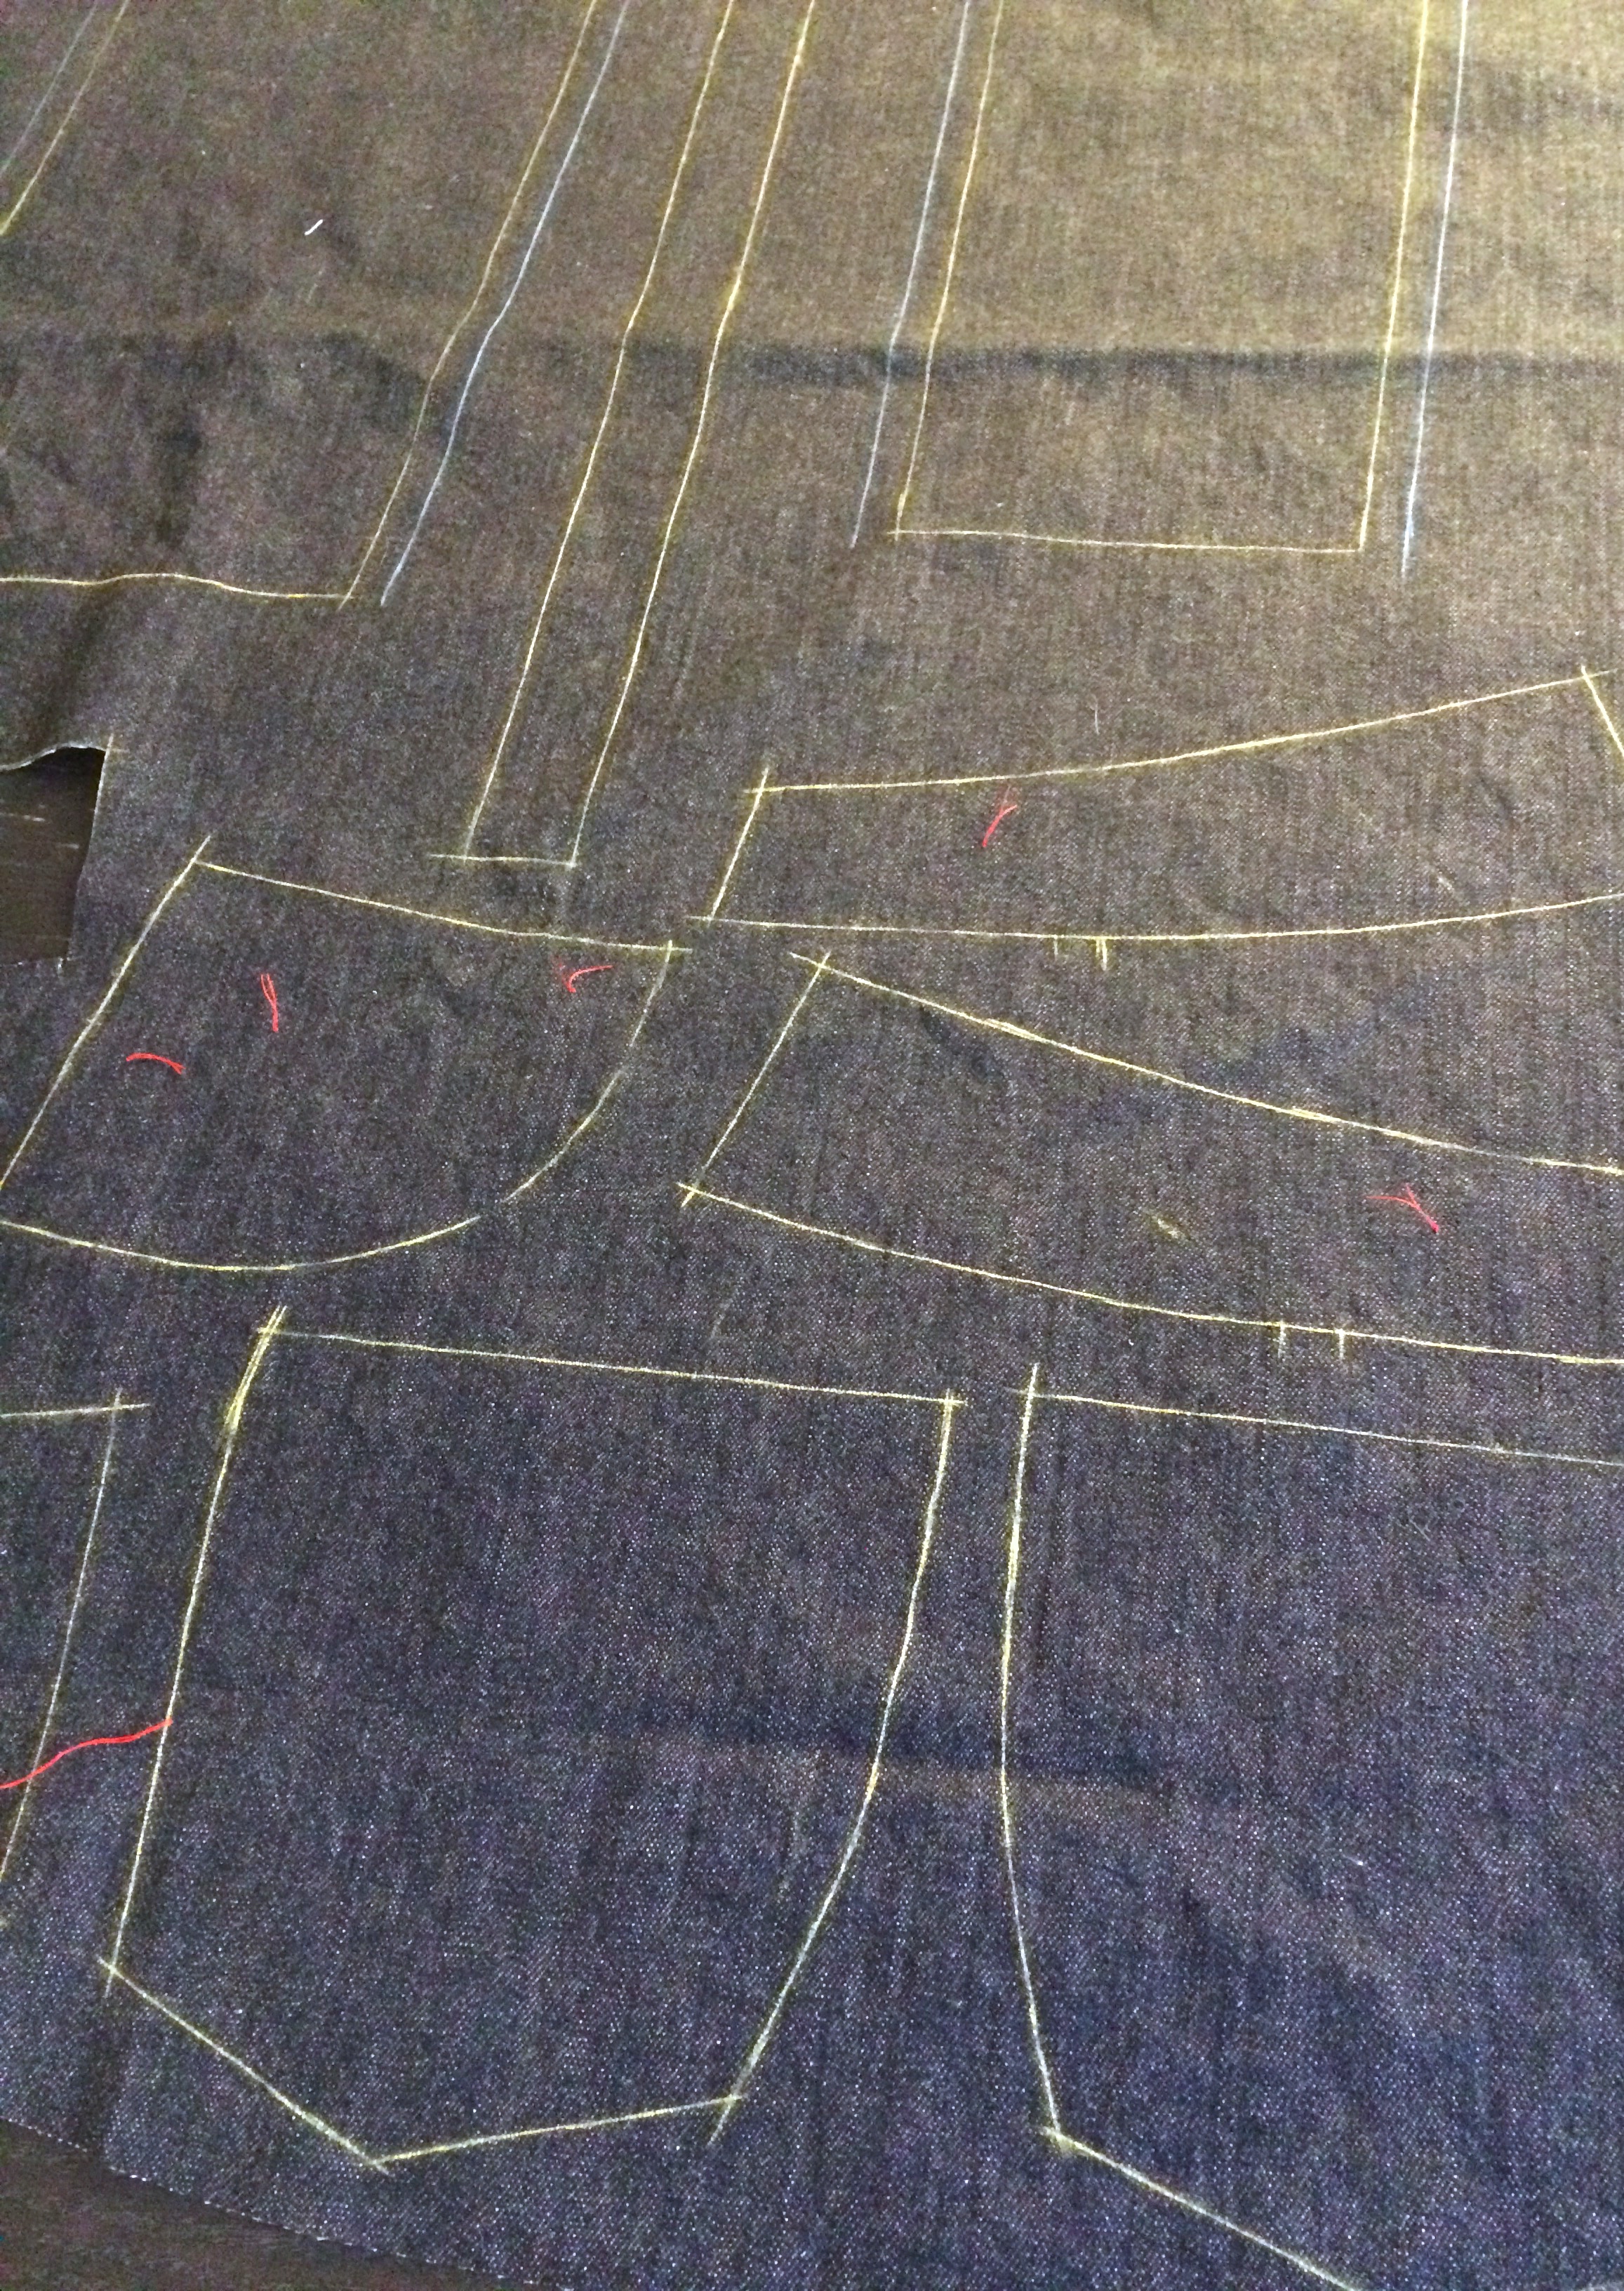
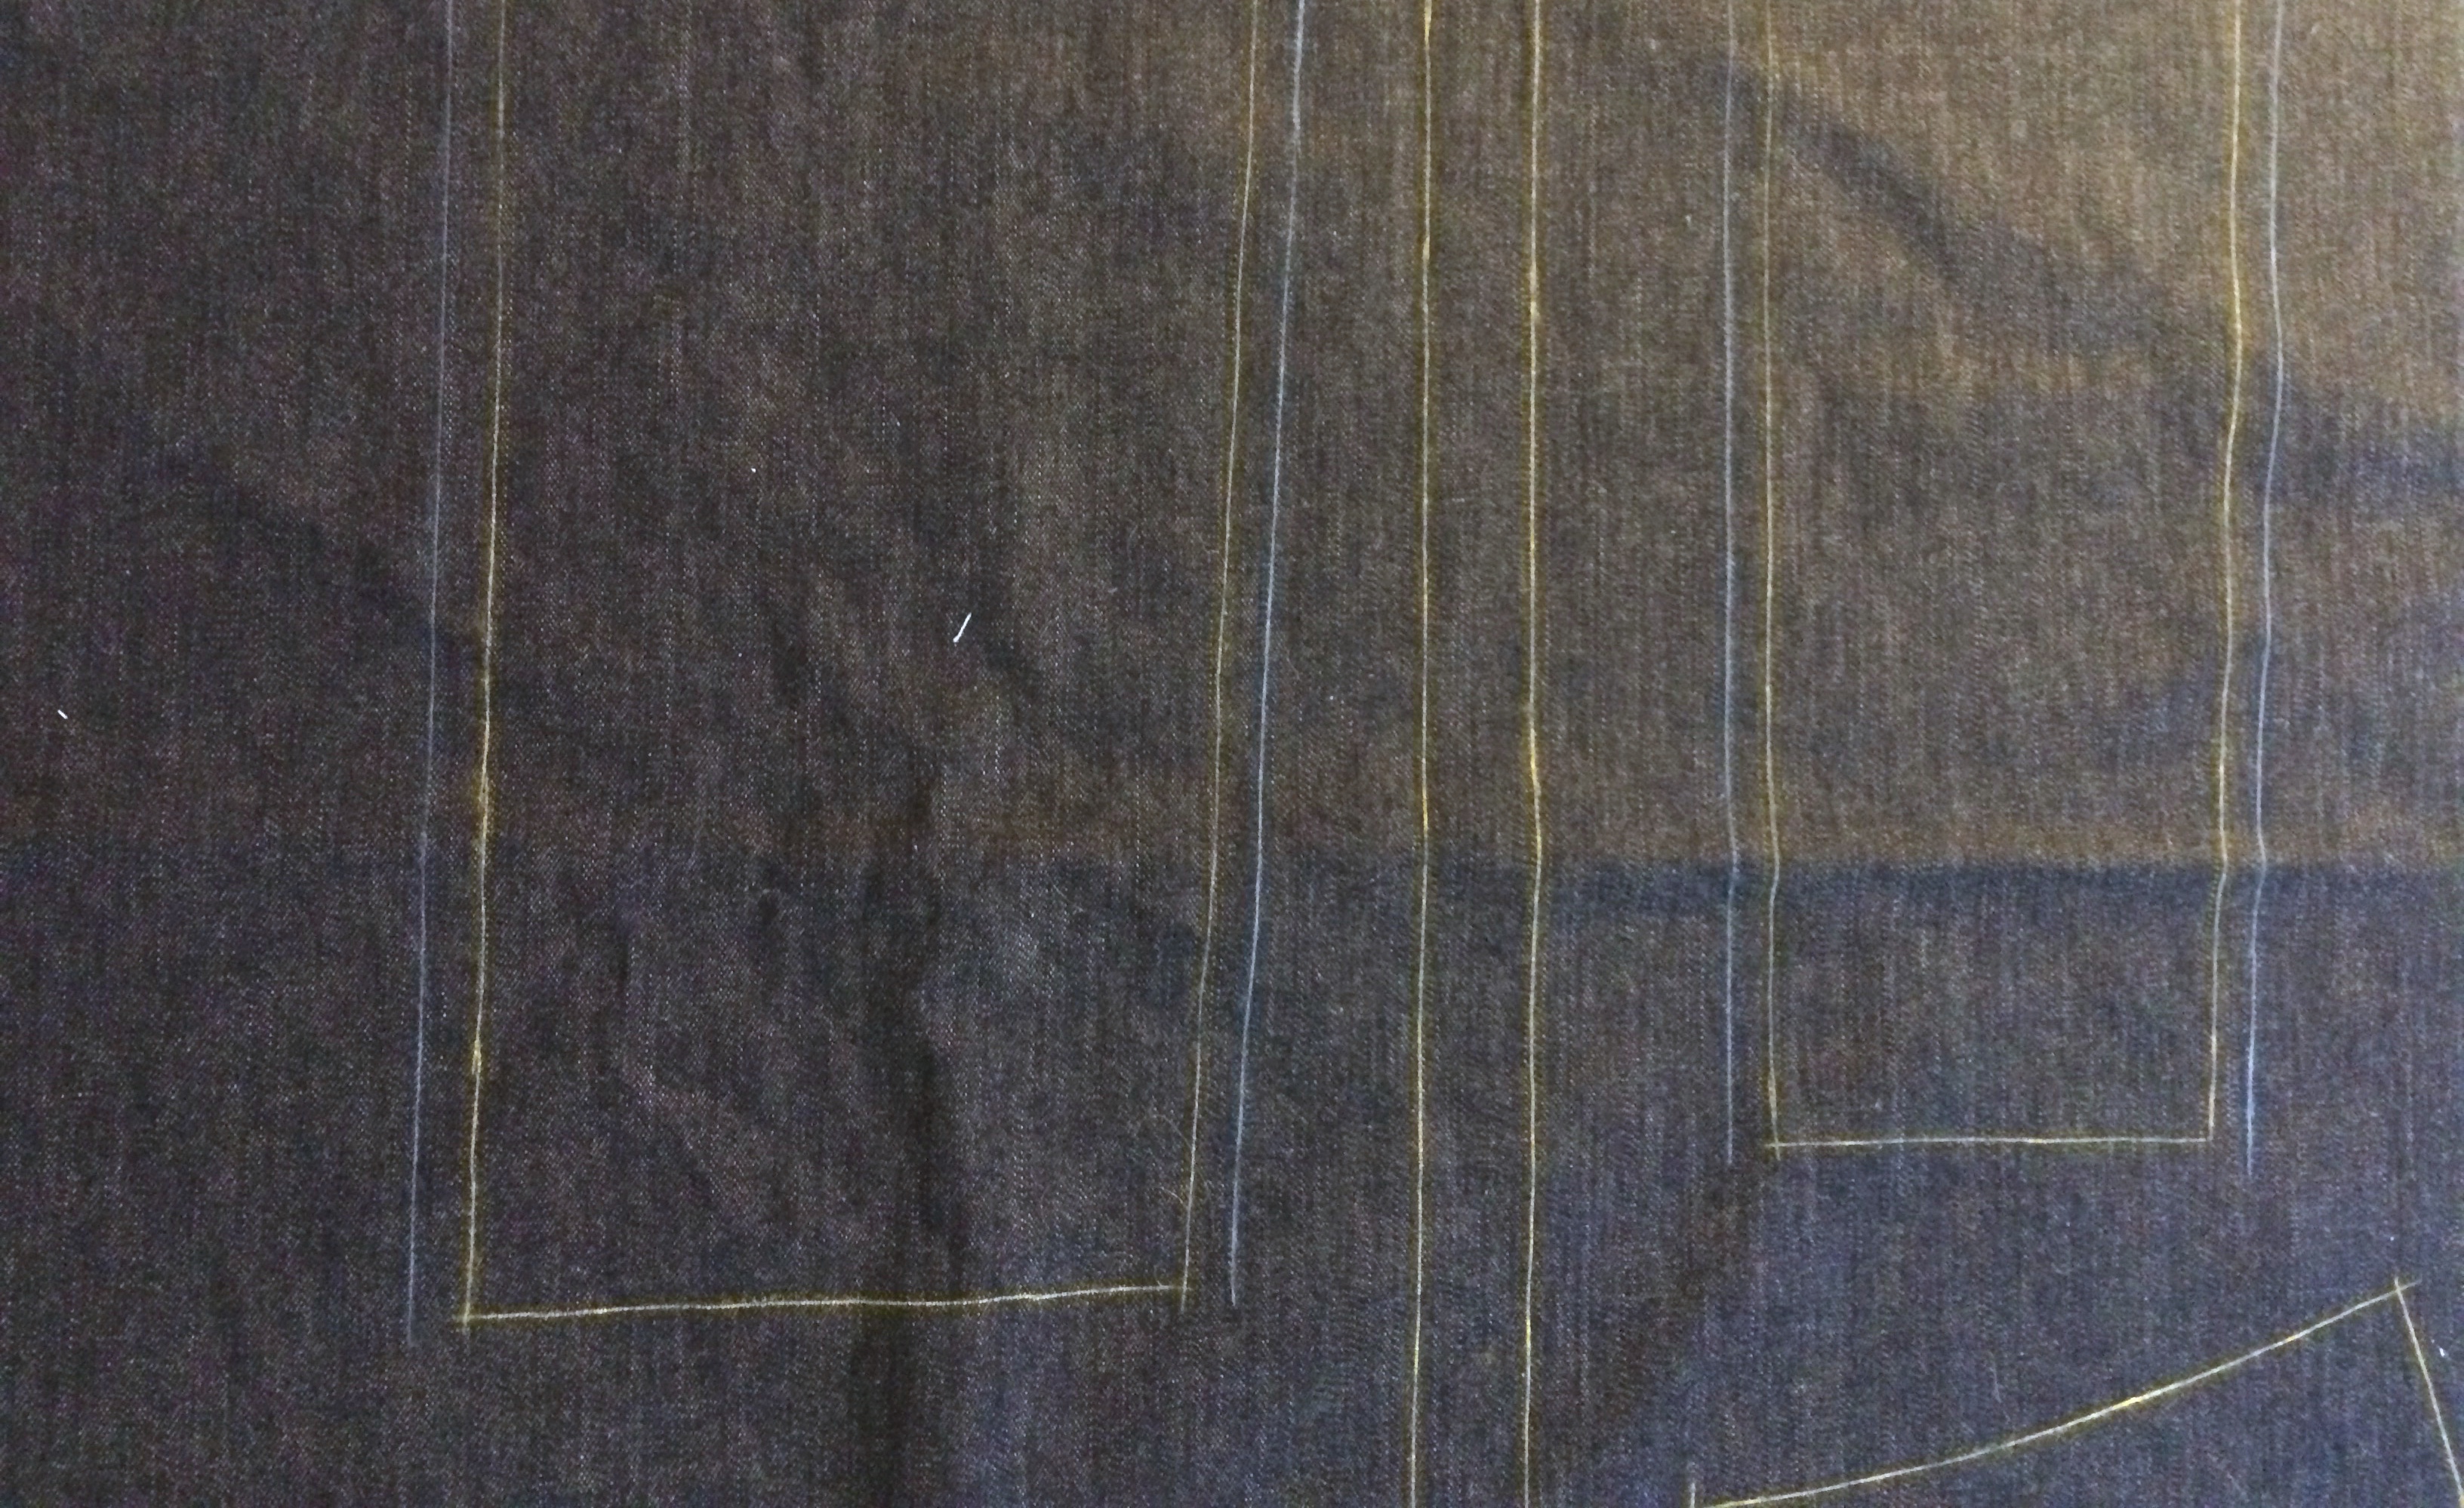
I made two modifications in order to turn this pattern into a dress. The first was to lengthen both the front and back pieces by 6″ at the lengthen/shorten lines. The second was to lower the front hemline. The original hemline is a high/low hemline. I wanted to maintain the low in the back and mirror the shape, though not quite as low, in the front. Basically I wanted to create a shirttail hem with the pattern pieces I had.

IMG_4049

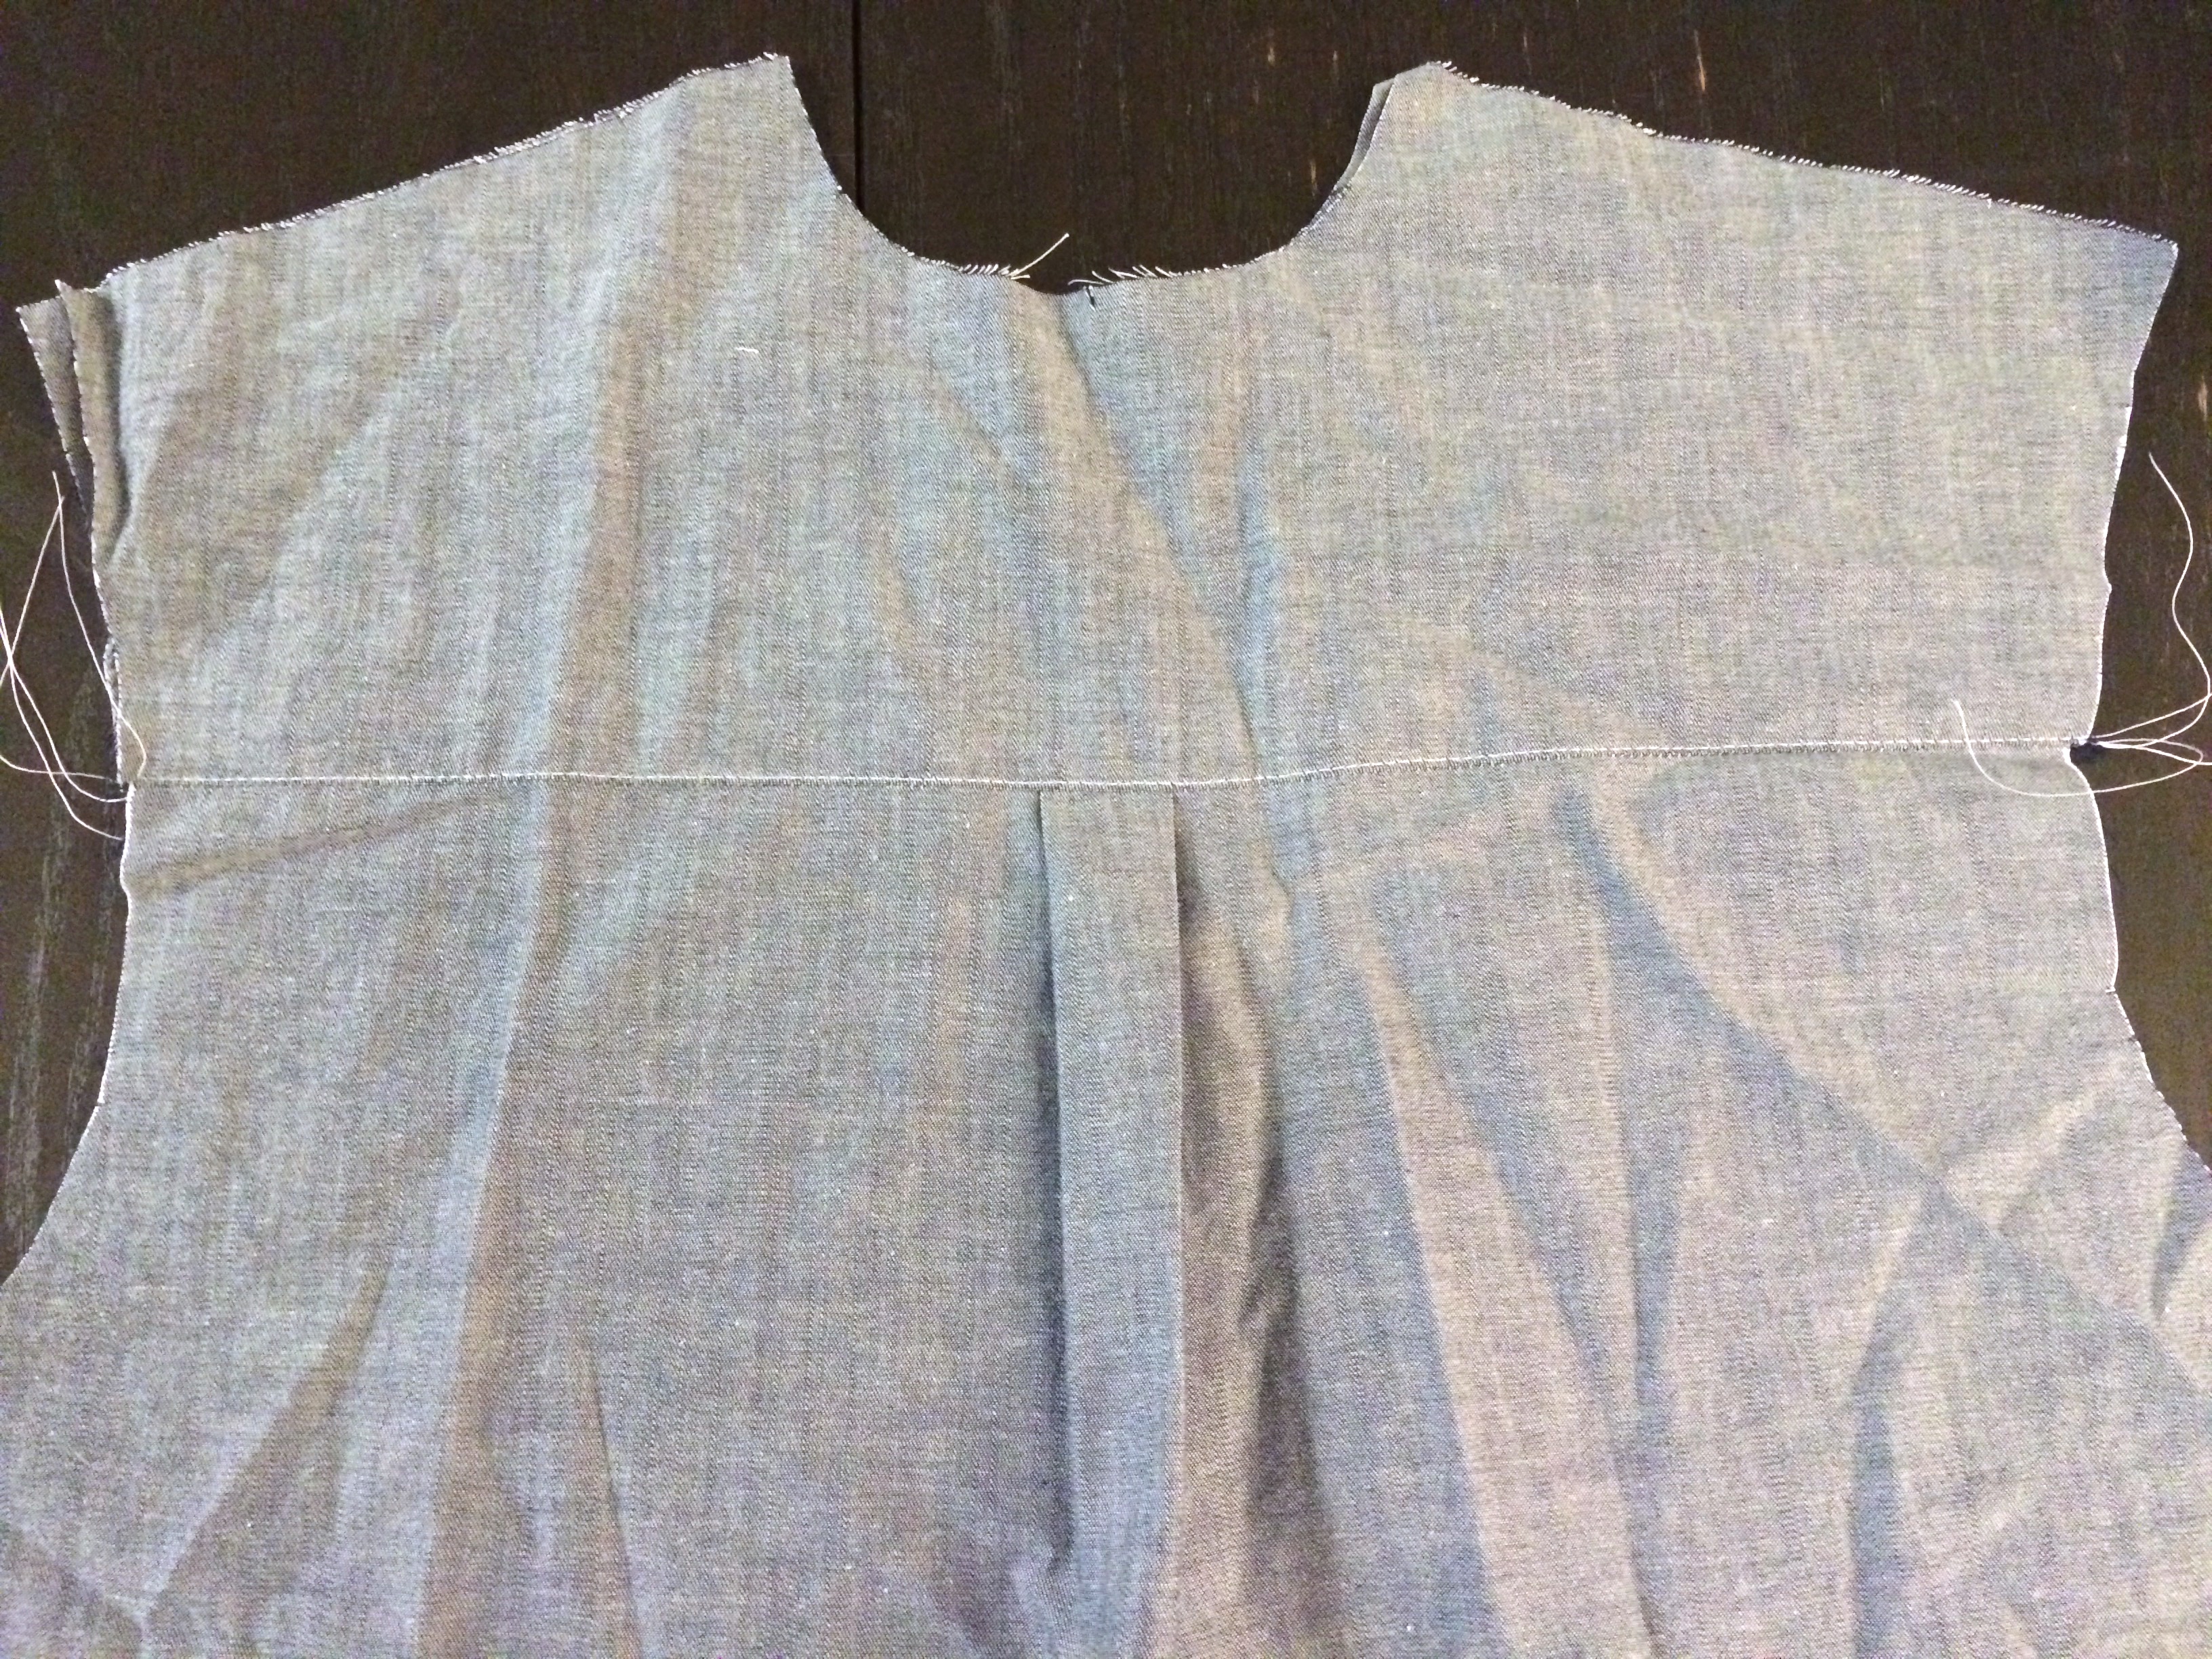
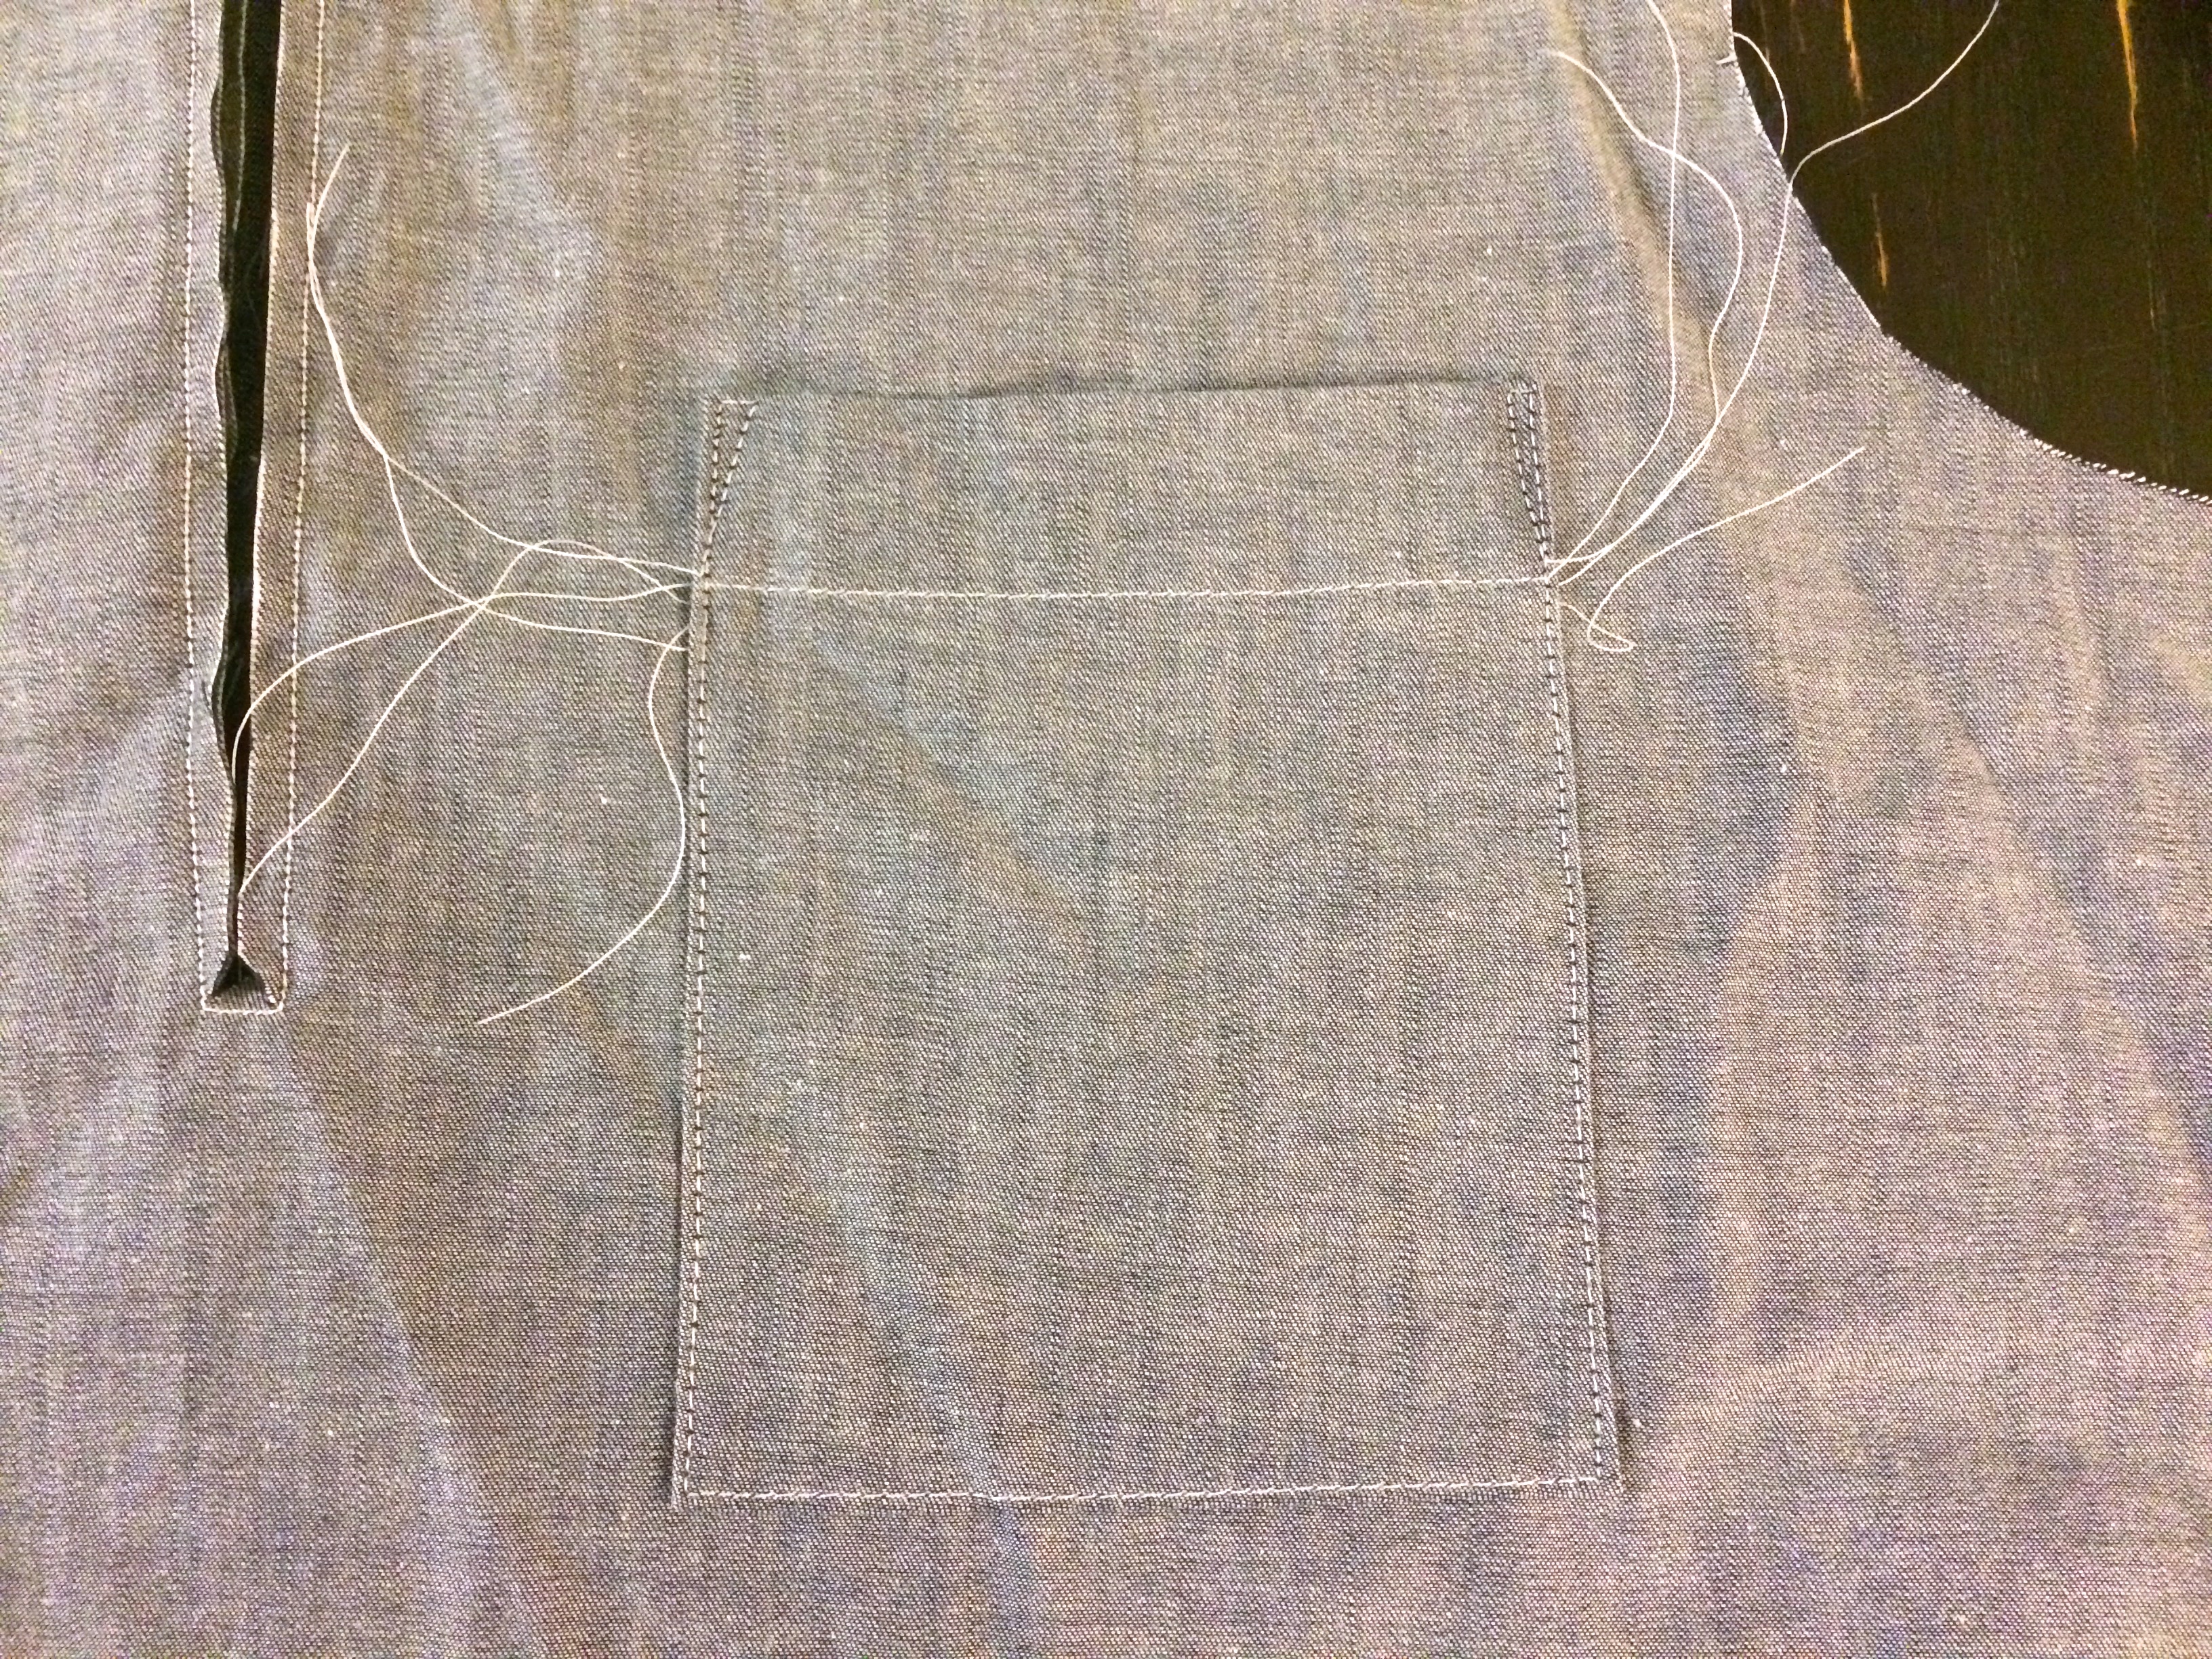
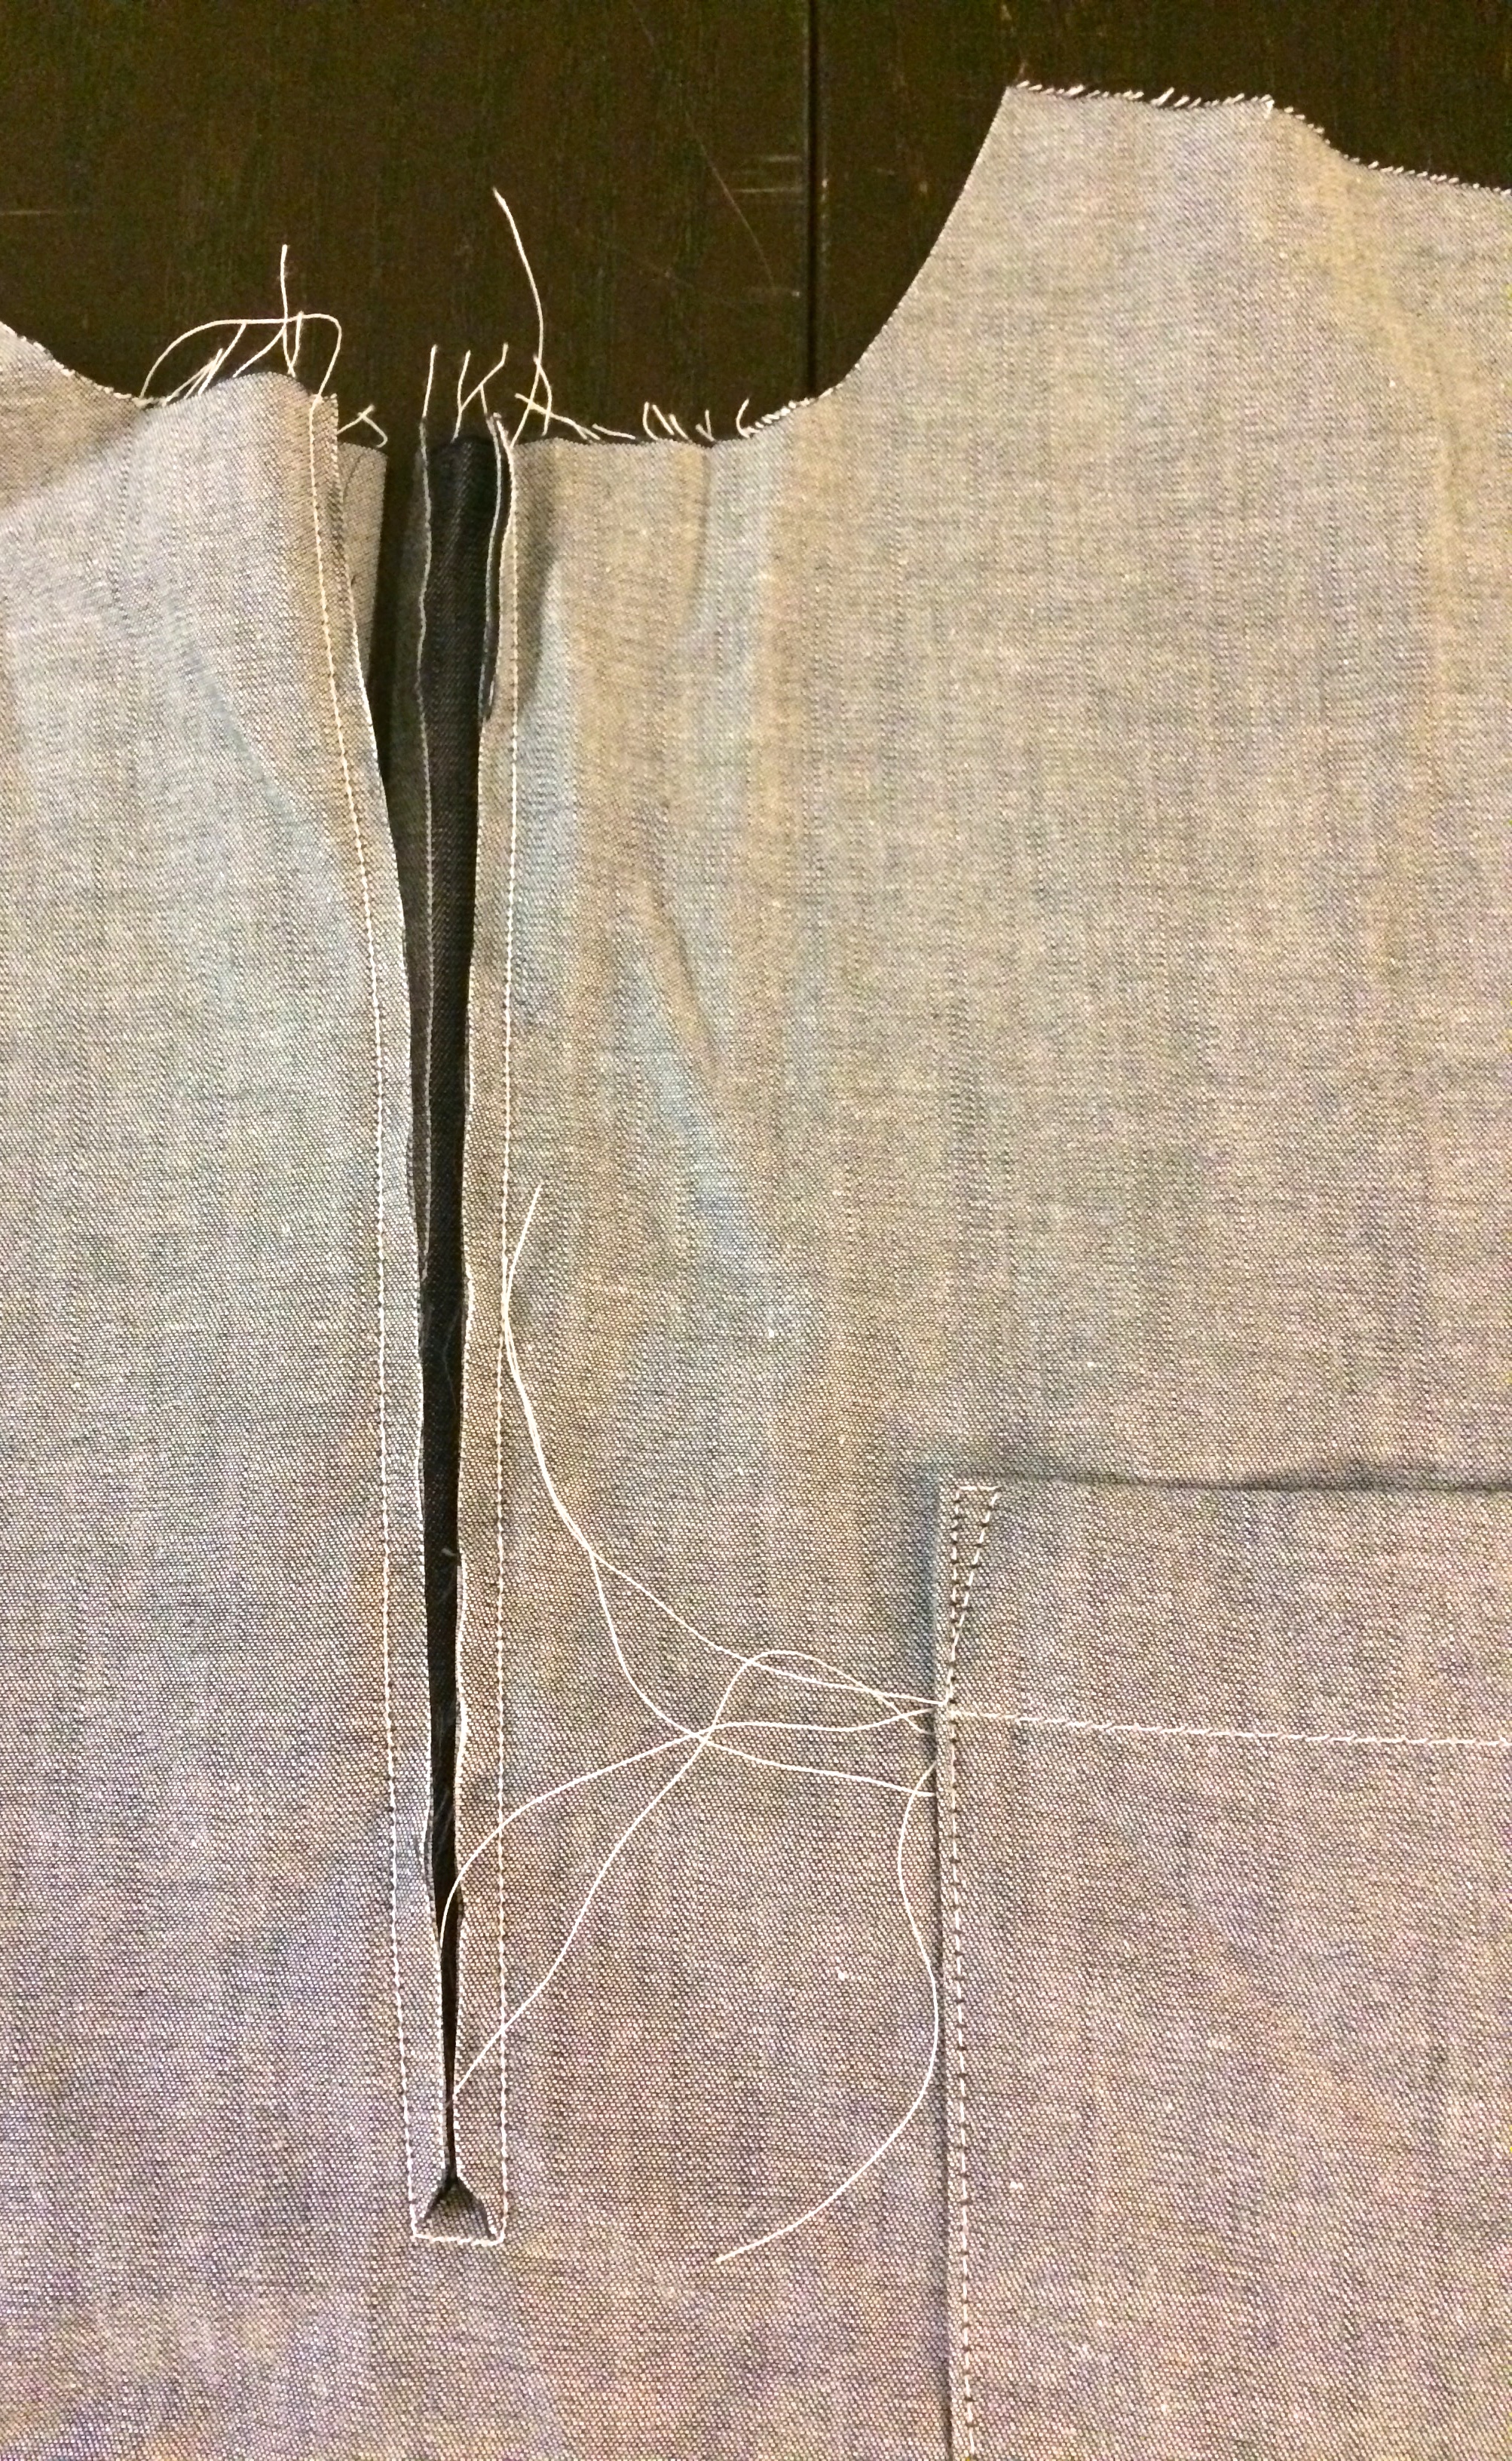
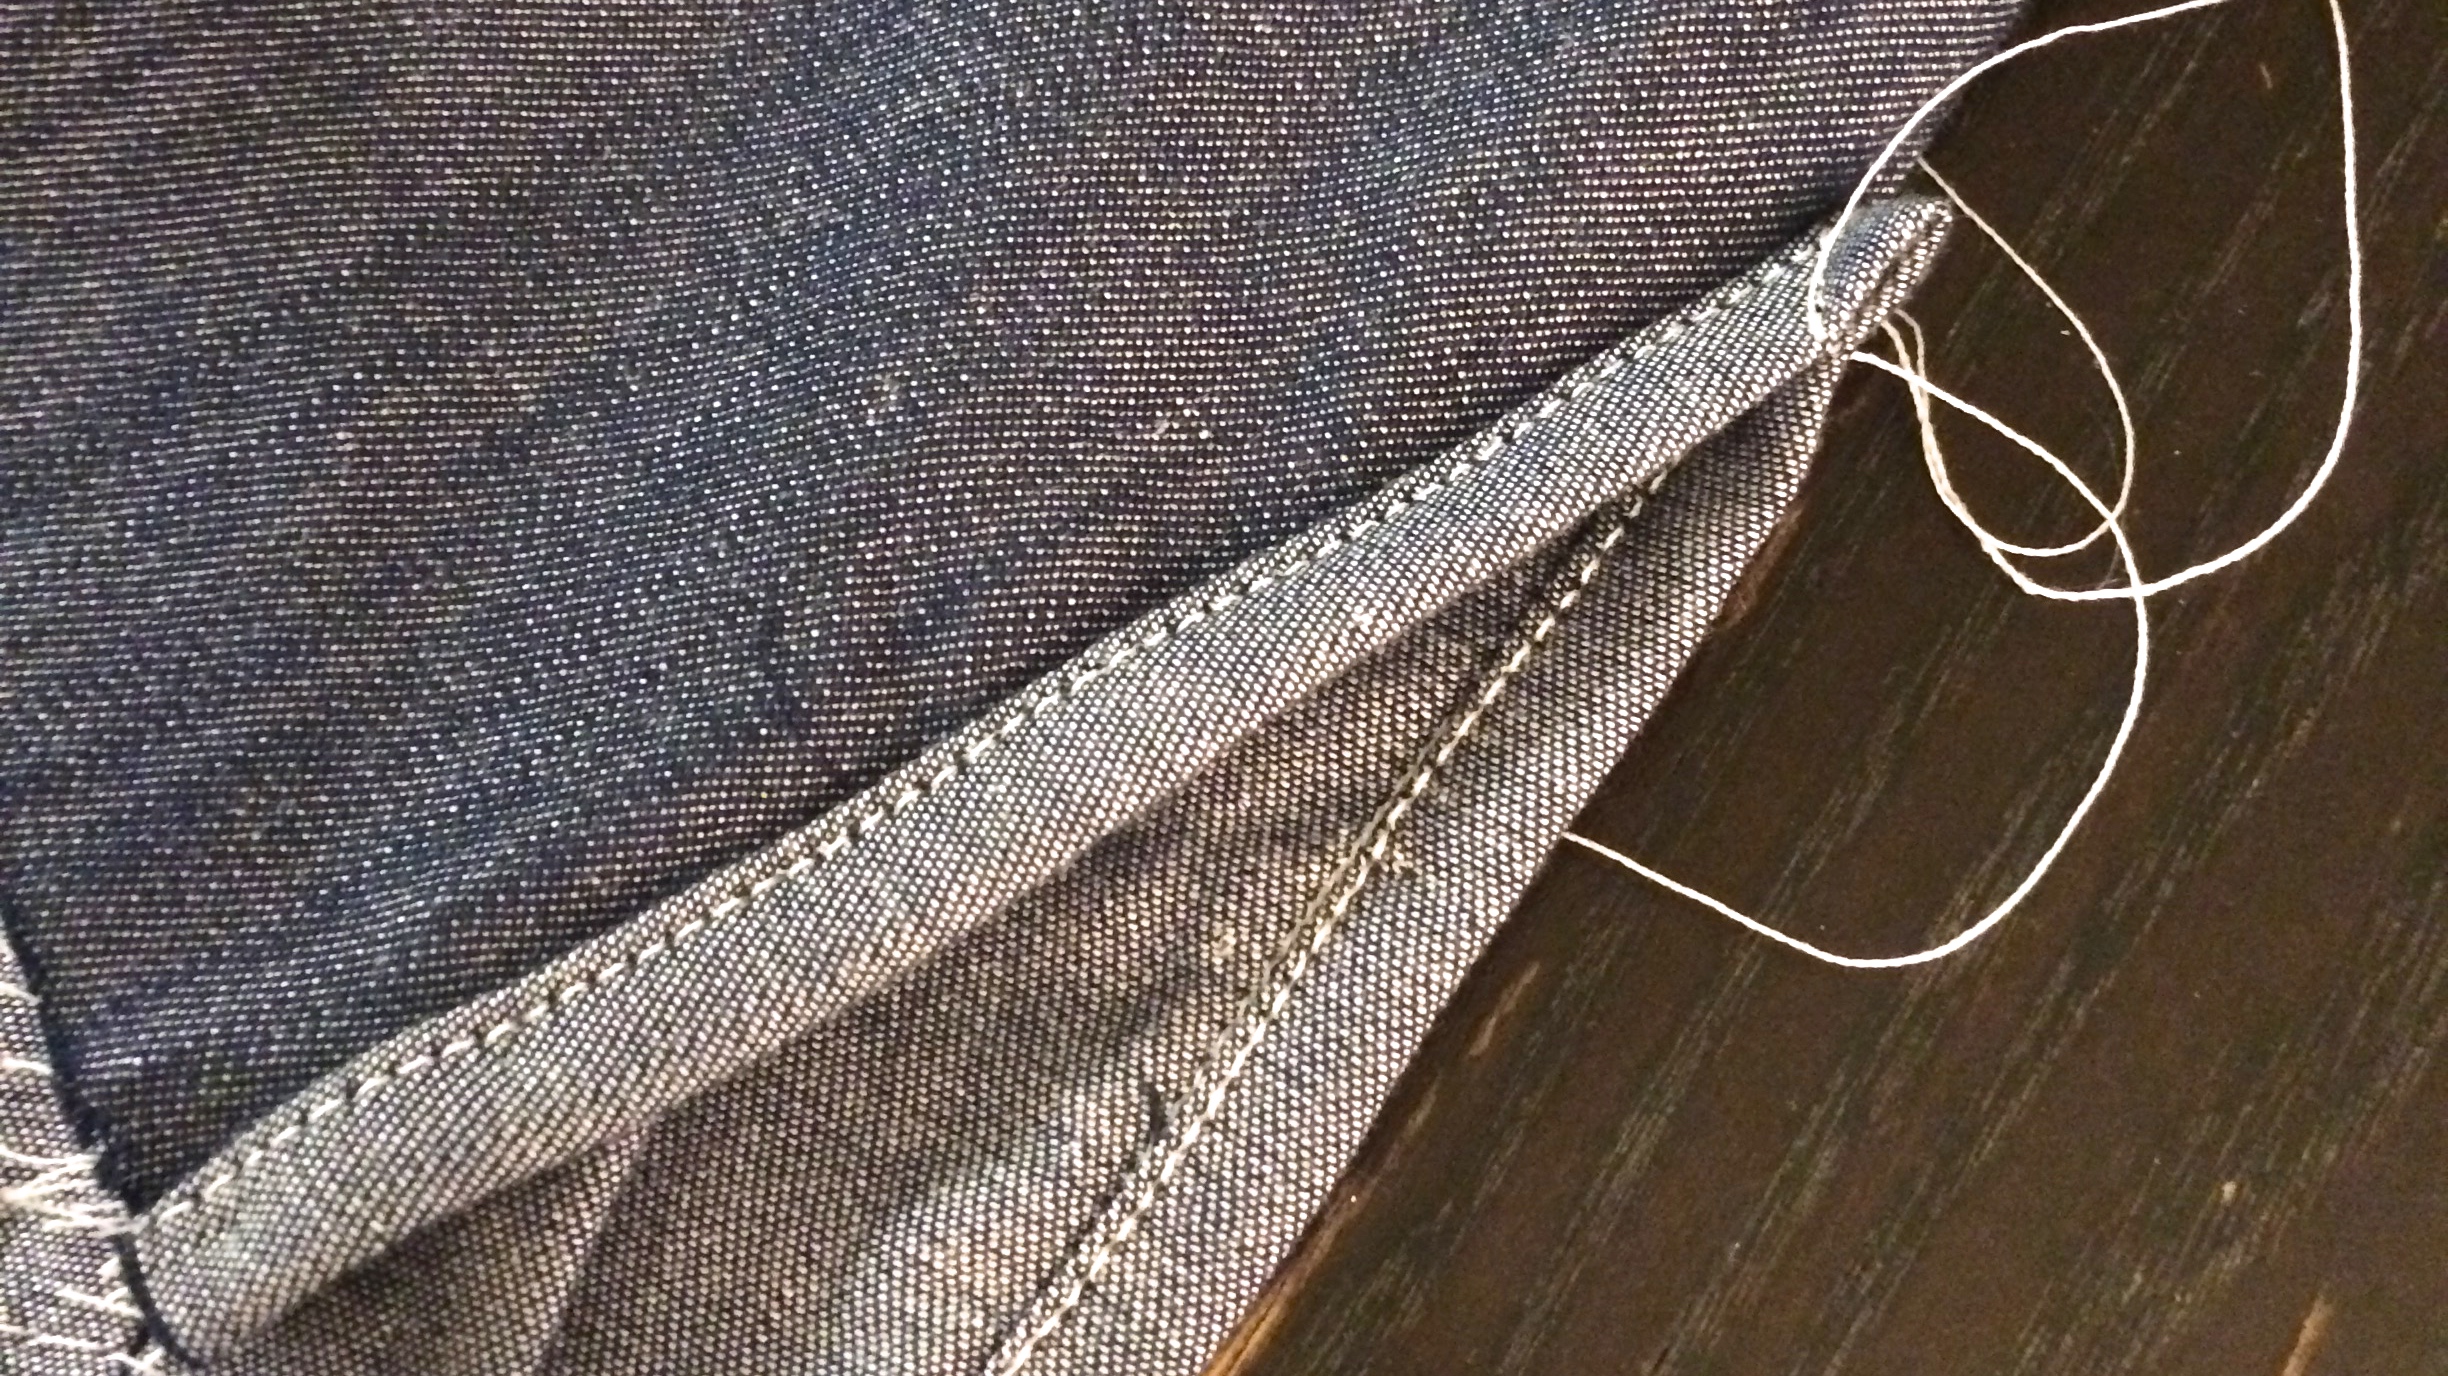
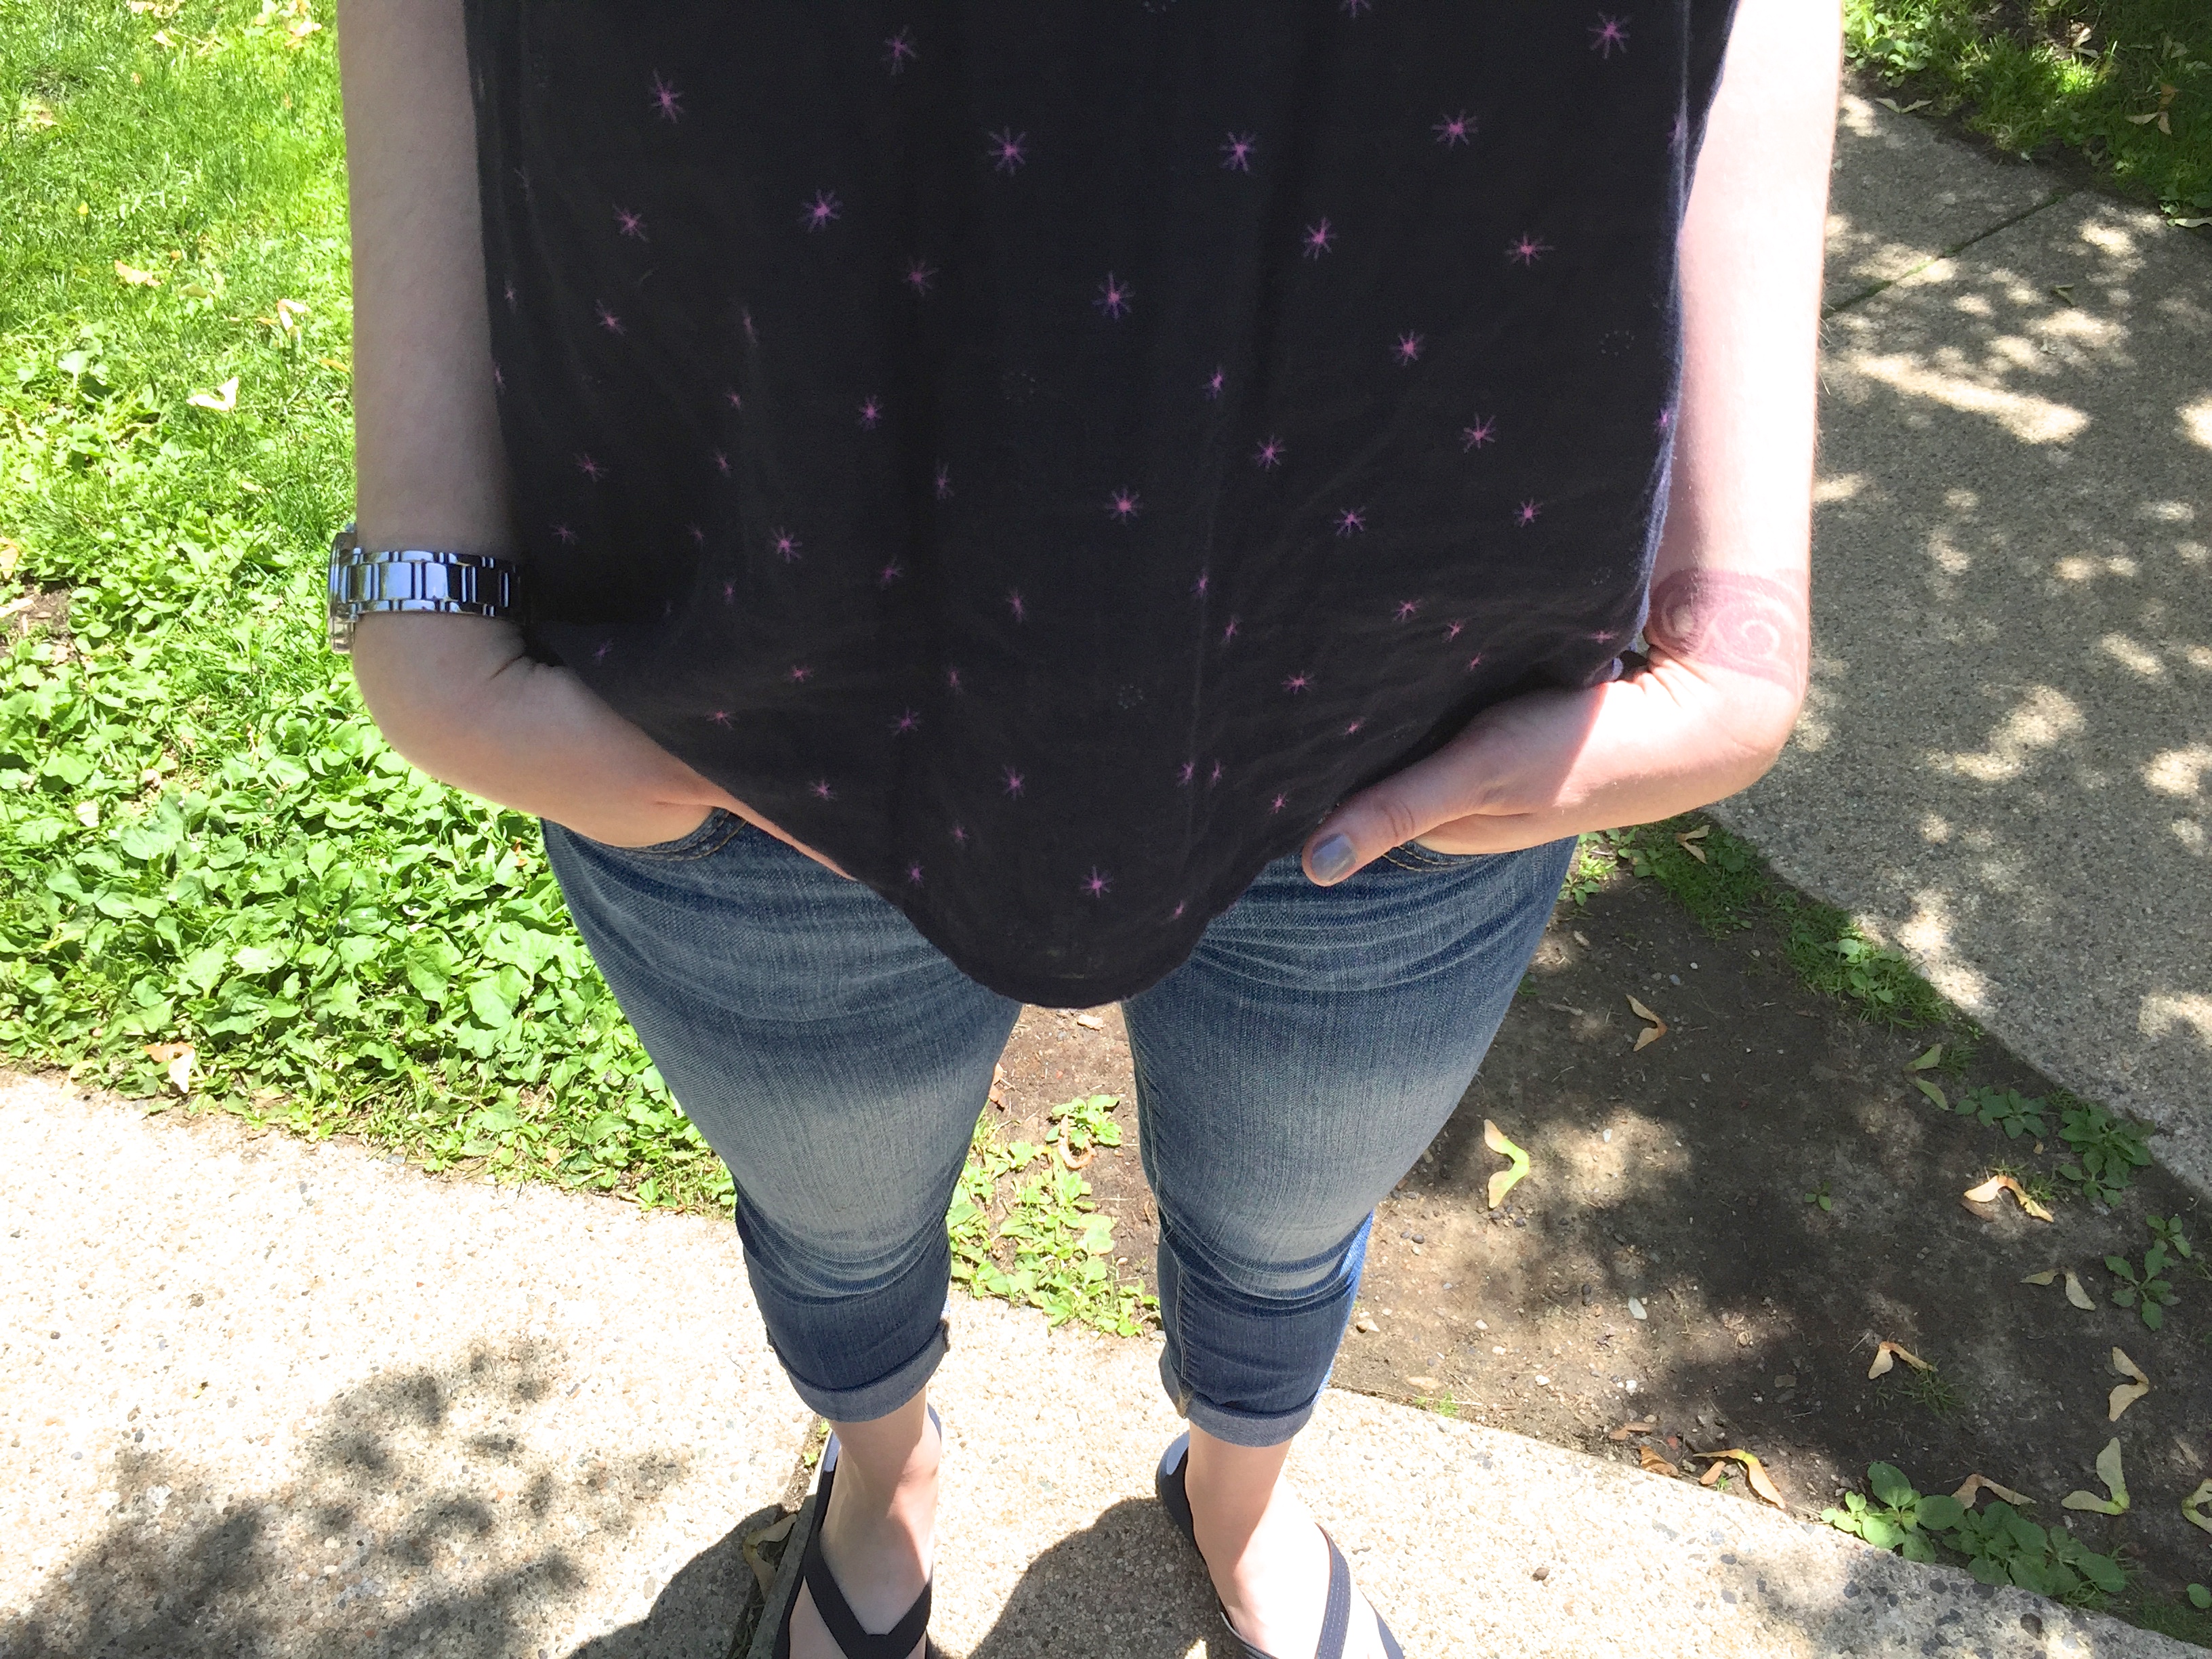
After making the pattern modifications I cut out my fabric and got sewing. Nothing special about the construction for either of these. I used french seams on the shoulders and side seams which is one of several suggested finishing methods in the pattern. Bias binding around the necklines and armholes and narrow hems finished off these quick makes.

IMG_4063

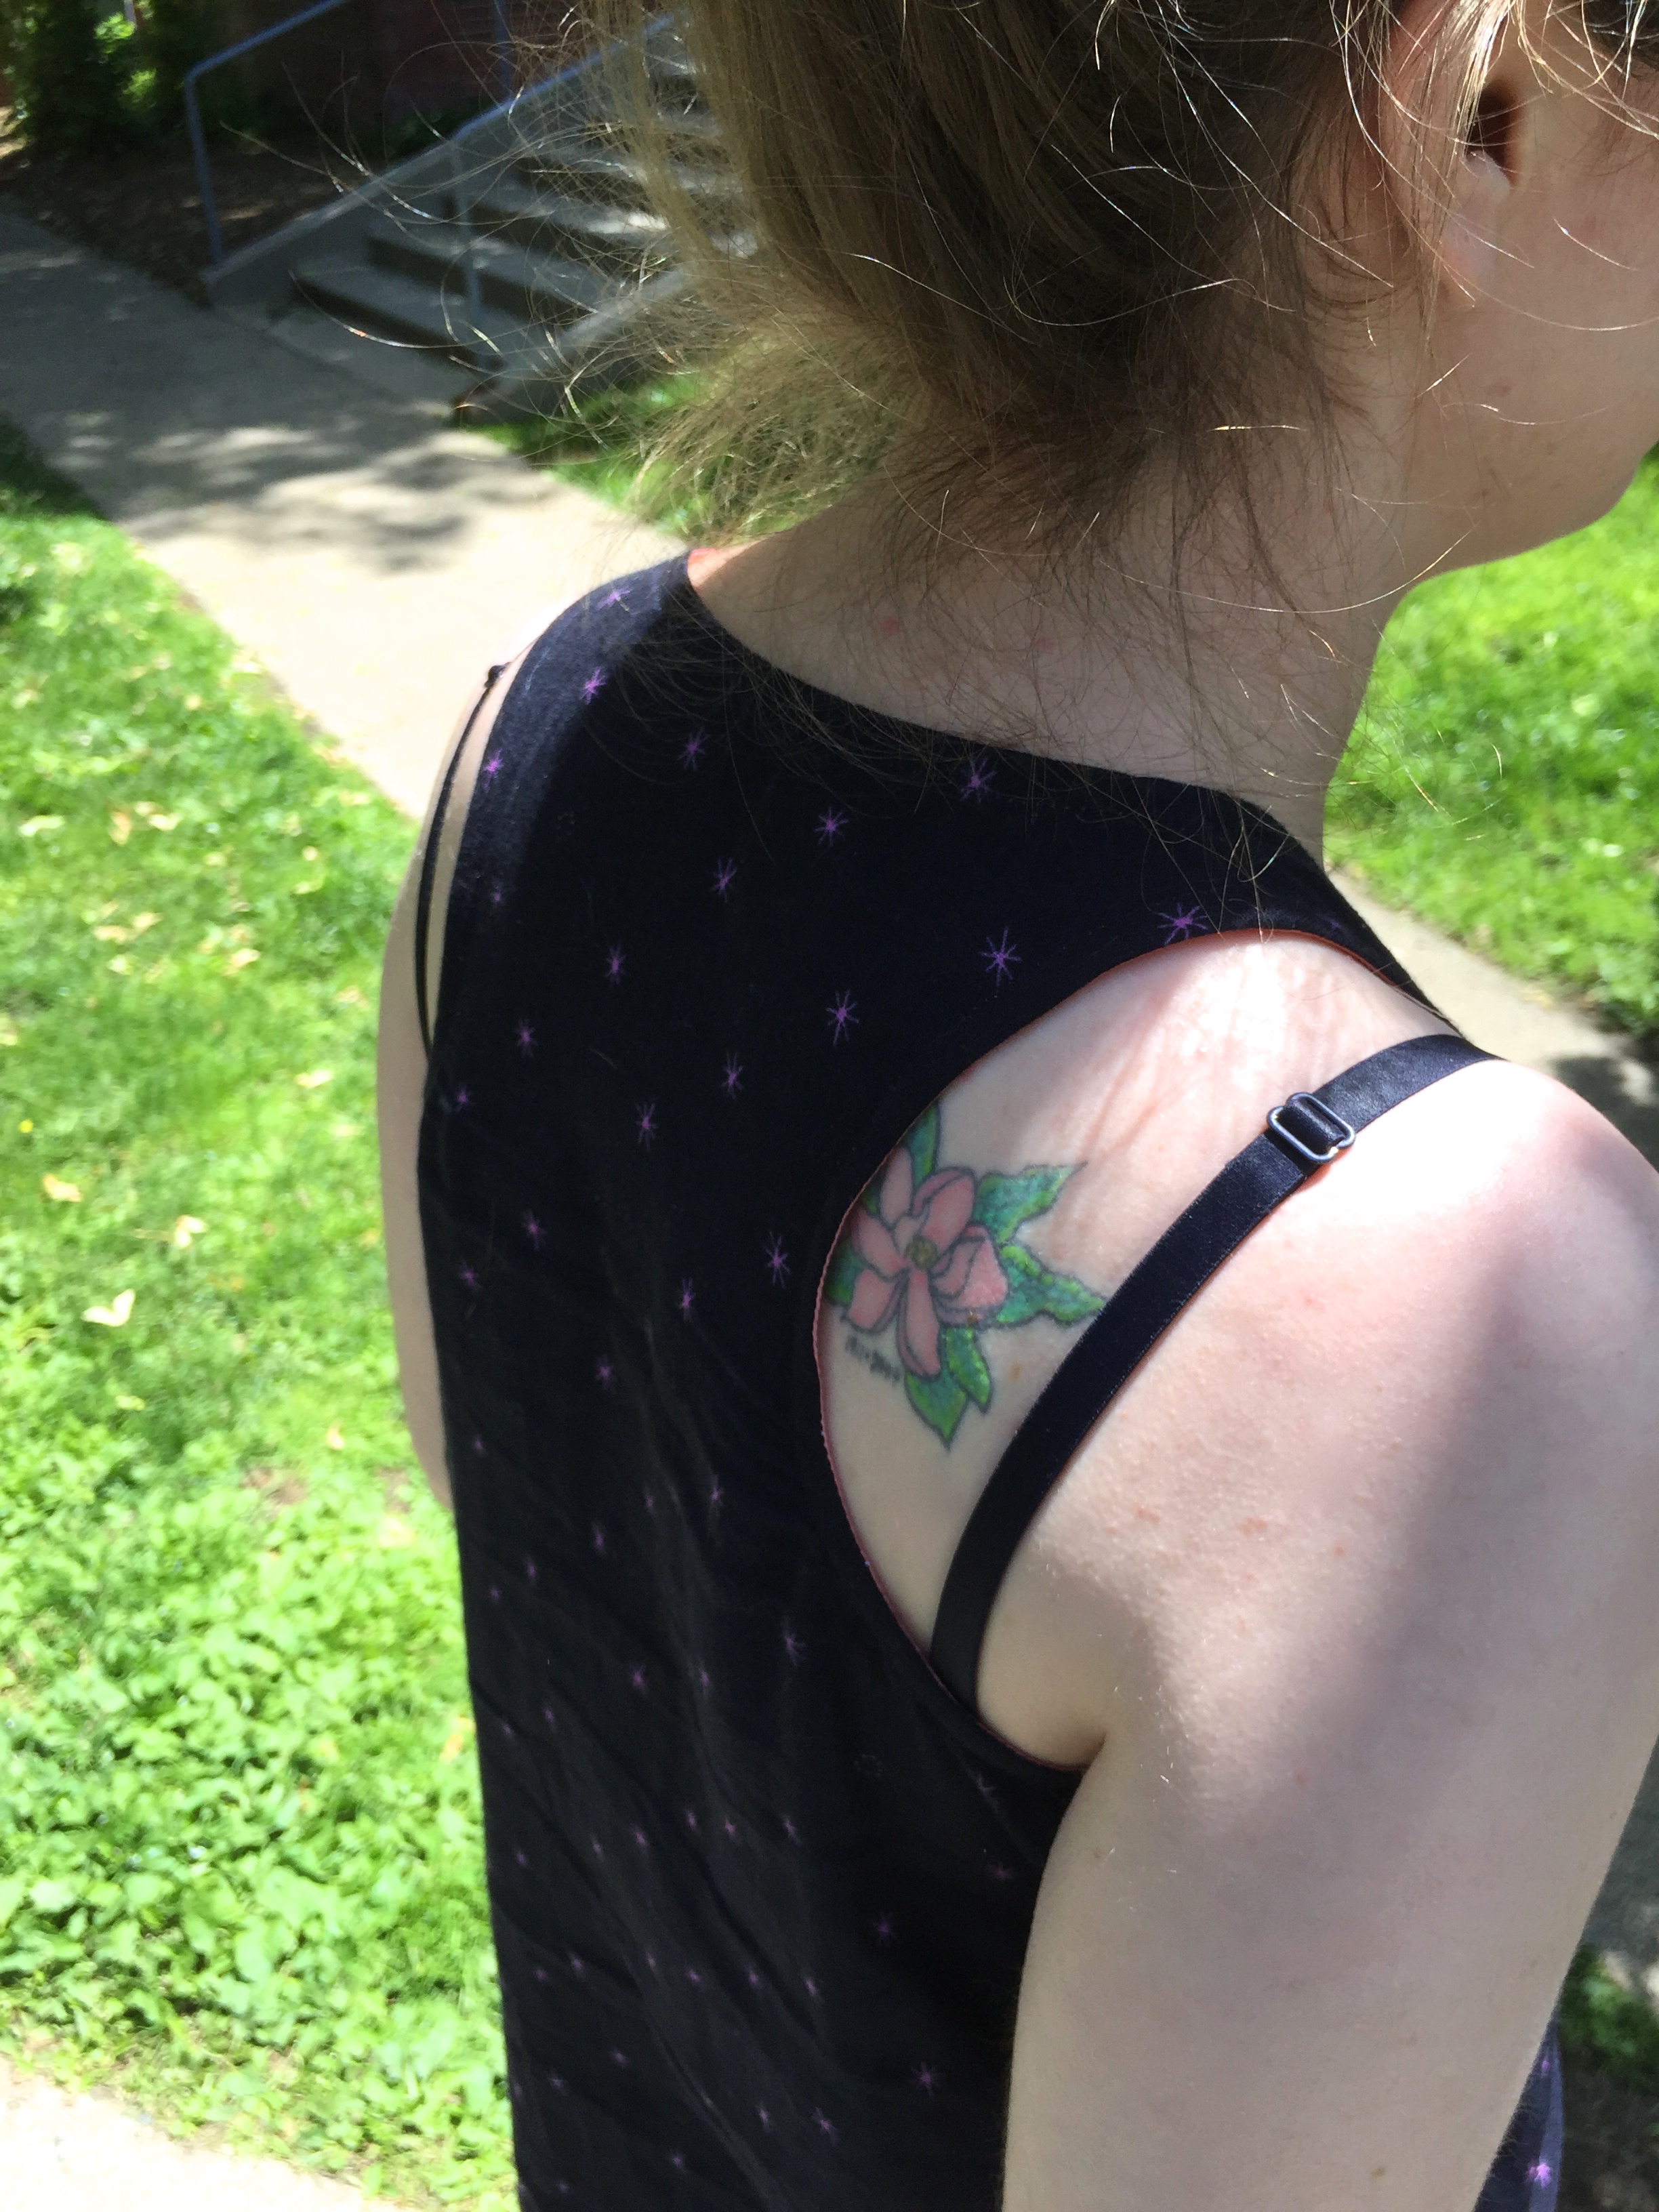
The only thing I’d like to fix when I make this pattern again is to open up the neckline and the armholes a bit. I’m fine with the style of the higher neckline but it’s actually a bit challenging to get over my head! The armholes are also a bit higher than I’d like so the top feels a little tighter than it actually is. Opening both of those up will be easy and give me the perfect fit I’m looking for.

IMG_4078

I’m so happy to add two new double gauze items to my wardrobe. My double gauze Eucalypt tank got lots of wear during Me Made May and I’m glad I was able to make more pieces out of this fabulous fabric. These are both incredibly comfortable. The Foxglove pattern is also usable with knit fabric and I’d like to give a knit version a try soon!!

IMG_4056

Details:

Pattern: Foxglove Tank by Selvage Designs

Fabric: Kokka Broken Plaid double gauze from Gooba Designs on Etsy and Cotton & Steel Bespoke double gauze from JP Knit & Stitch

-Hannah


Advertisement

Current WIPs

I’ve shown off several of my most recently completed projects. I thought I’d show you my last two spring sewing works in progress before I start on a post about my summer sewing plans.

My first update is that my Ginger jeans are cut out and waiting for me to get started on them.

IMG_3329

I was really good and spent a lot of time carefully tracing each piece, adding tailor’s tacks and clipping notches. I’m really trying to get better about slowing down my preparation for sewing. I know everyone says that preparation time is make it or break it time in terms of how successfully a garment will come together. I have not been so good in the past about slowing down and really getting things right the first time. I’m getting better though. And I’m noticing an improvement in my garments as a result.

IMG_3331

As I said in a previous post, the size eight muslin I made fit very well in the waist and hips but I’d taken out too much width in the legs. I’m making a combined version with a low waist and skinny legs and of course did it the hard way. So I added back half an inch on each side of both the back and front pieces. This means I’ve taken off a quarter inch. I’m going to baste the side and inseams and then we’ll see how they fit. I’m anticipating wanting to take them in a bit.

The other work in progress is a modified Archer. I’m making it a “popover” or half buttondown with a mandarin collar. I was planning to use some tutorials and try to draft my own placket. But then I realized I could just use the placket piece from the Carme blouse pattern I just purchased. I haven’t made that pattern yet, and maybe it’s dumb to sub in a pattern piece I haven’t used. I have been thinking about this project as a wearable muslin though so hopefully it’ll work well enough to satisfy that goal.

I was getting along really well with the shirt while we were in Vermont last weekend. I got the back yokes attached.

IMG_3488

And got the front pocket on.

IMG_3492

And then I promptly sewed the placket on incorrectly and didn’t realized that until I had slashed it. So my next step is to get the placket recut and see if I can unpick the one that’s on there but leave the front in good enough condition to sew on a new one. If not, that’s ok. I’ve got enough fabric to cut a new front. And it really didn’t take that long. I just feel silly.

IMG_3491

After sewing the placket incorrectly I needed to work on a different part of the shirt until I was home and had access to my remaining fabric. So I got the sleeve plackets sewn on and basted the pleats.

IMG_3487

I’d never made plackets this way before. The first one didn’t turn out great but the second one was definitely better. The only other time I’ve done sleeve plackets were on the Negroni shirts I made for Christmas presents and those are done differently, the way the Carme placket is done.

As I’m typing this I’m realizing that it may look weird to have two different types of plackets on the same garment. Perhaps I should do a larger version of the sleeve plackets on the neckline. That’ll also be much easier to sew with the slash I’ve already made. Alright, new game plan, awesome!!

There’s one other project that had been on my spring sewing list and that’s my Minoru jacket. I’ve been planning a lot of modifications to that pattern and at first had been holding off on starting it because I wanted to do some more research on how to manipulate the neckline gathers. And now that spring has finally arrived, hopefully I didn’t just jinx it, I’m having a hell of a time imagining myself working on a coat. I’m still excited about the pattern, the fabric, and the plans I’ve made so I’m not dropping this project at all. I just have too many fun plans for summer sewing to spend my time on a jacket right now. I think my new plan is to work on it bit by bit with the end goal being to have it ready to go for the fall.

Be back soon with some more finished garments!

-Hannah

Internet Highlights

Today I’m rounding up my favorite bits from the interwebs this week, things that I’ve found interesting, useful or simply entertaining.

  • What a fabulous method for making perfectly-pointed collars from Off The Cuff.
  • As I’m preparing to work on my Minoru muslin I’ve been looking for useful instructions about dart manipulation. I found these two posts about moving darts to side seams and general dart manipulation. They don’t answer all my questions but they’re a useful jumping off point.
  • This post from In House Patterns about back and neckline shaping is also helpful.
  • I’ve just started watching The Great British Sewing Bee and was checking out Lauren’s website. Lauren was a runner up in the first season. She posted a review ten days ago of the show’s newest accompanying book, The Great British Sewing Bee: Fashion with Fabric, along with one of her makes from the book. The skirt is nice and all, but I am OBSESSED with the shirt she’s wearing with it. Lauren admits in the comments that it’s a store-bought shirt, but I’m determined to figure out a way to copy it!

And those buttons on the yoke!

Love those pintucks!