Lou Box Tops

My schedule and energy level over the last few weeks have left me most interested in faster, instant gratification sewing projects. This probably has a lot to do with not knowing how much sewing time I’ll have from day to day or week to week. It’s felt too frustrating to start longer, more in depth projects not knowing when I’ll be able to finish them.

IMG_3827

Patterns like the Lou Box Top from Sew DIY, with just three pattern pieces (two without the pocket) and minimal bias binding are really hitting the spot right now. So much so that I made 2!

IMG_3828

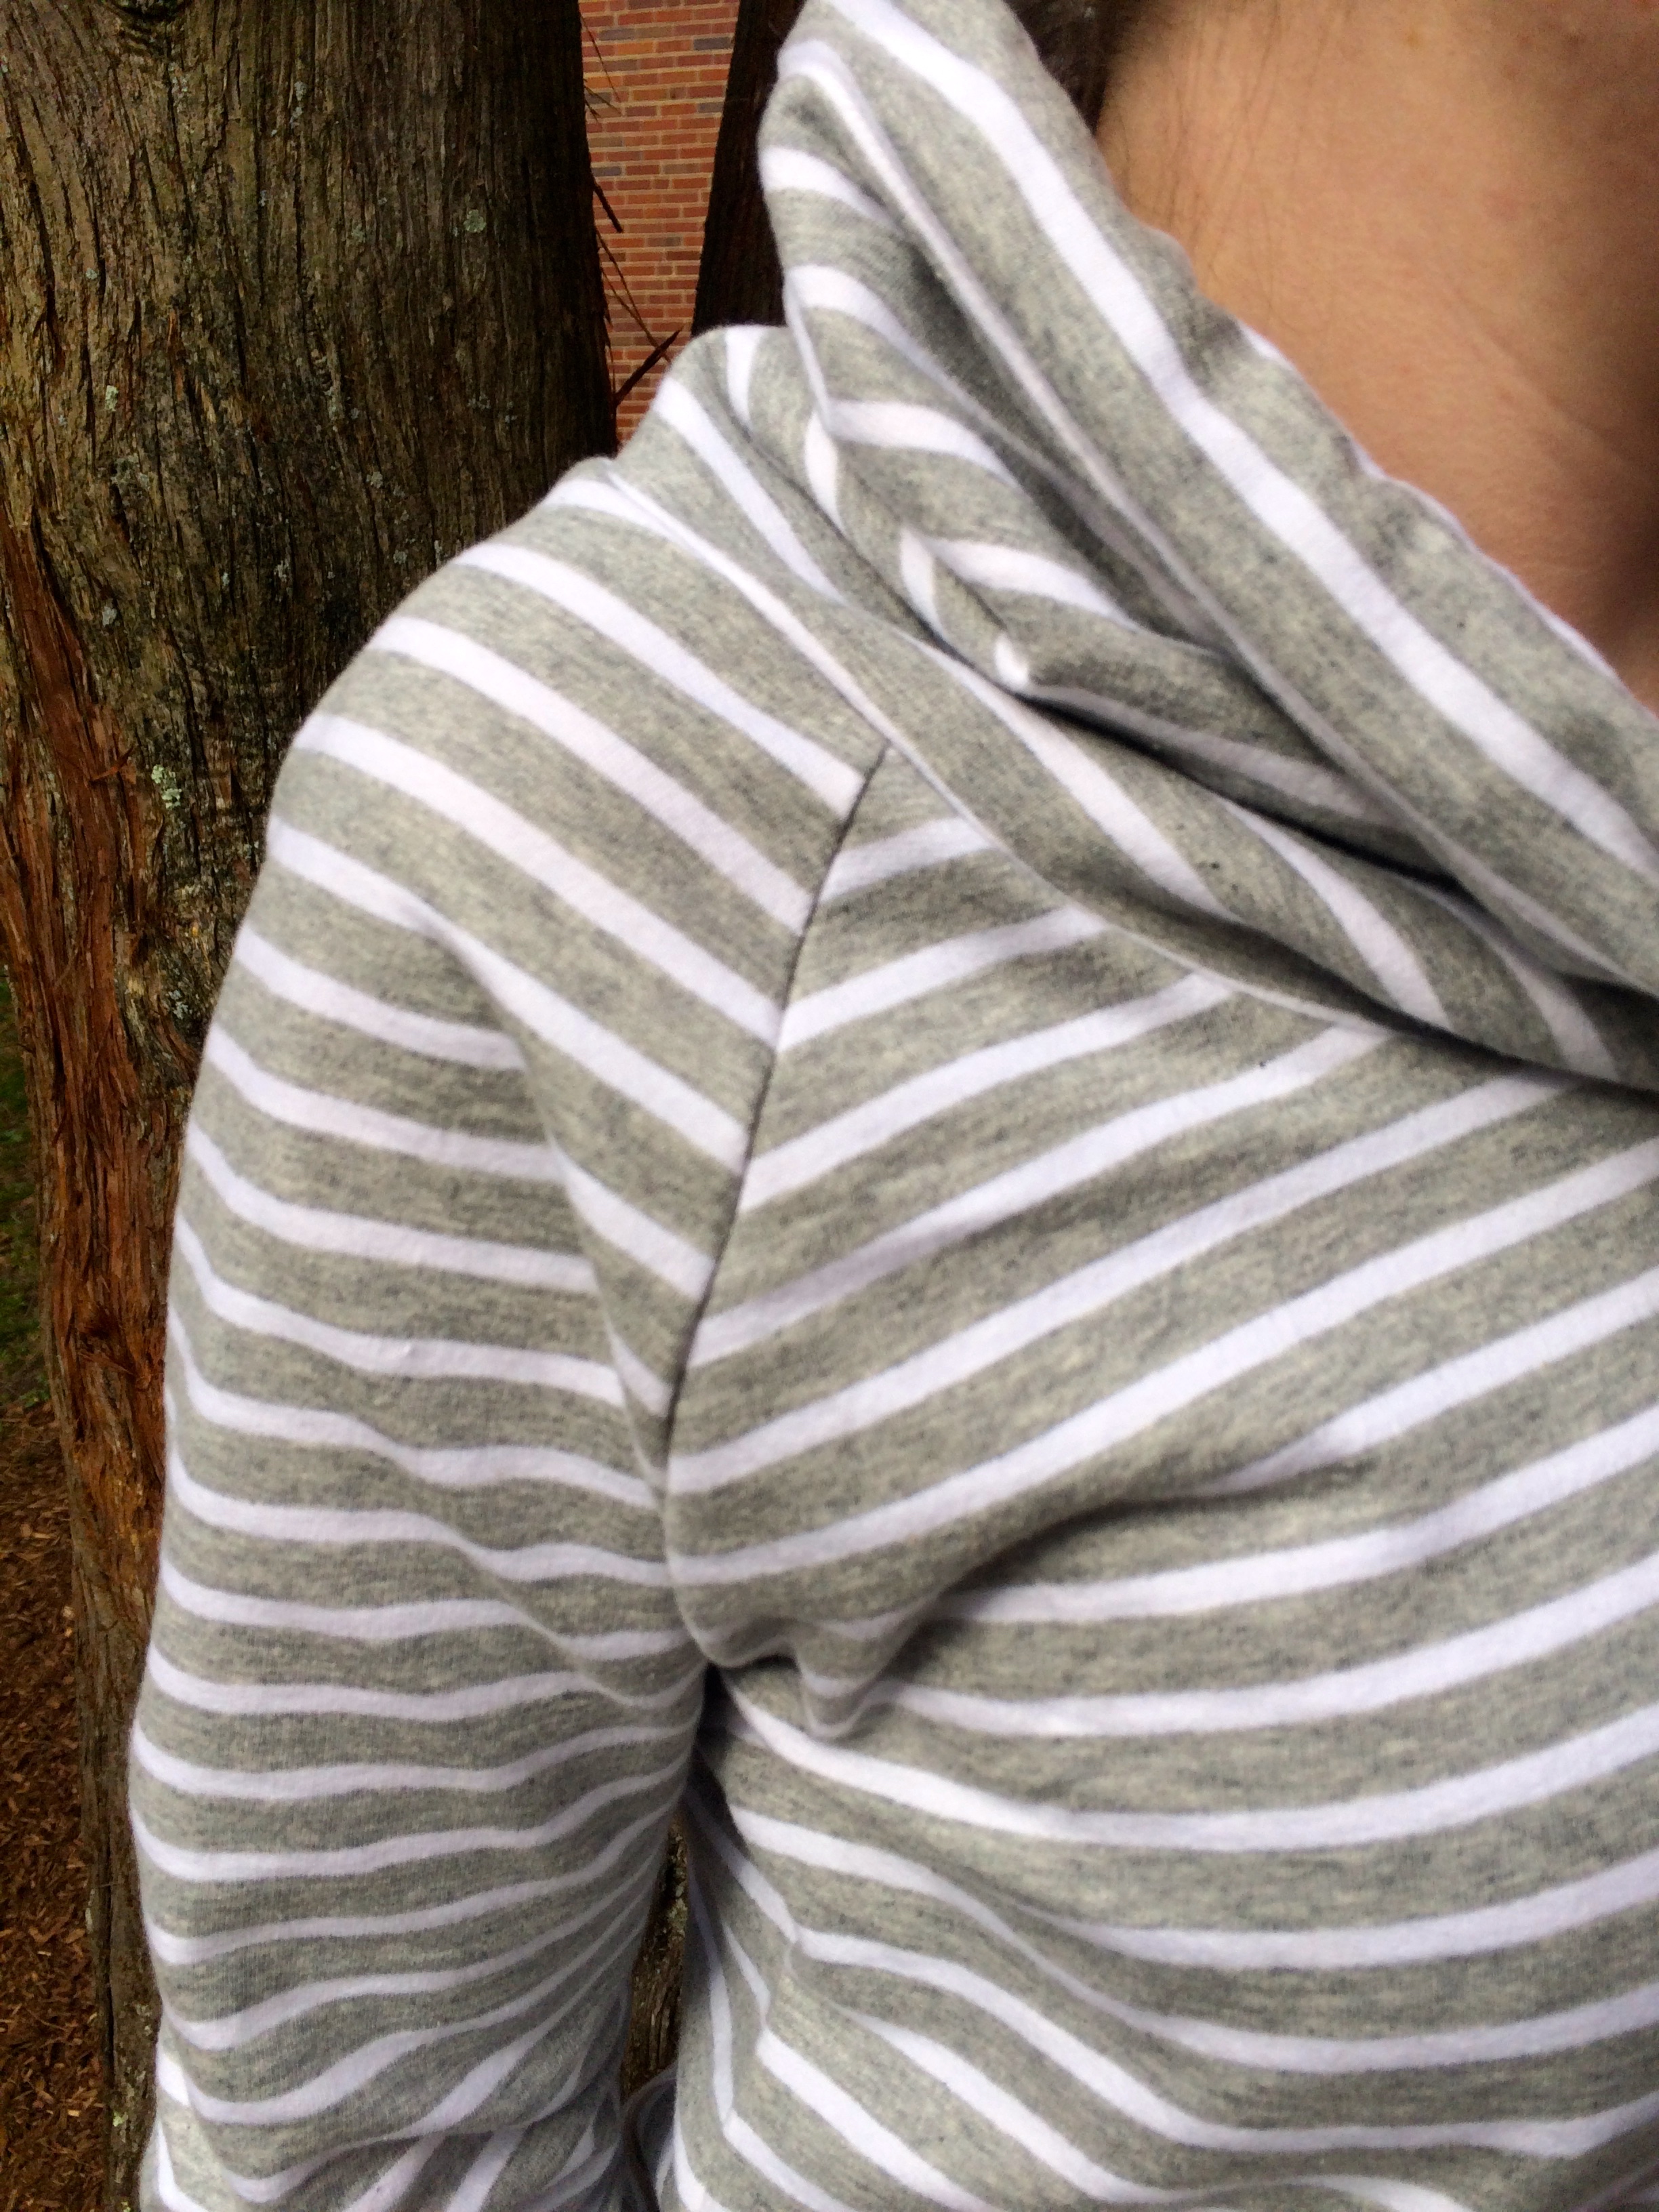
One of the best parts of this pattern is the number of options it comes with. In addition to being able to use the pattern with knits or wovens, there are two different necklines (a scoop and a crewneck) and 3 different hemlines (straight, curved or a high-low with a dramatic dip in back).

IMG_3898

There are two front pattern pieces depending on whether you’re going with the scoop or crewneck and then the hemline pieces can be mixed and matched. You can either just print out the pieces you intend to use (she lists the page numbers in the instructions) or print out everything and have lots of options for a variety of closet staples.

IMG_3900

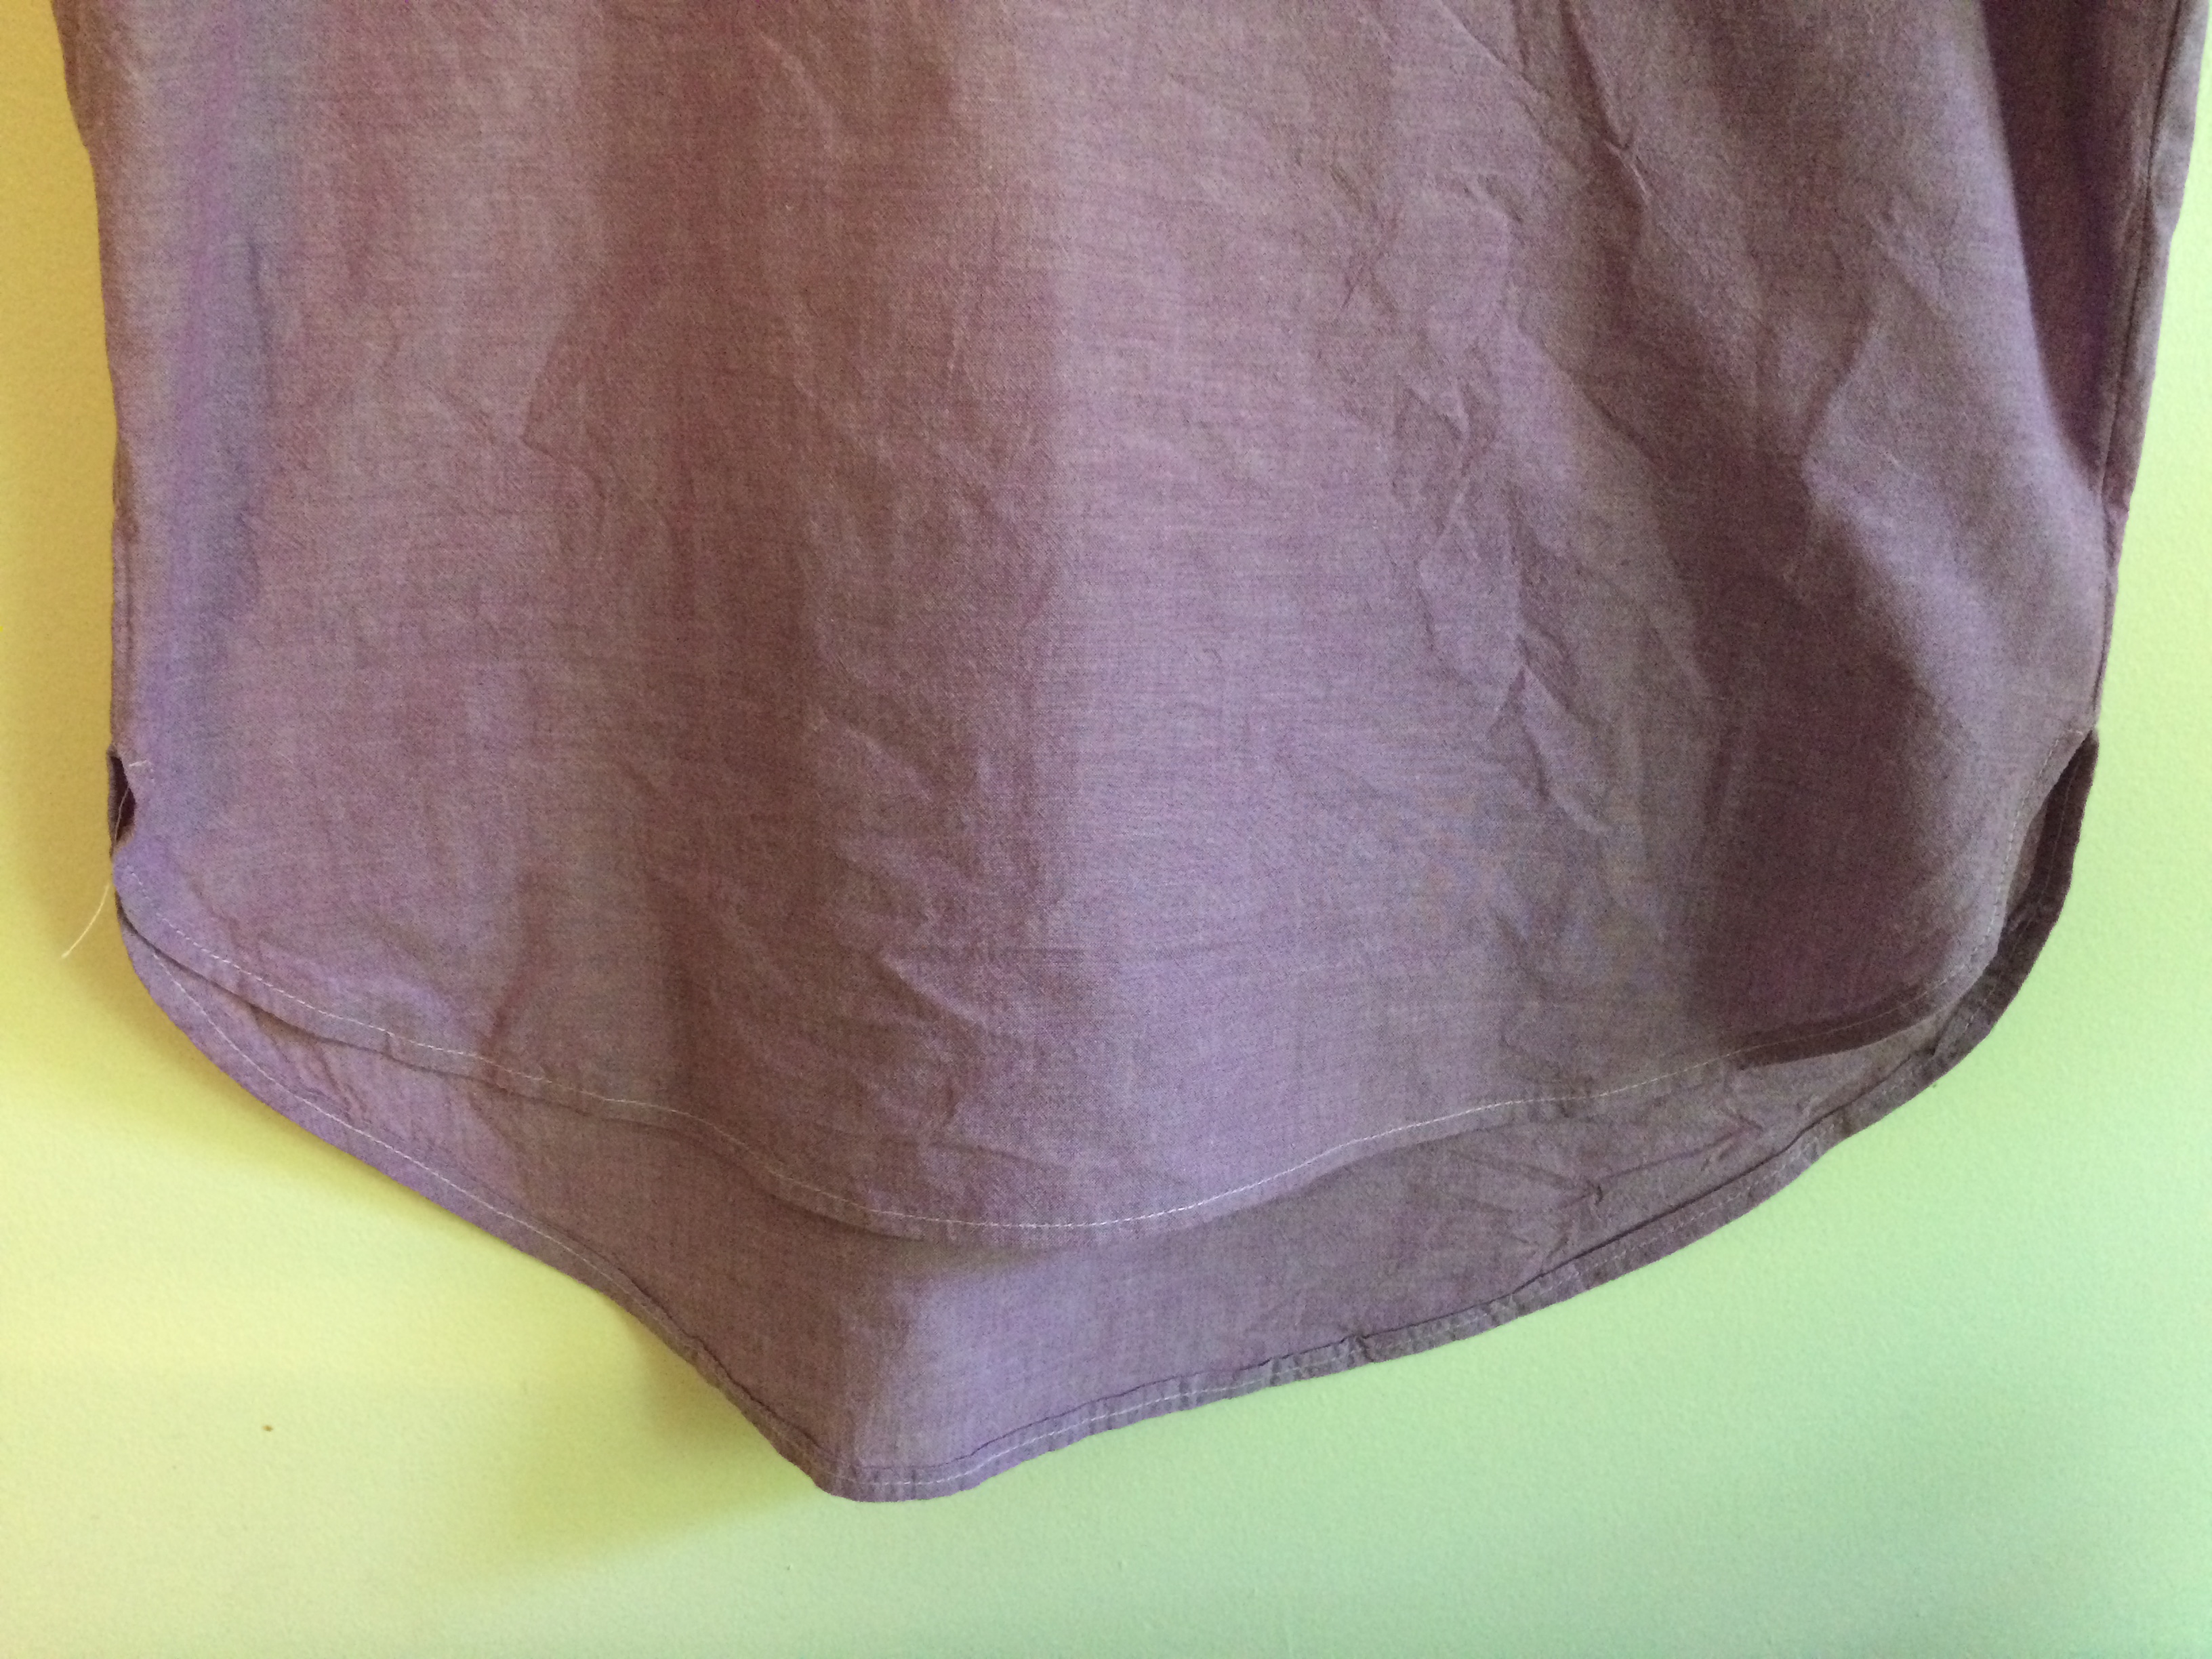
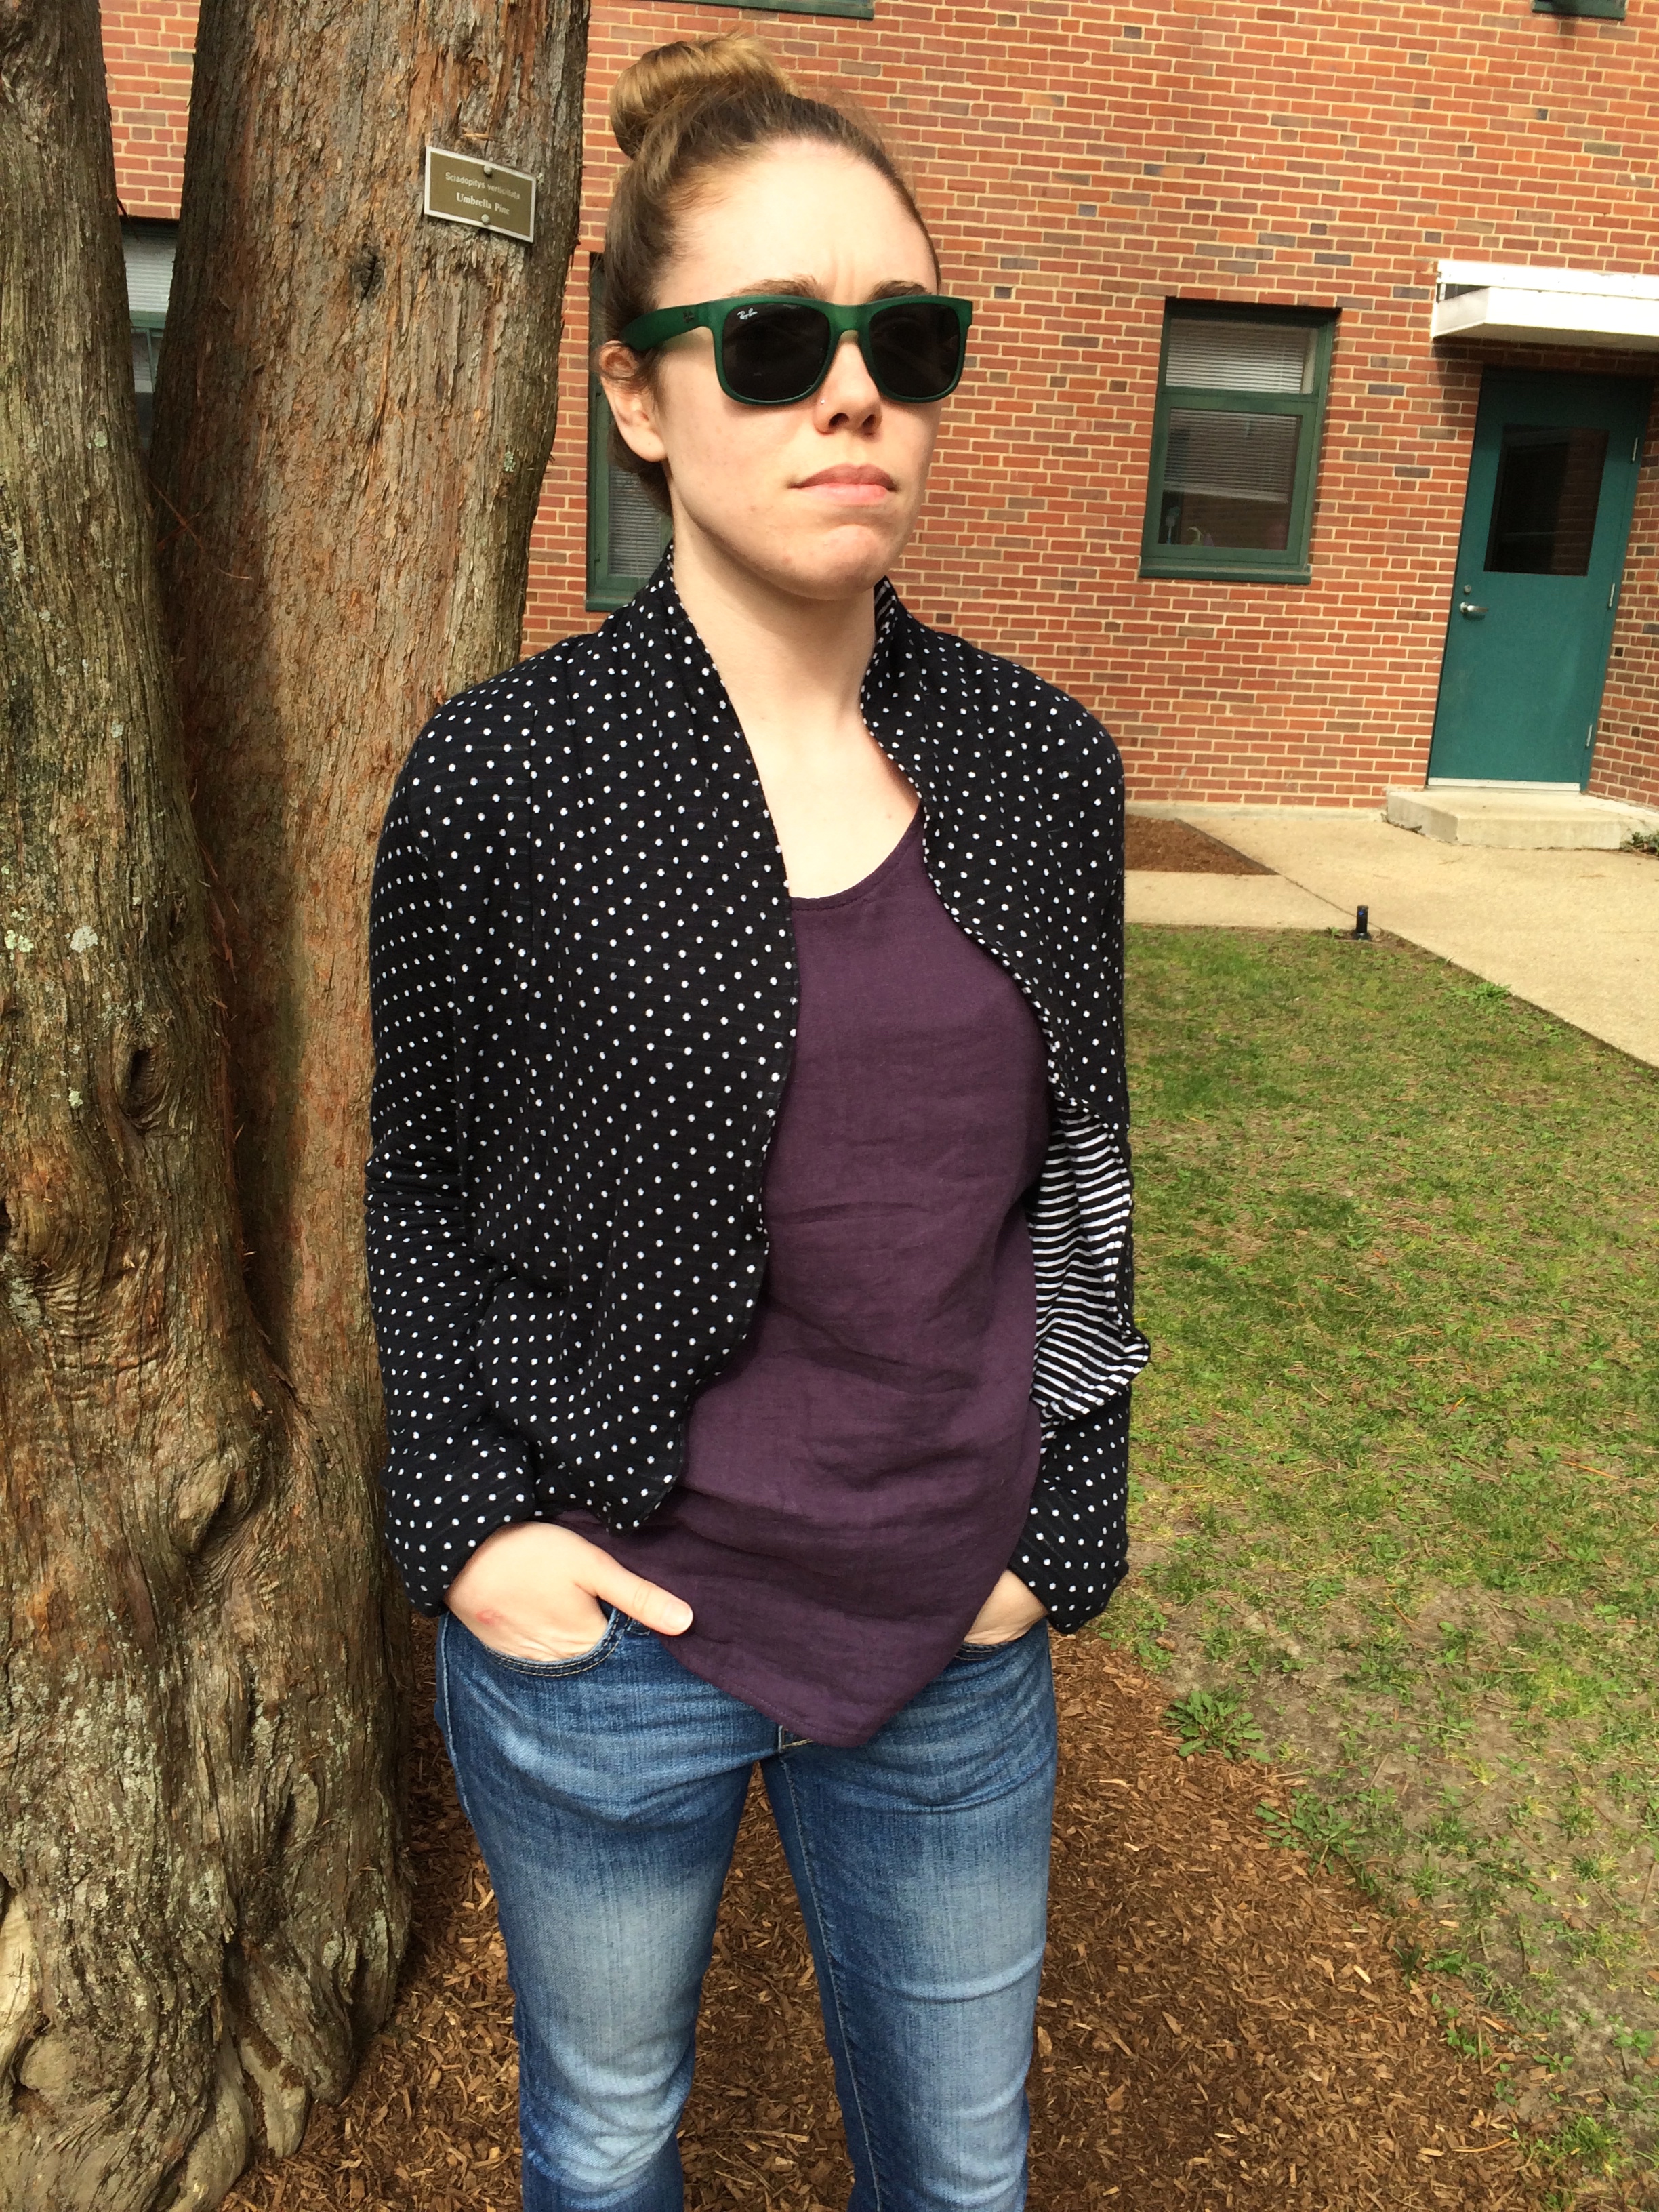
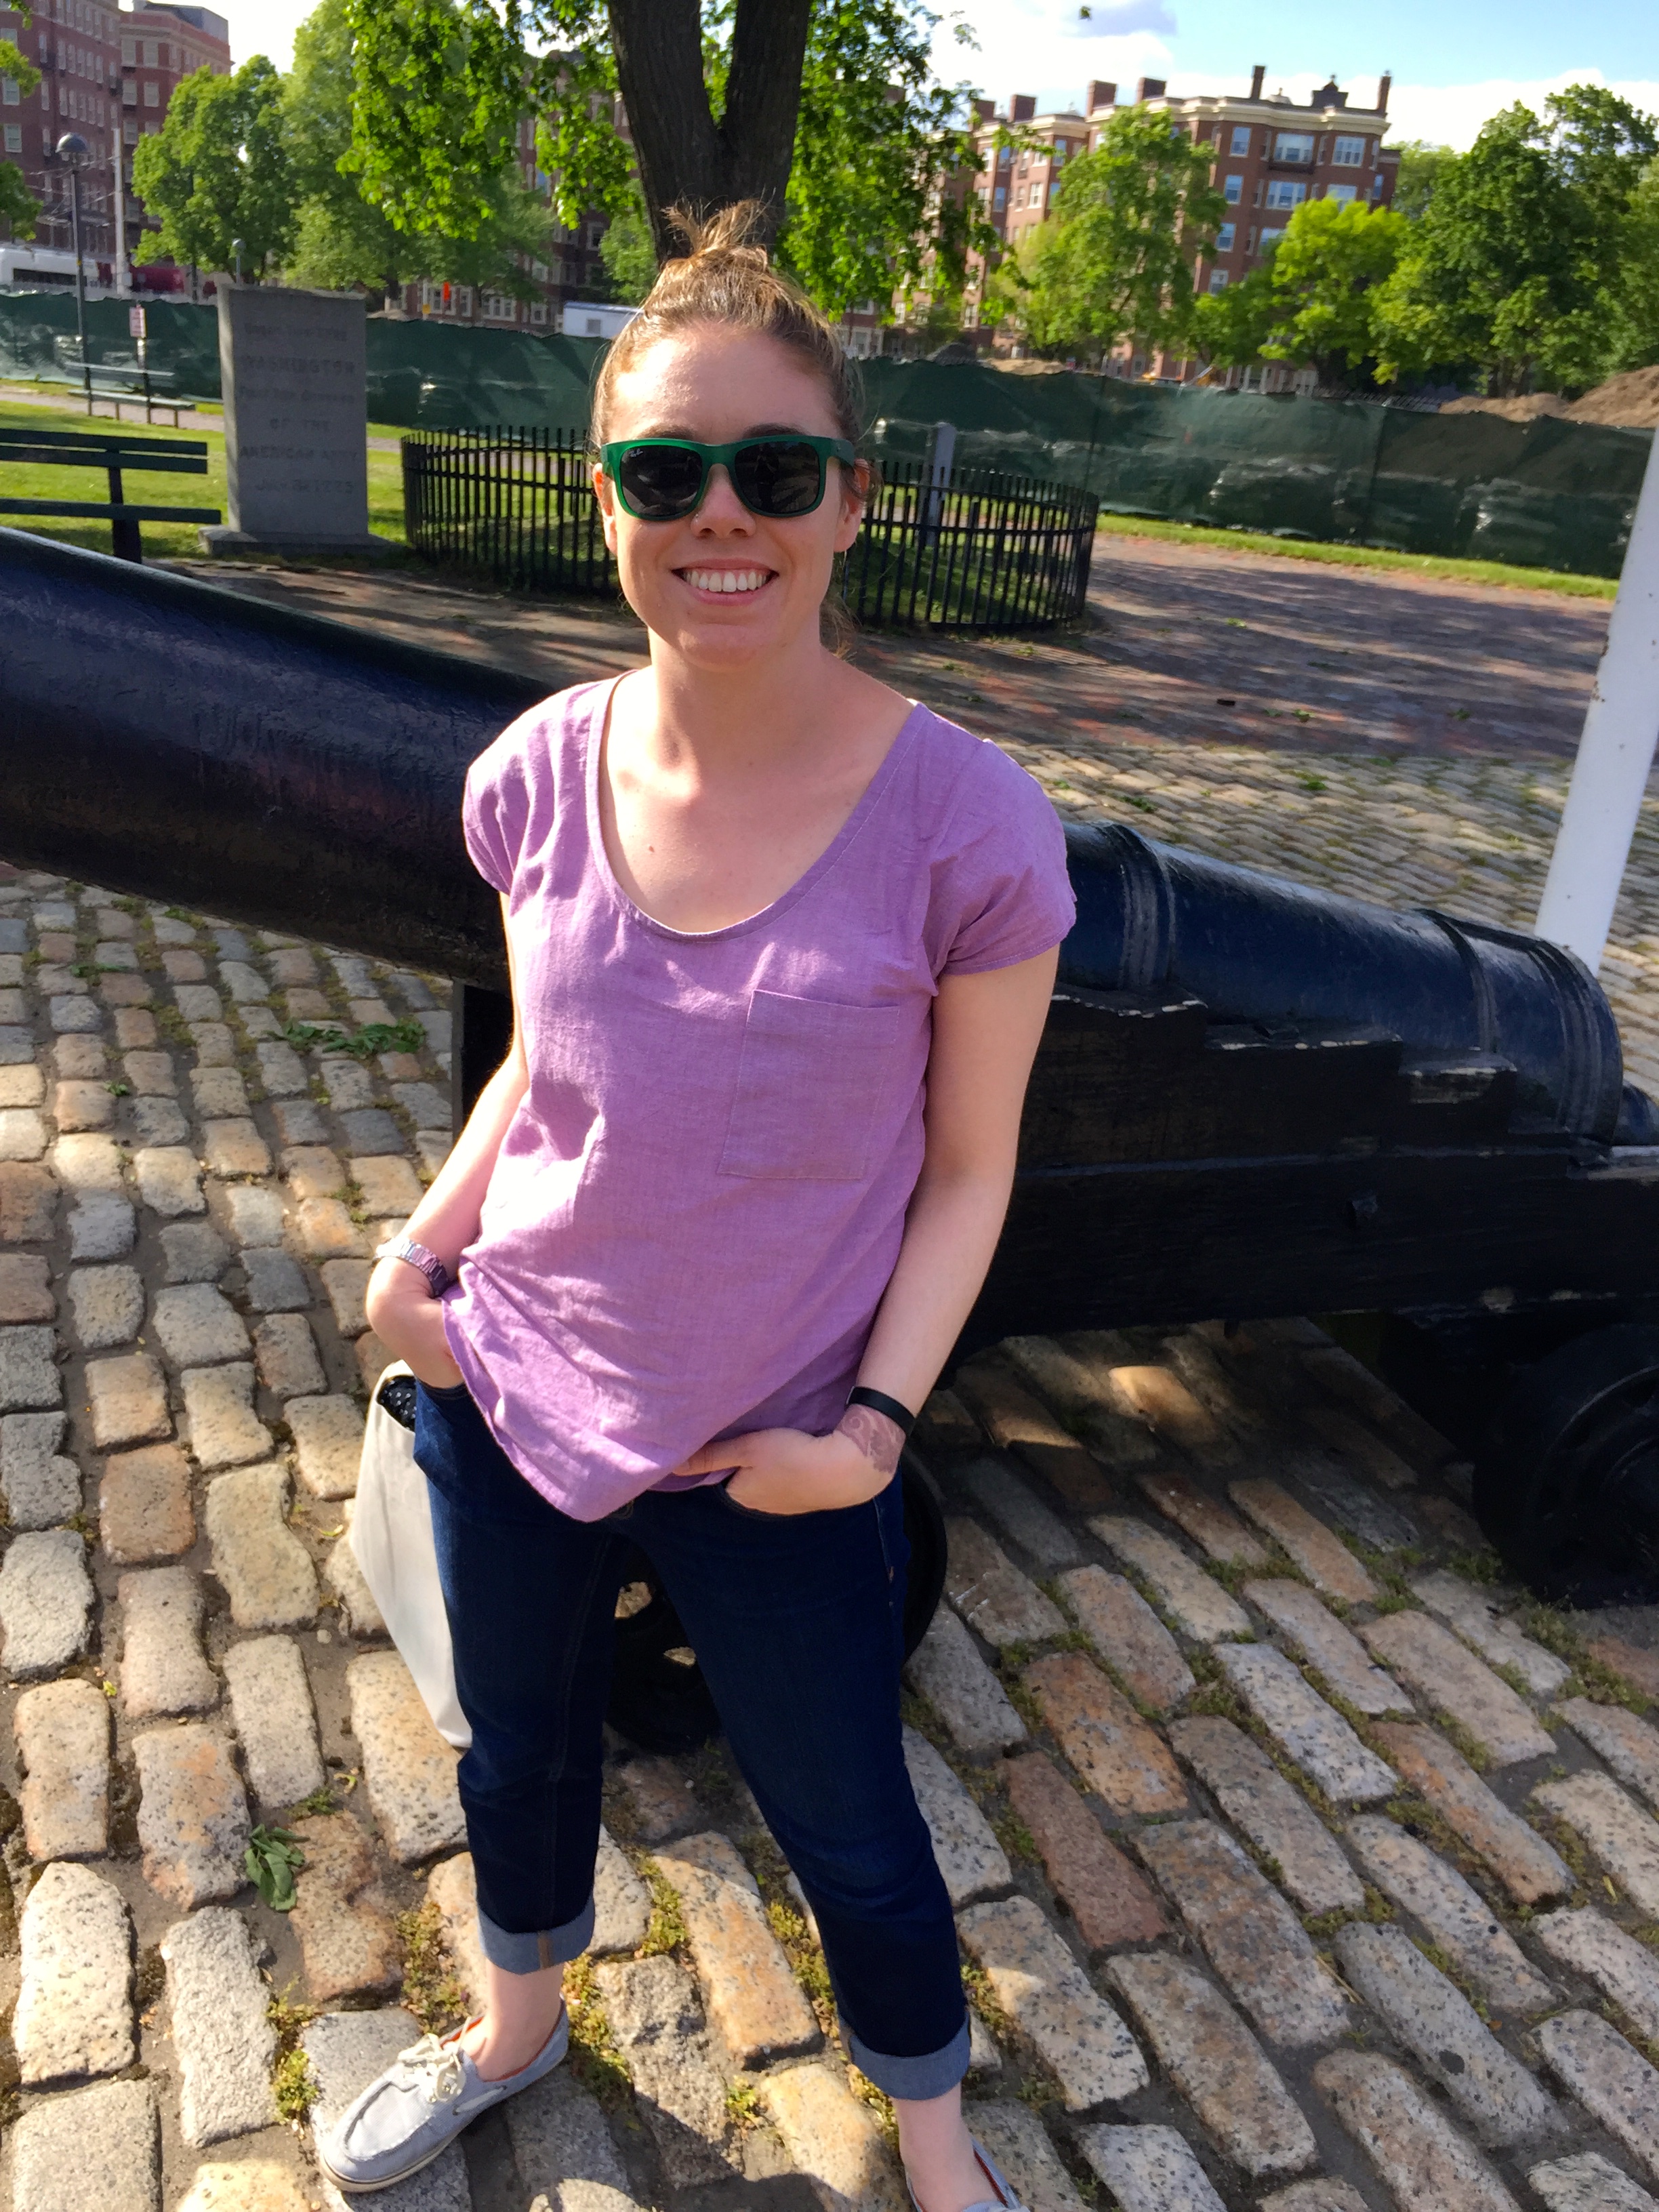
The first version I finished has a scoop neck, a curved hem, and a pocket. There’s not a whole lot else to say about this one. I made it entirely according to the pattern except that I used french seams for the whole thing. The only problem with this is that the tight curve under the arms didn’t take to the french seams quite as kindly as I’d like. Not very surprising but I guess it is a good reason to not question the pattern instructions.

IMG_3831

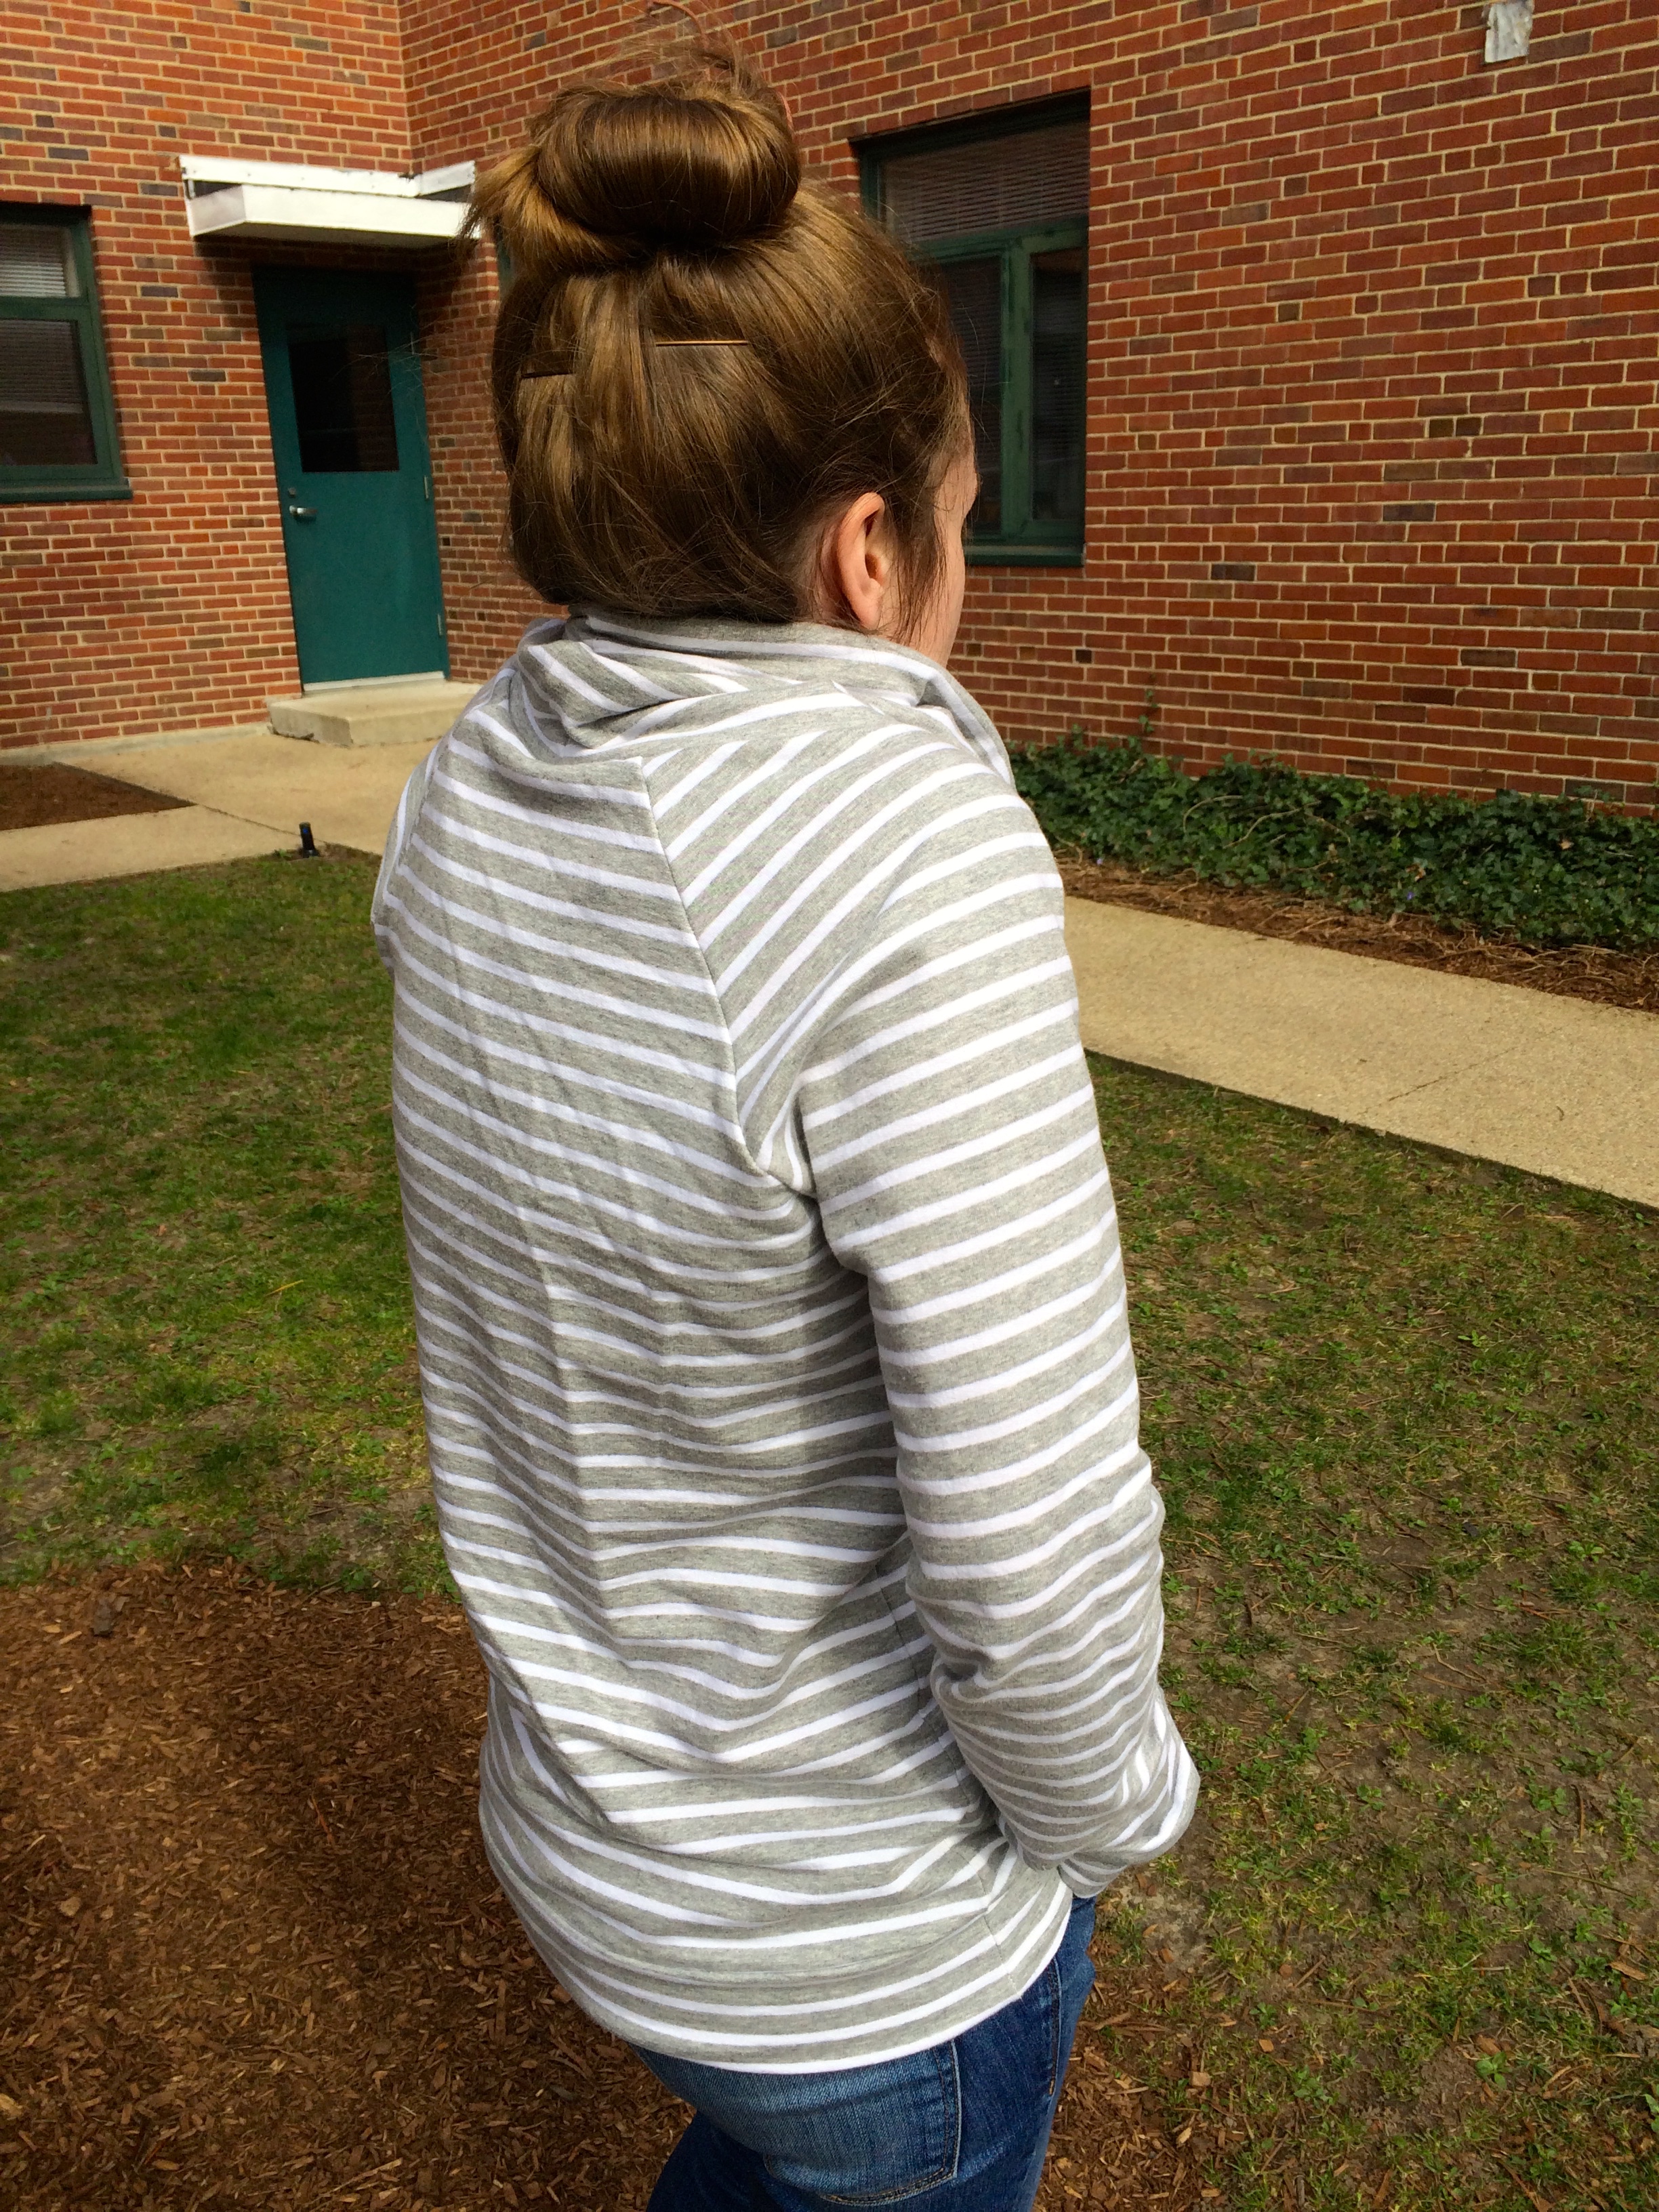
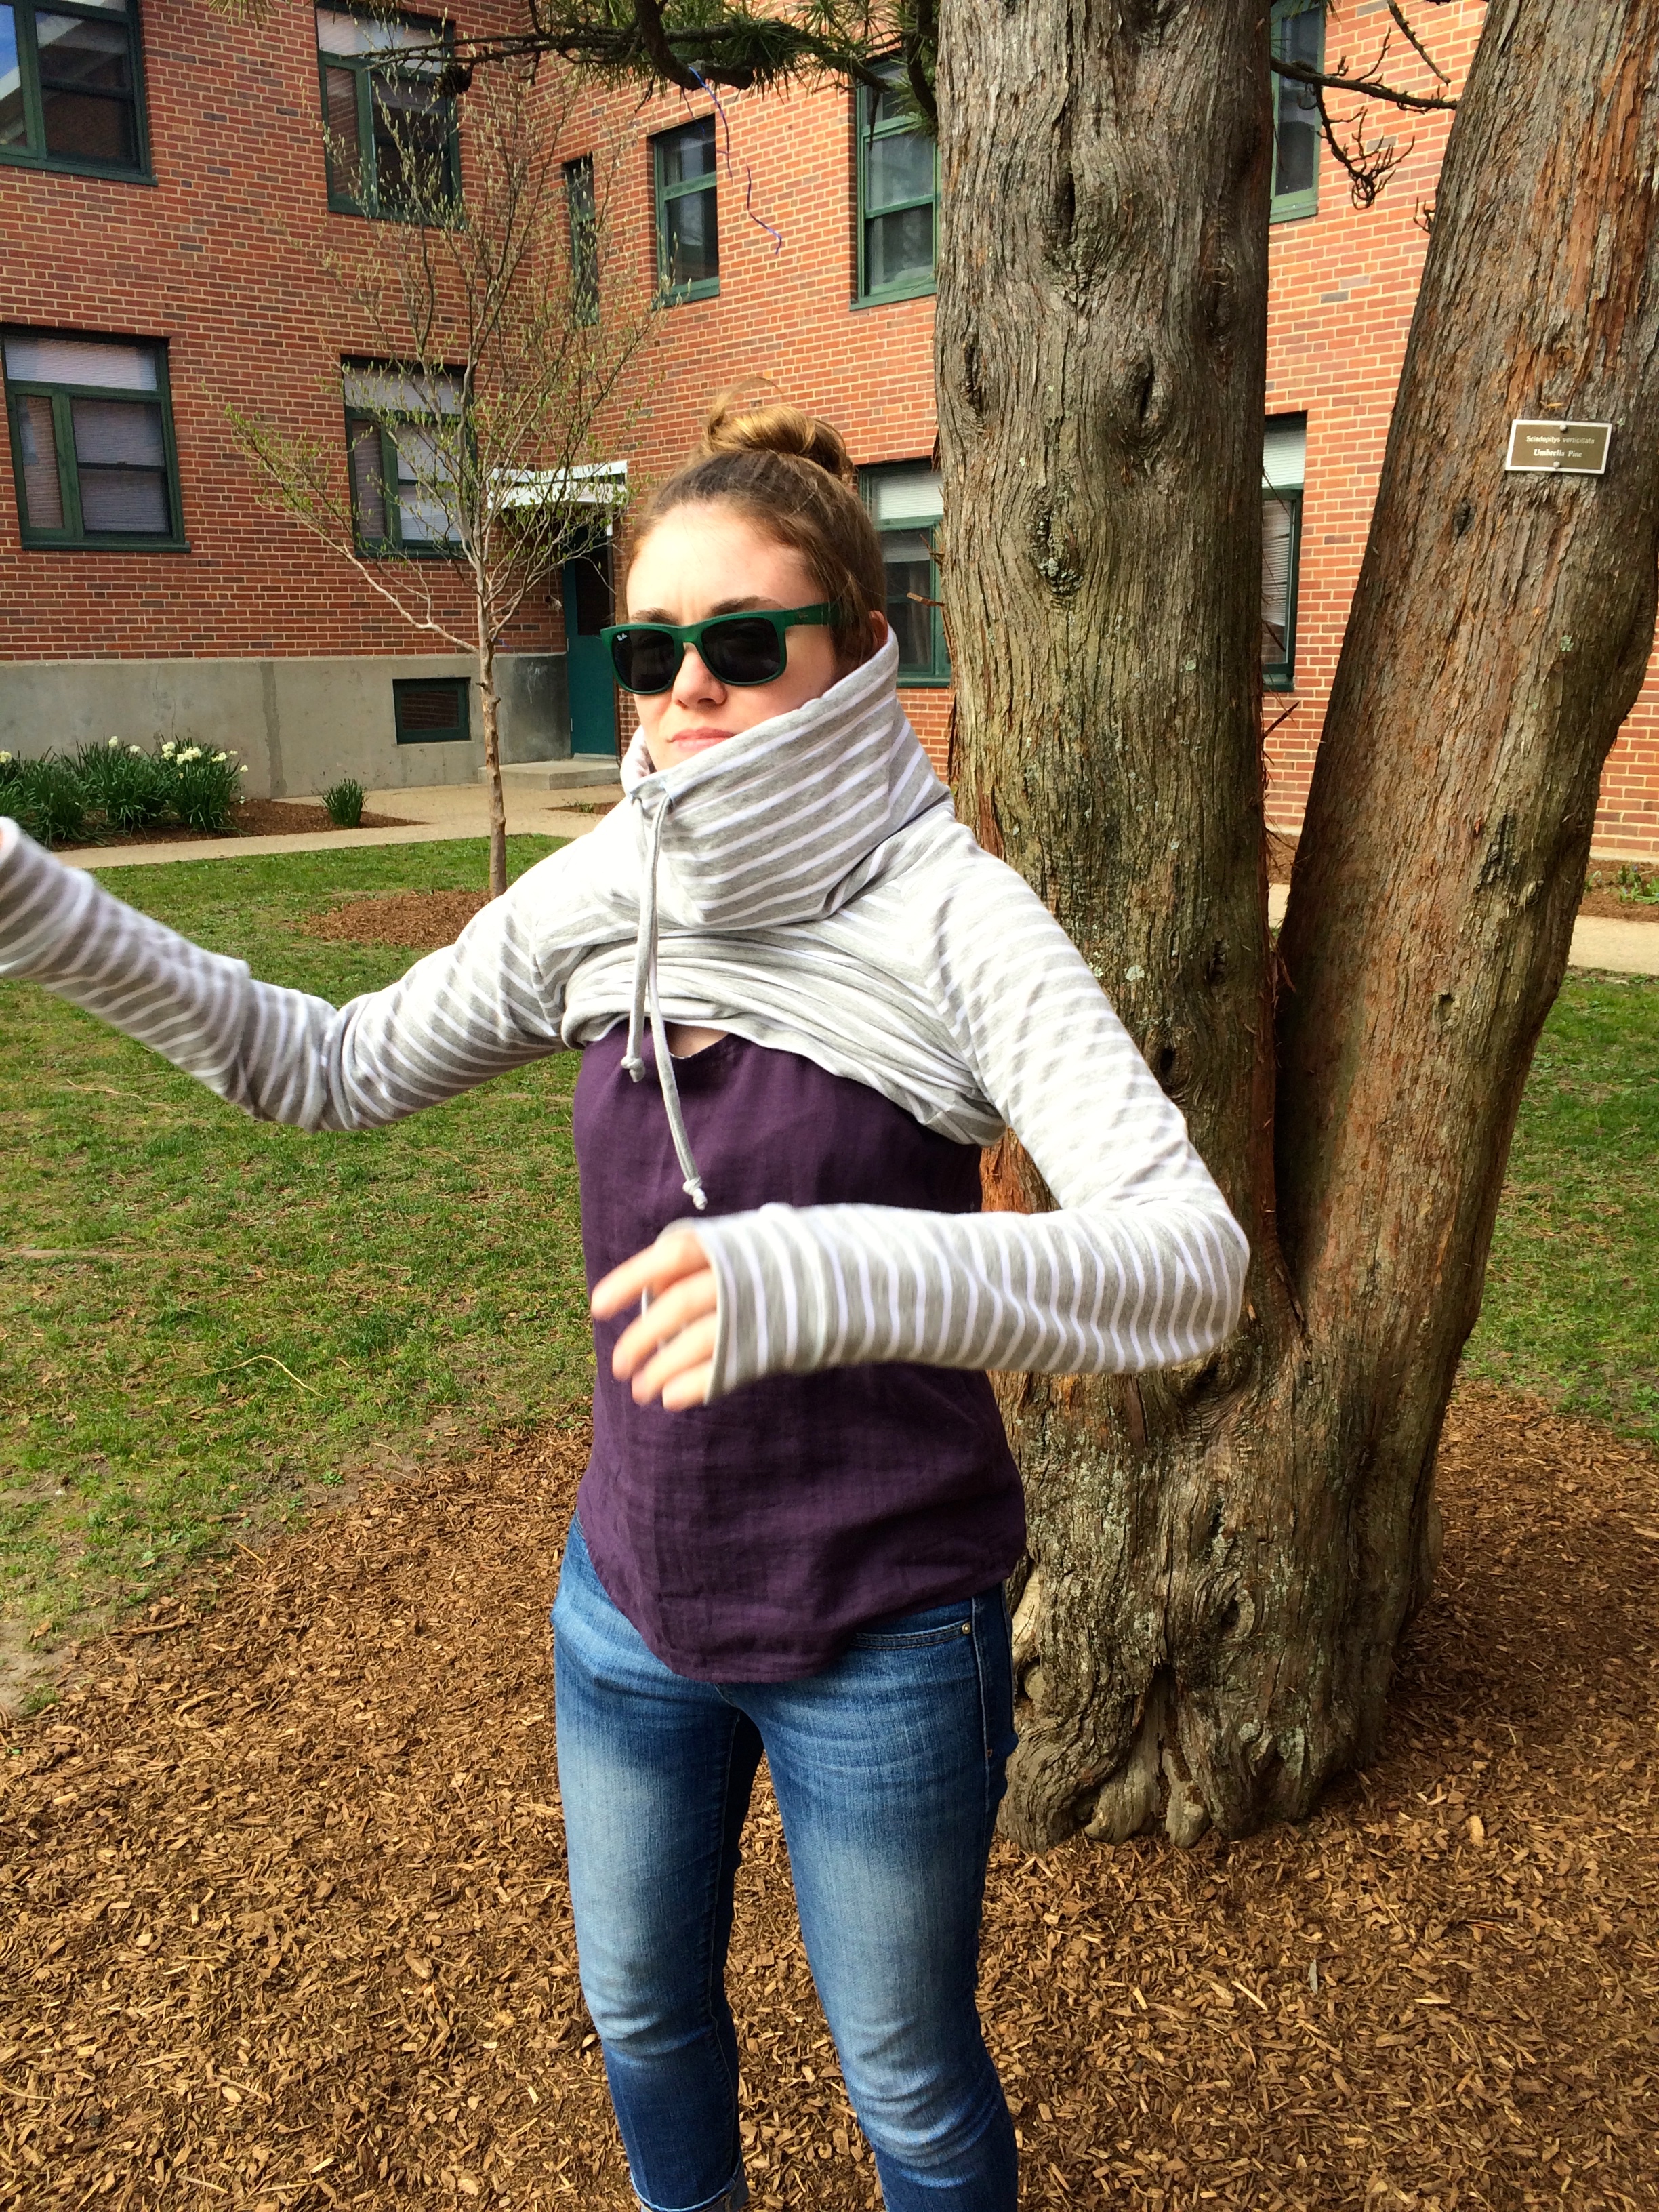
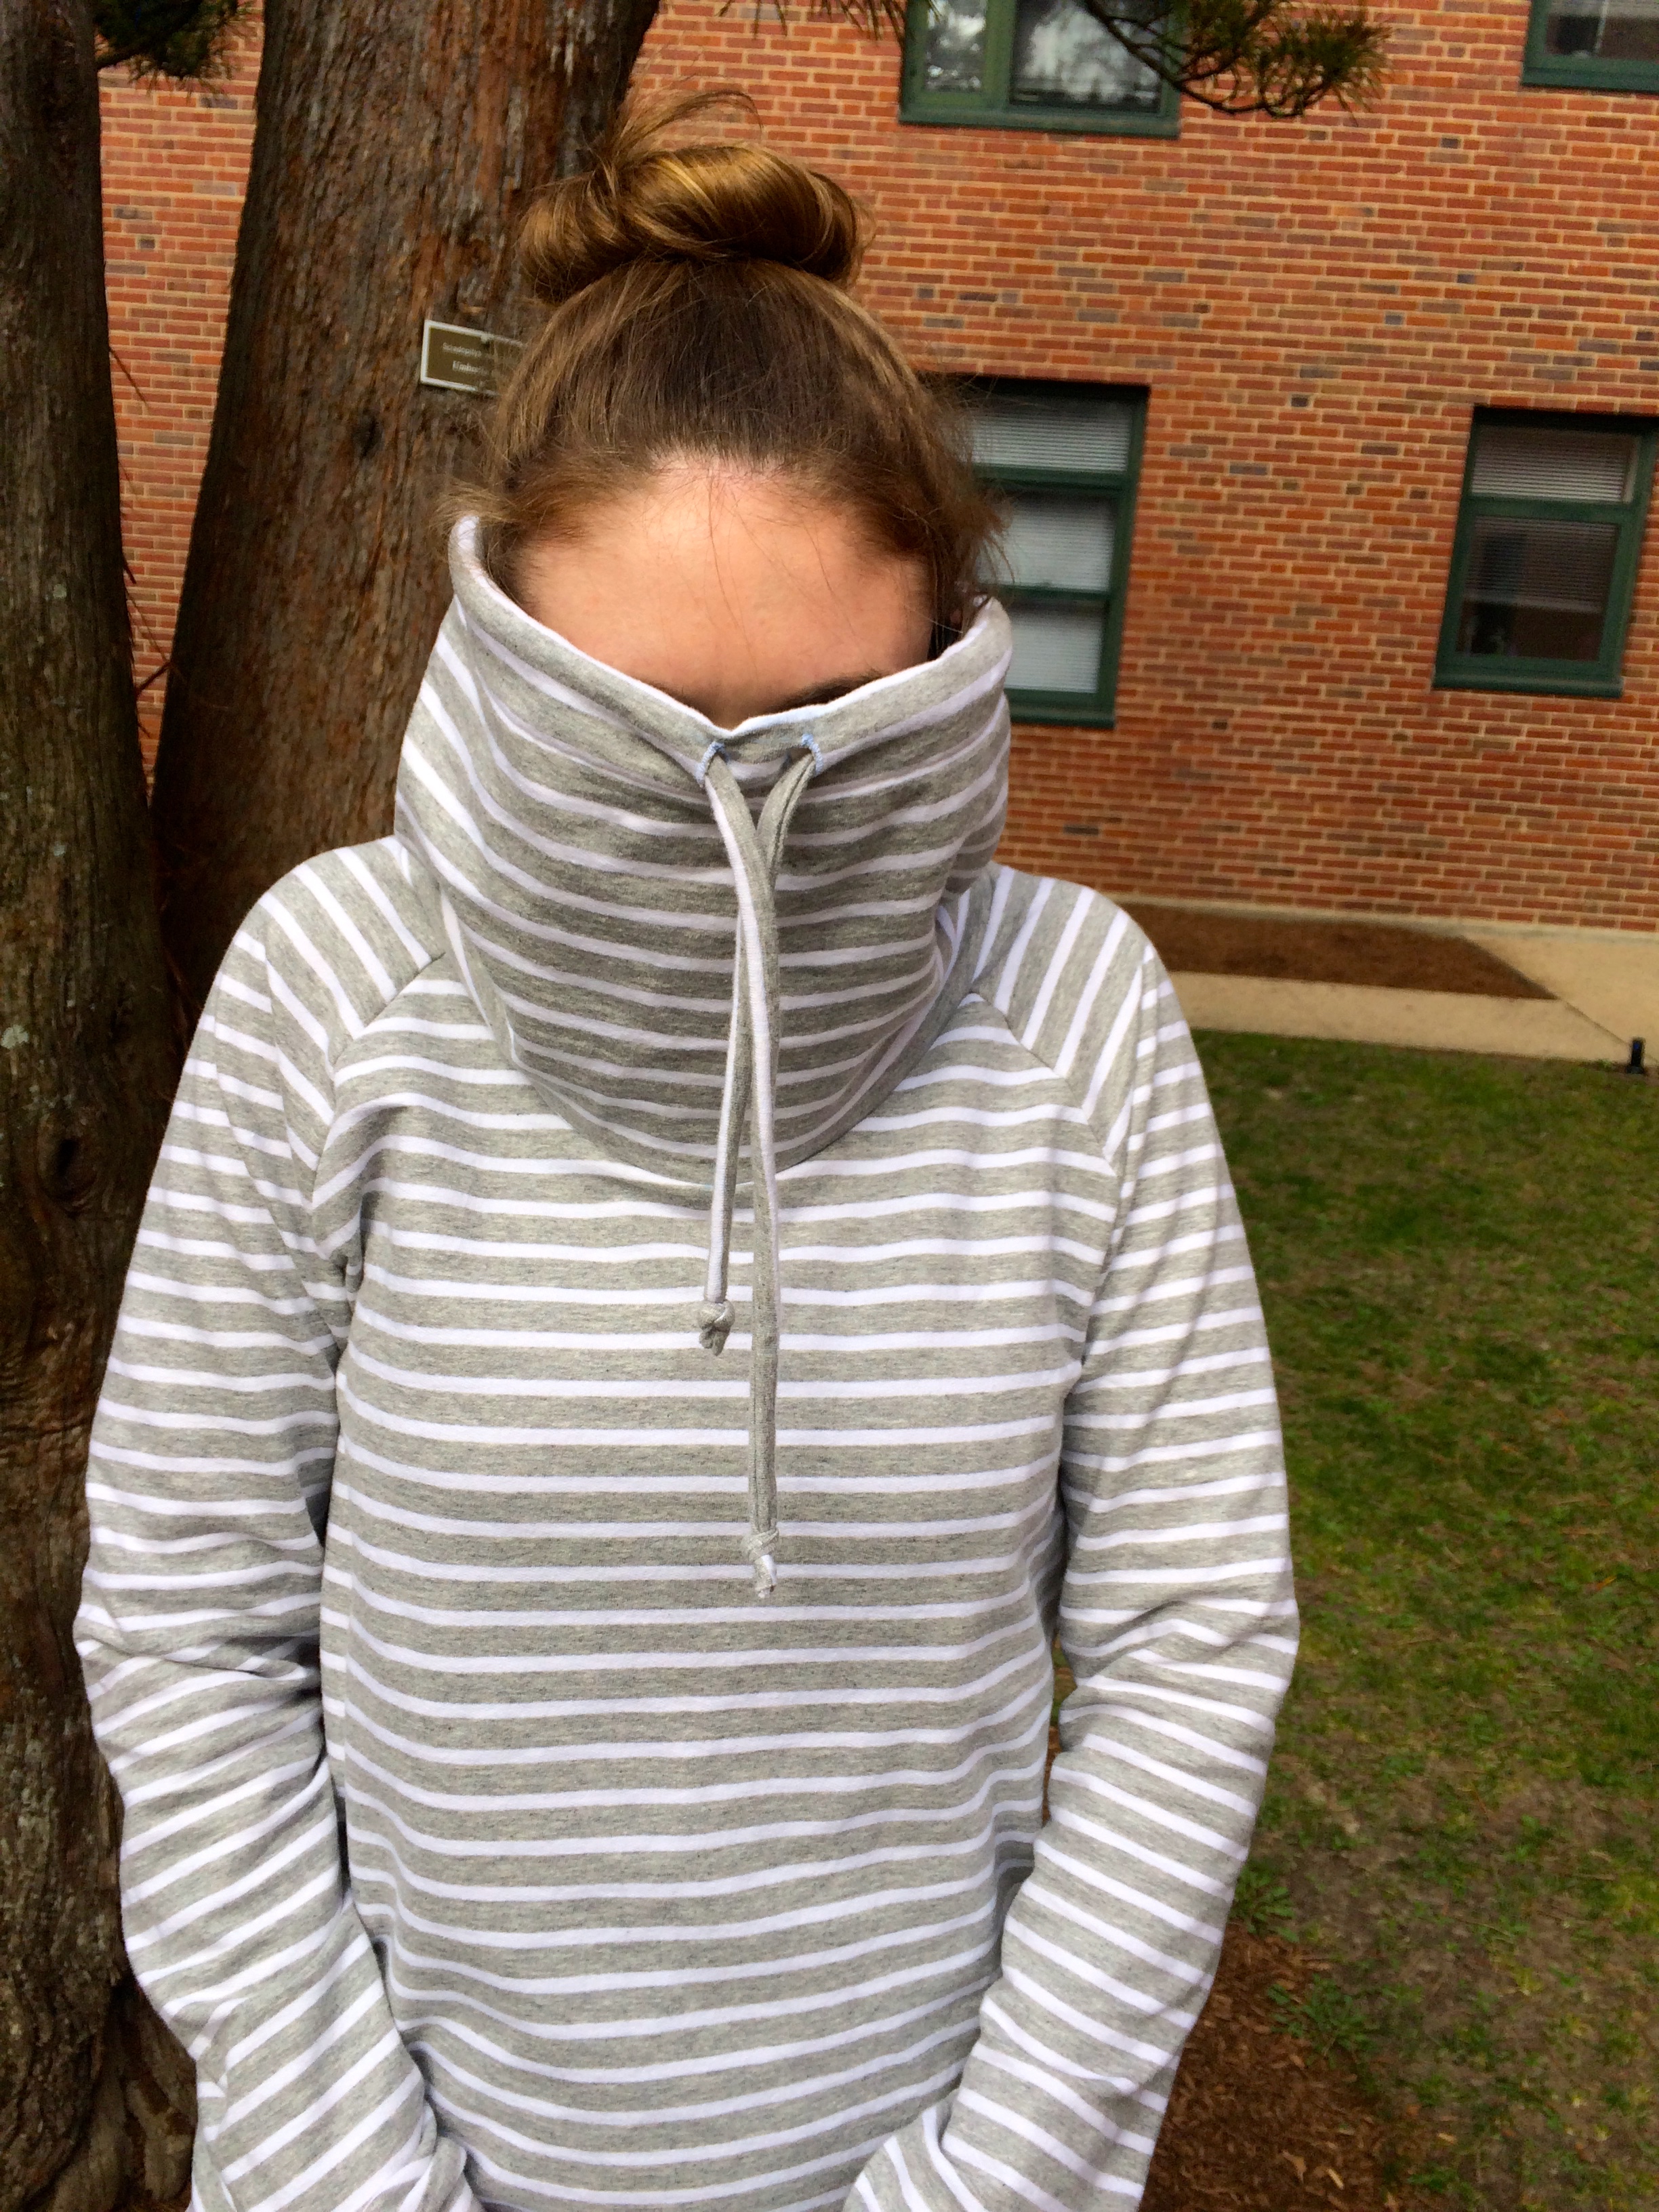
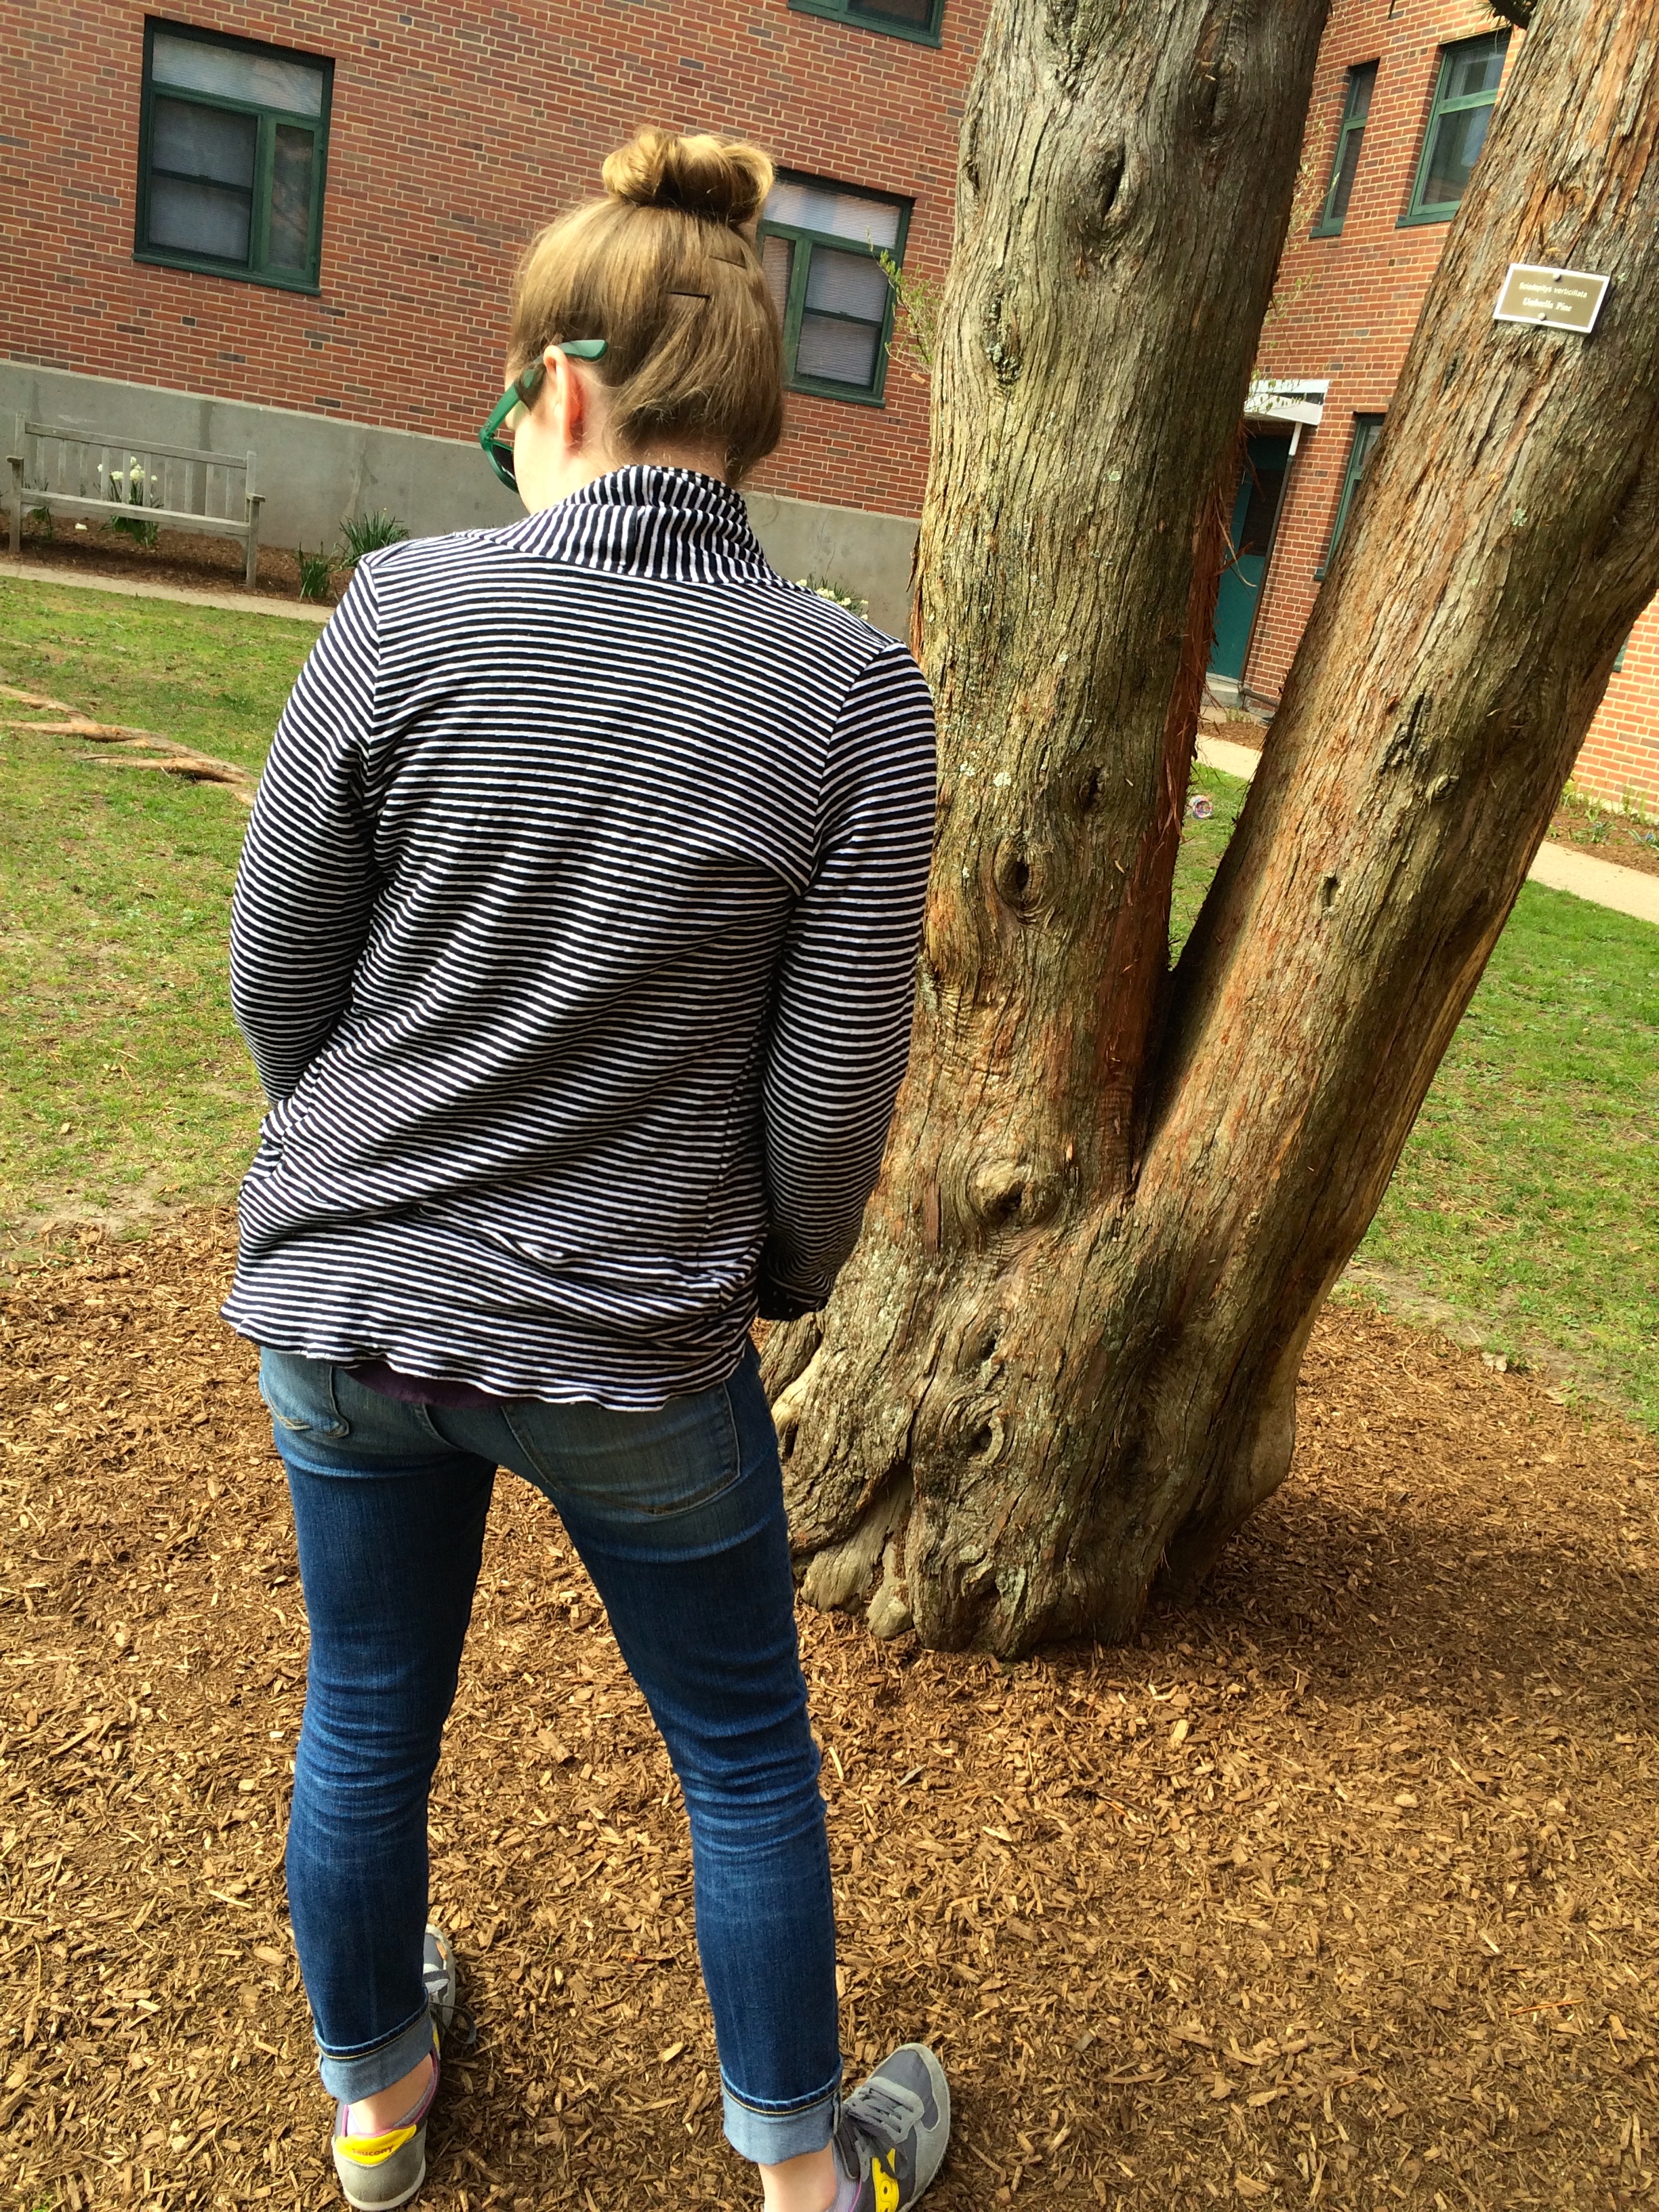
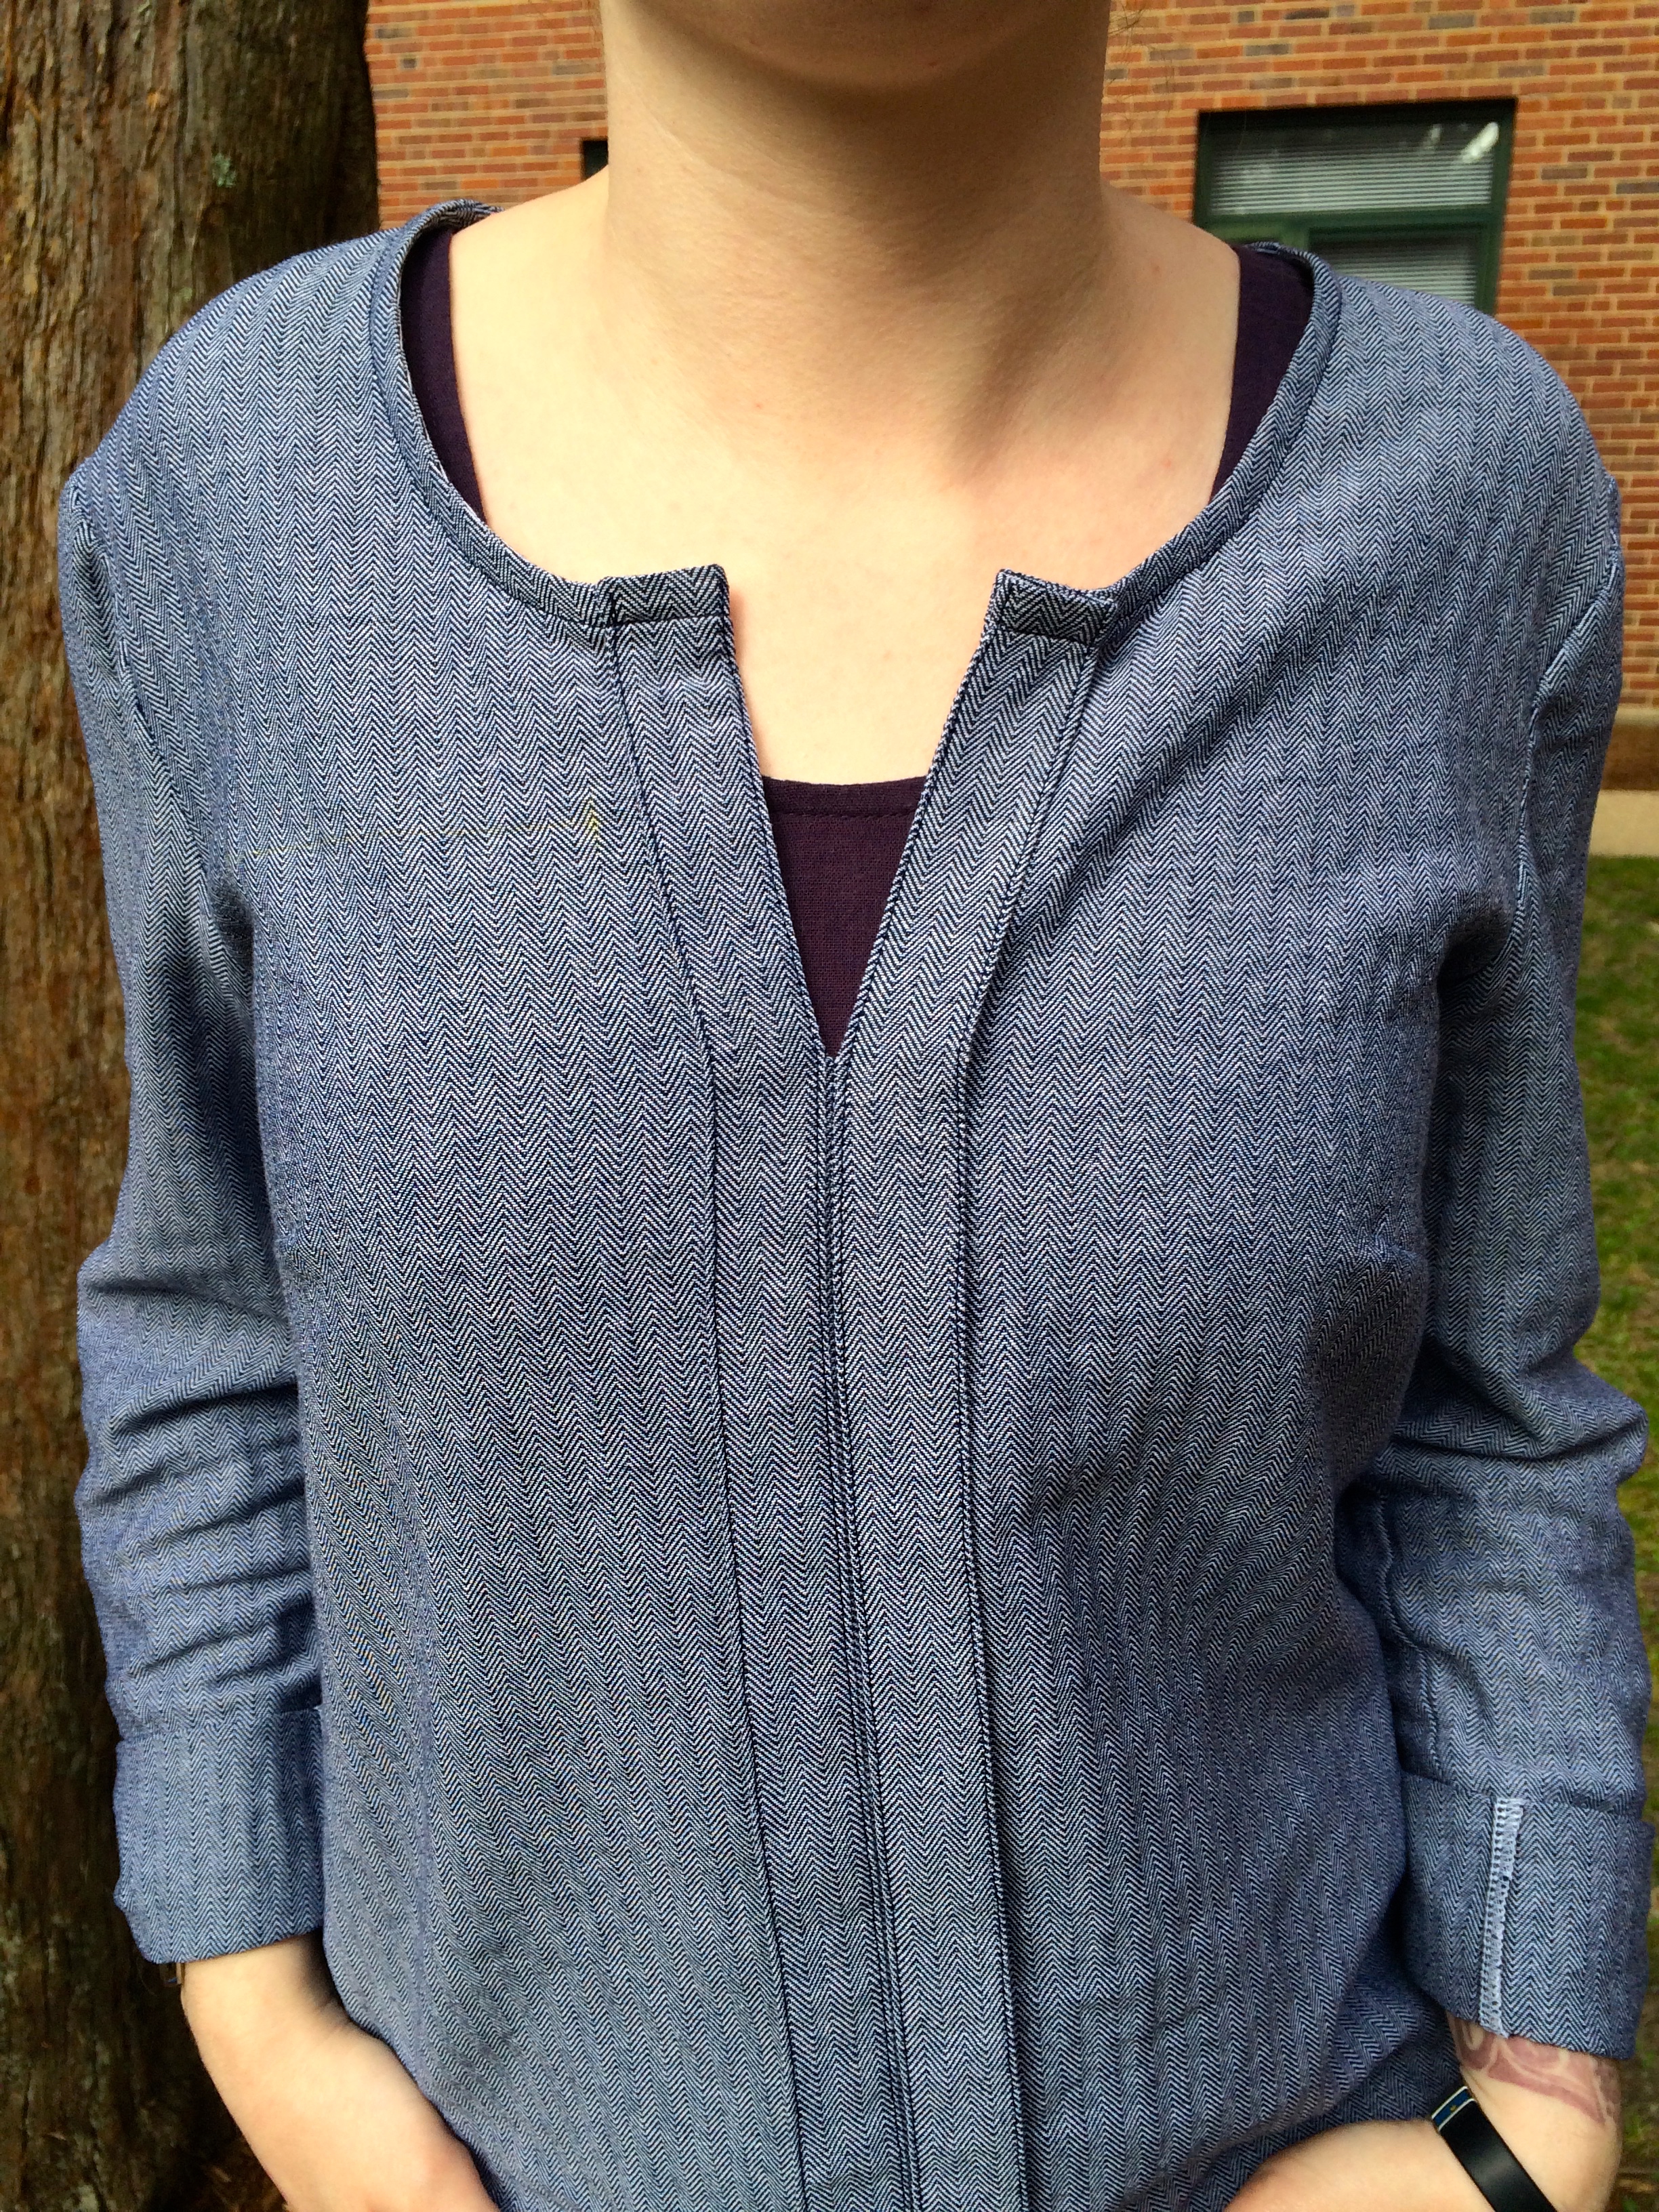
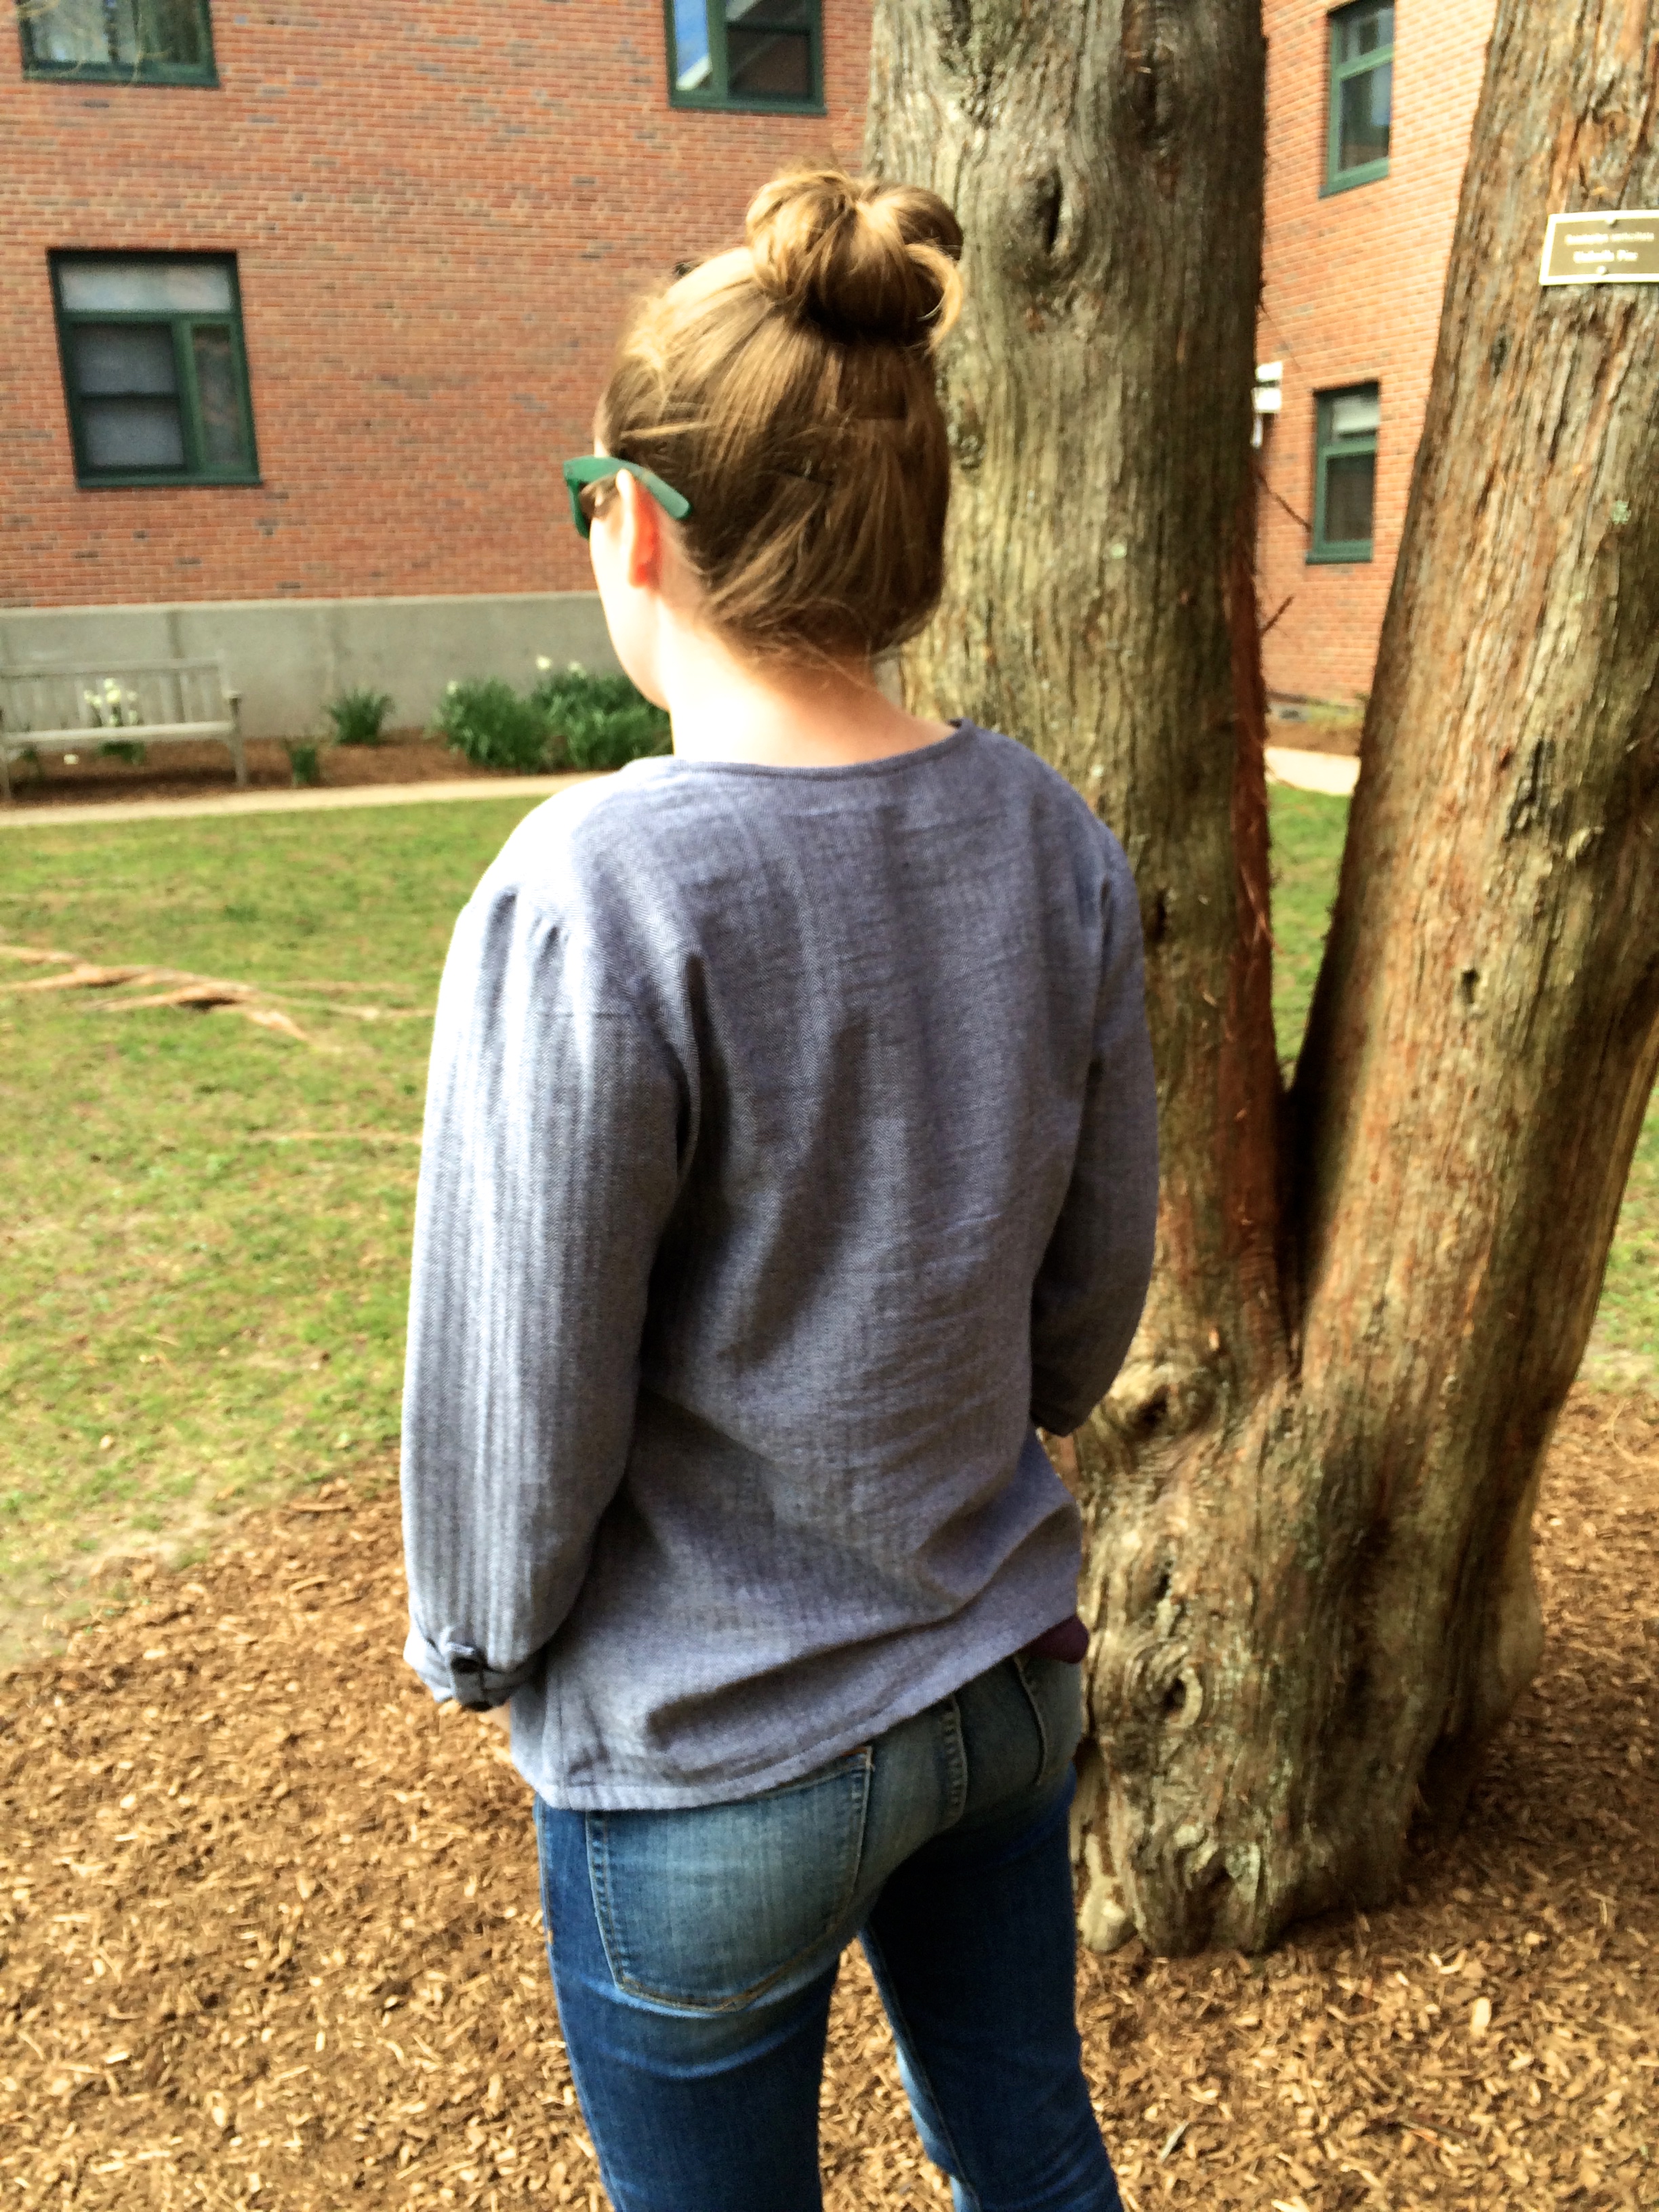
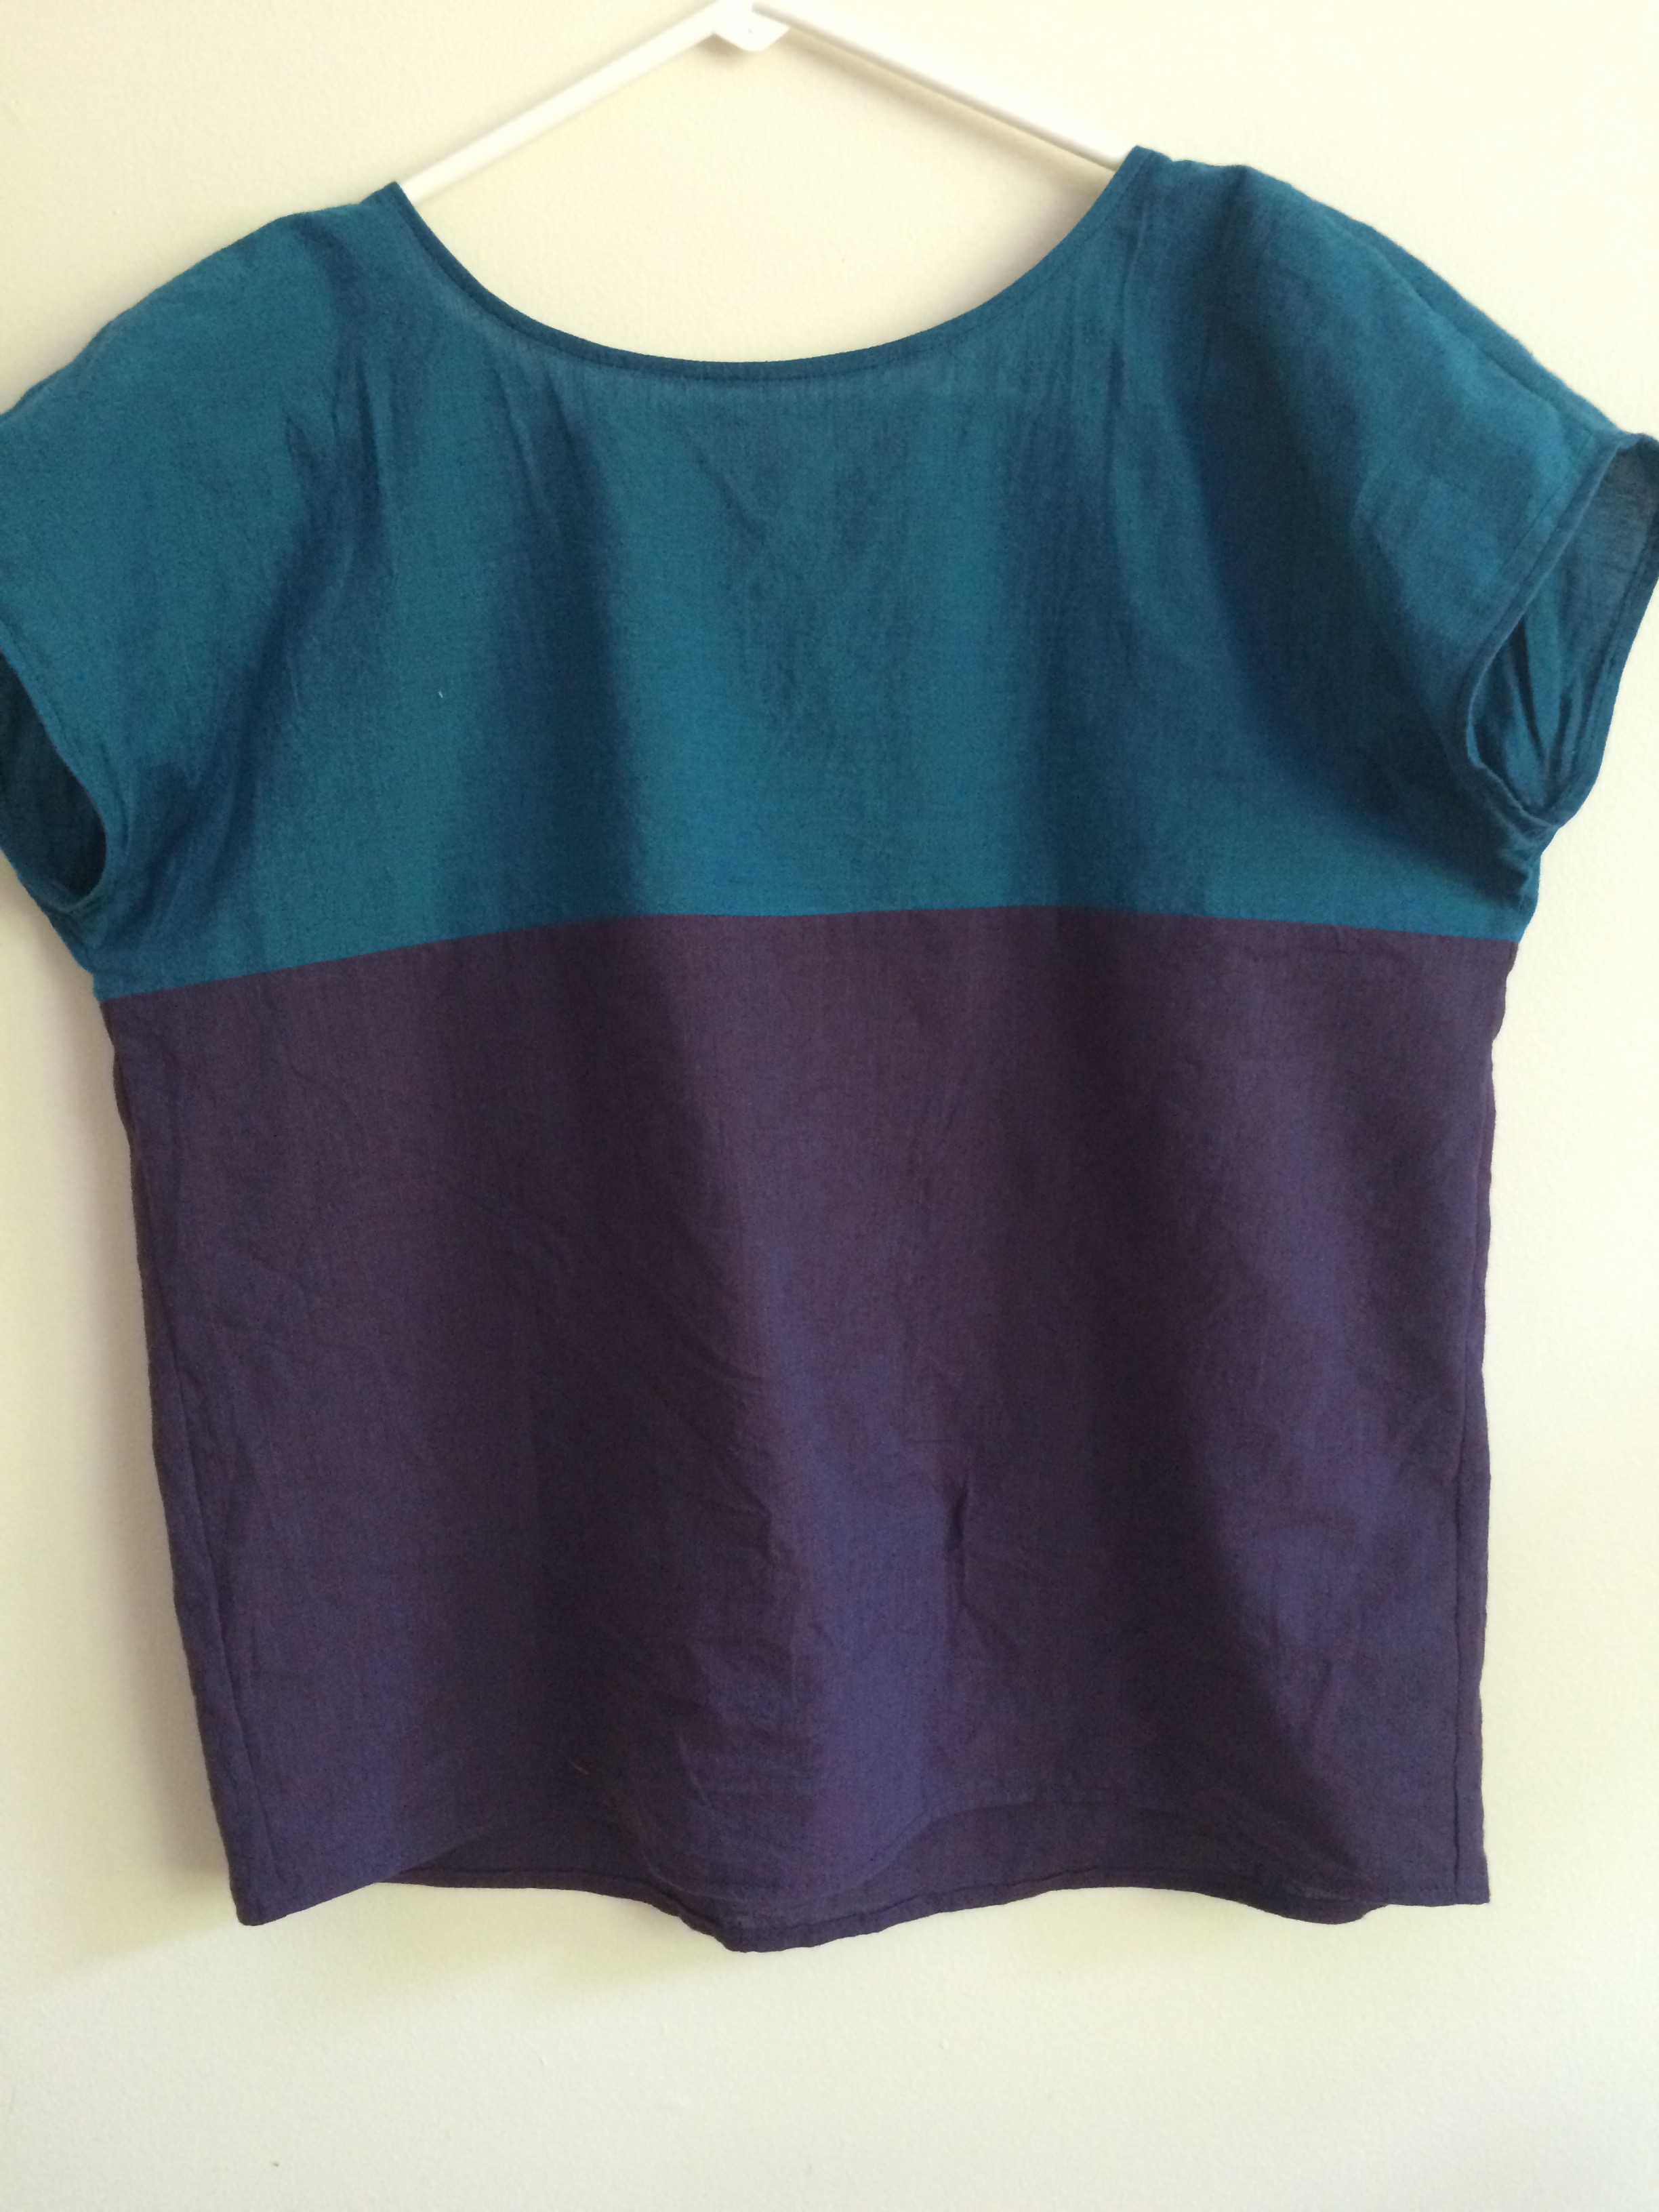
The second version I color blocked by cutting the pattern an inch or so below the armpit and adding seam allowances to each piece. It has a crewneck, no pocket, and I added a button placket in the back. The crewneck, when made in a woven fabric, requires some sort of opening in the back so that it can fit over your head. the pattern calls for cutting the back in two pieces, seaming it except for the top couple inches and adding a button and button loop at the back neck.

IMG_3897

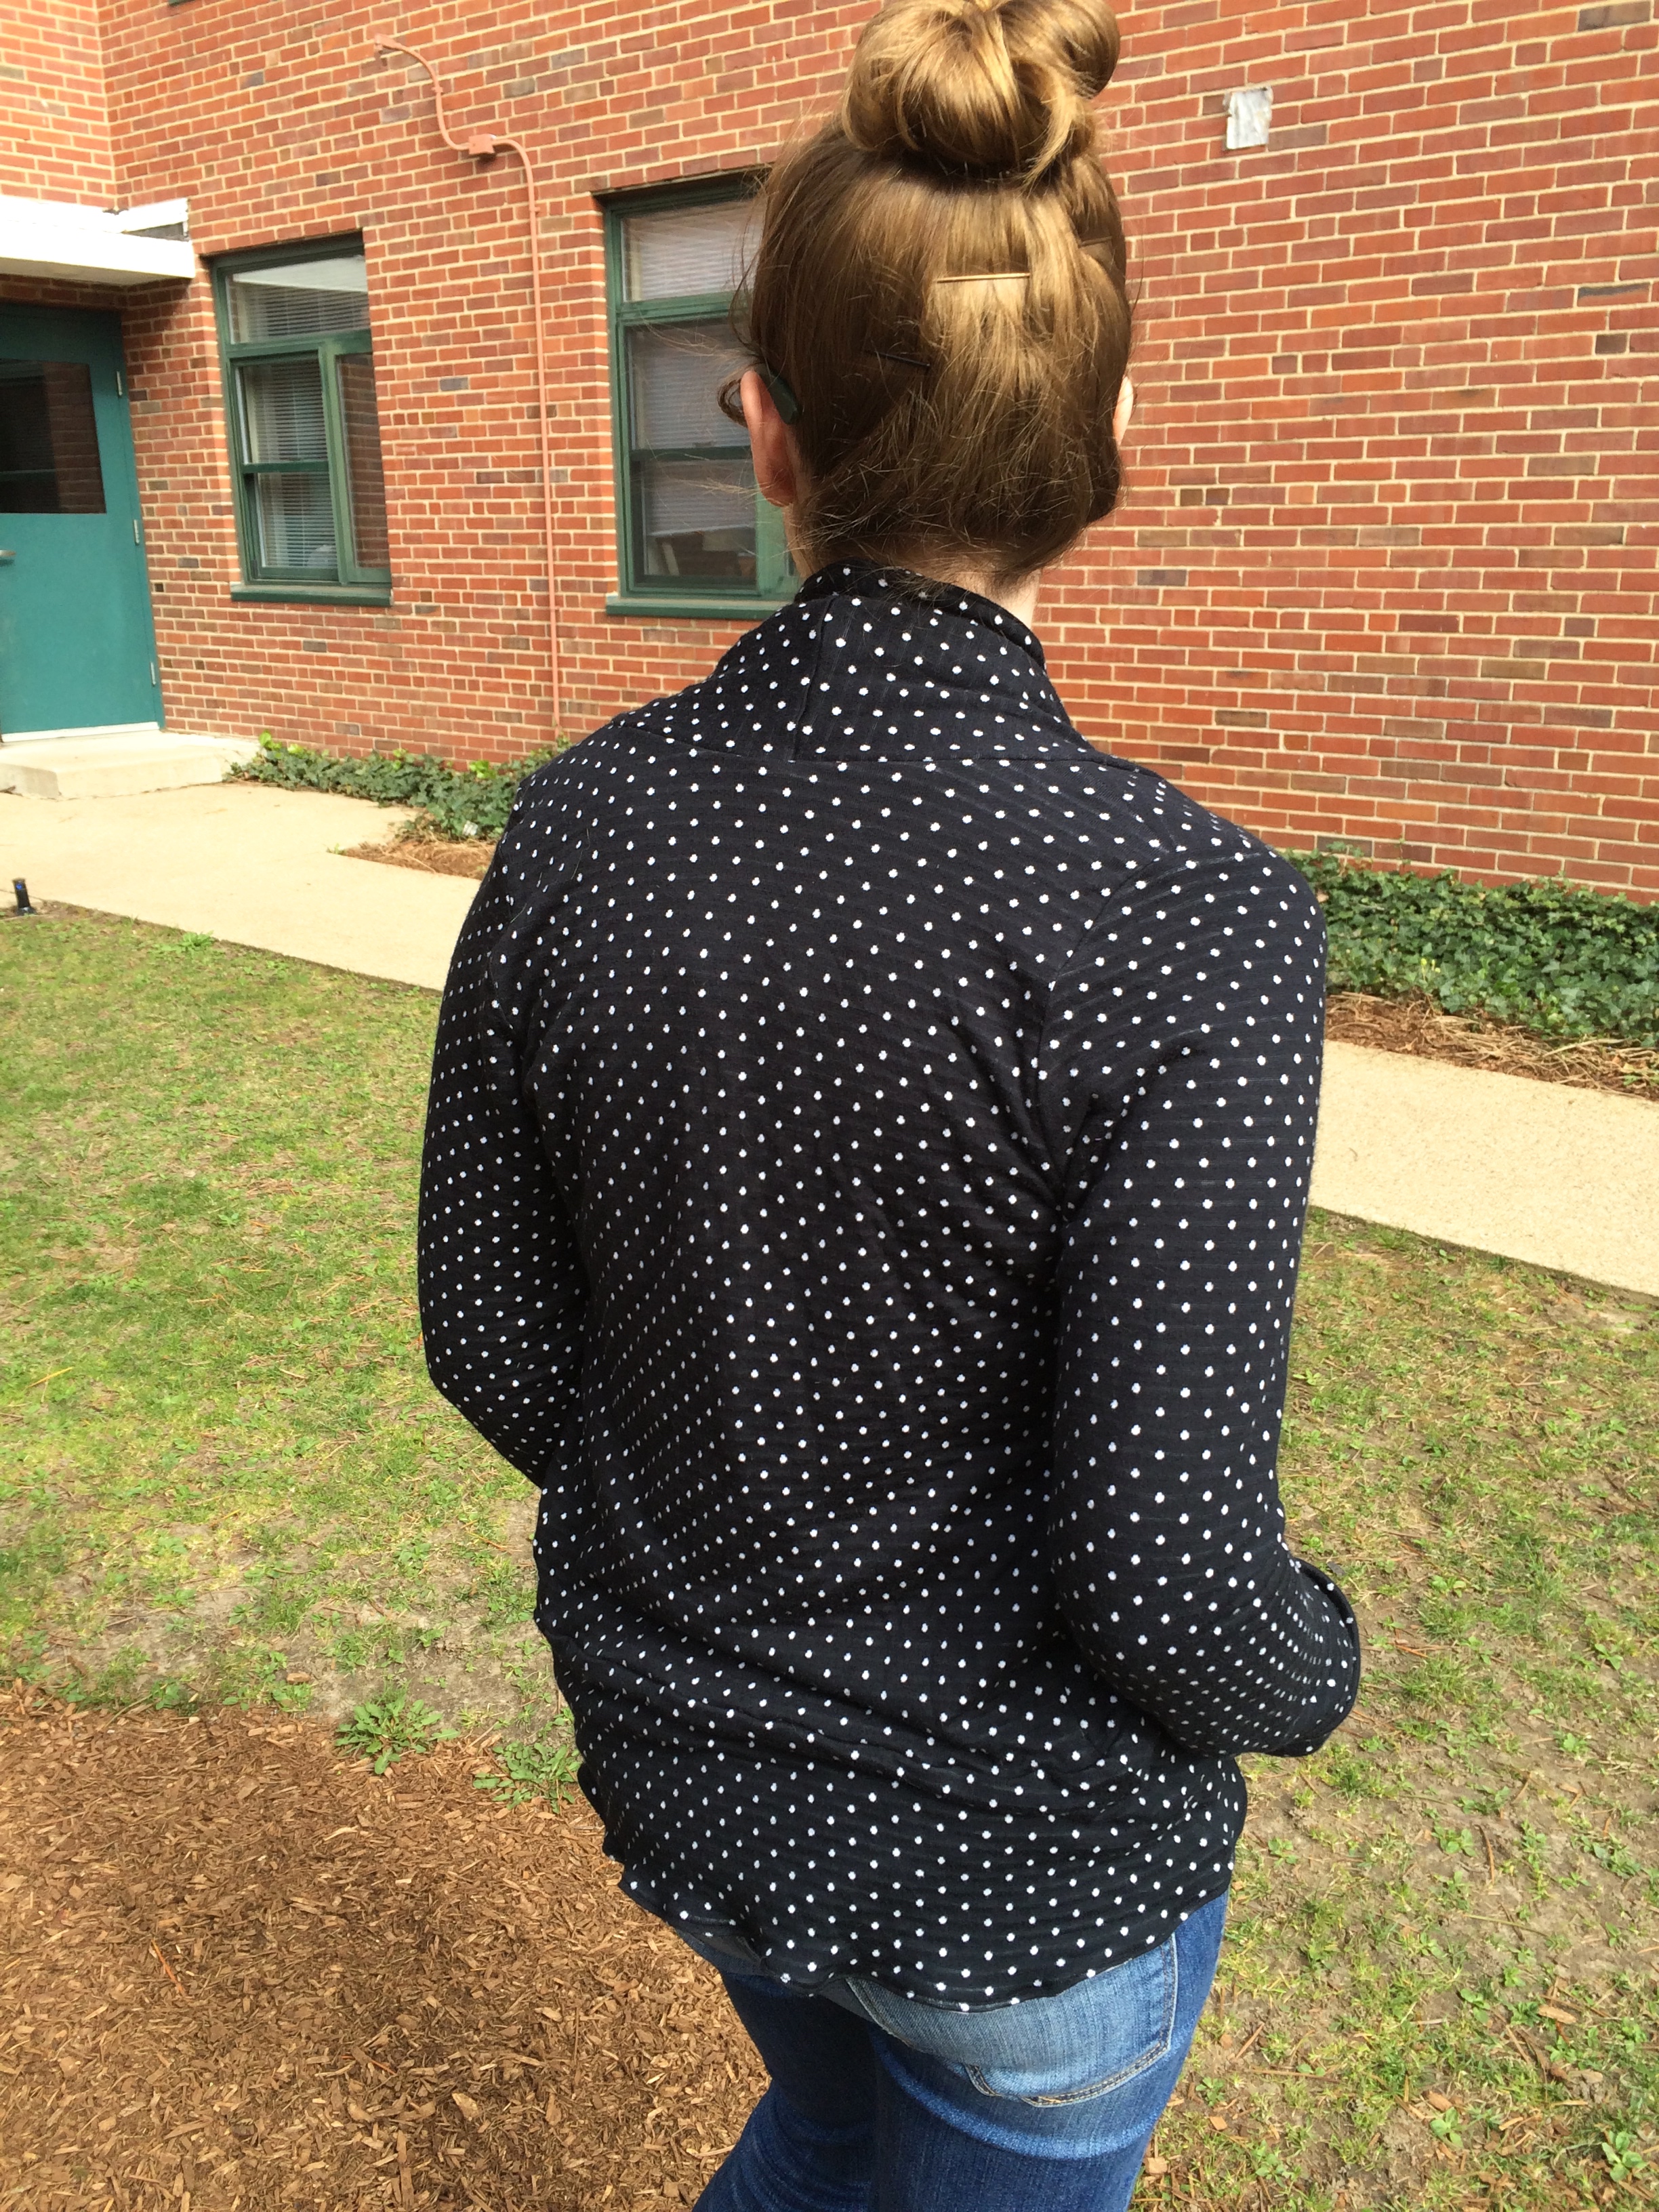
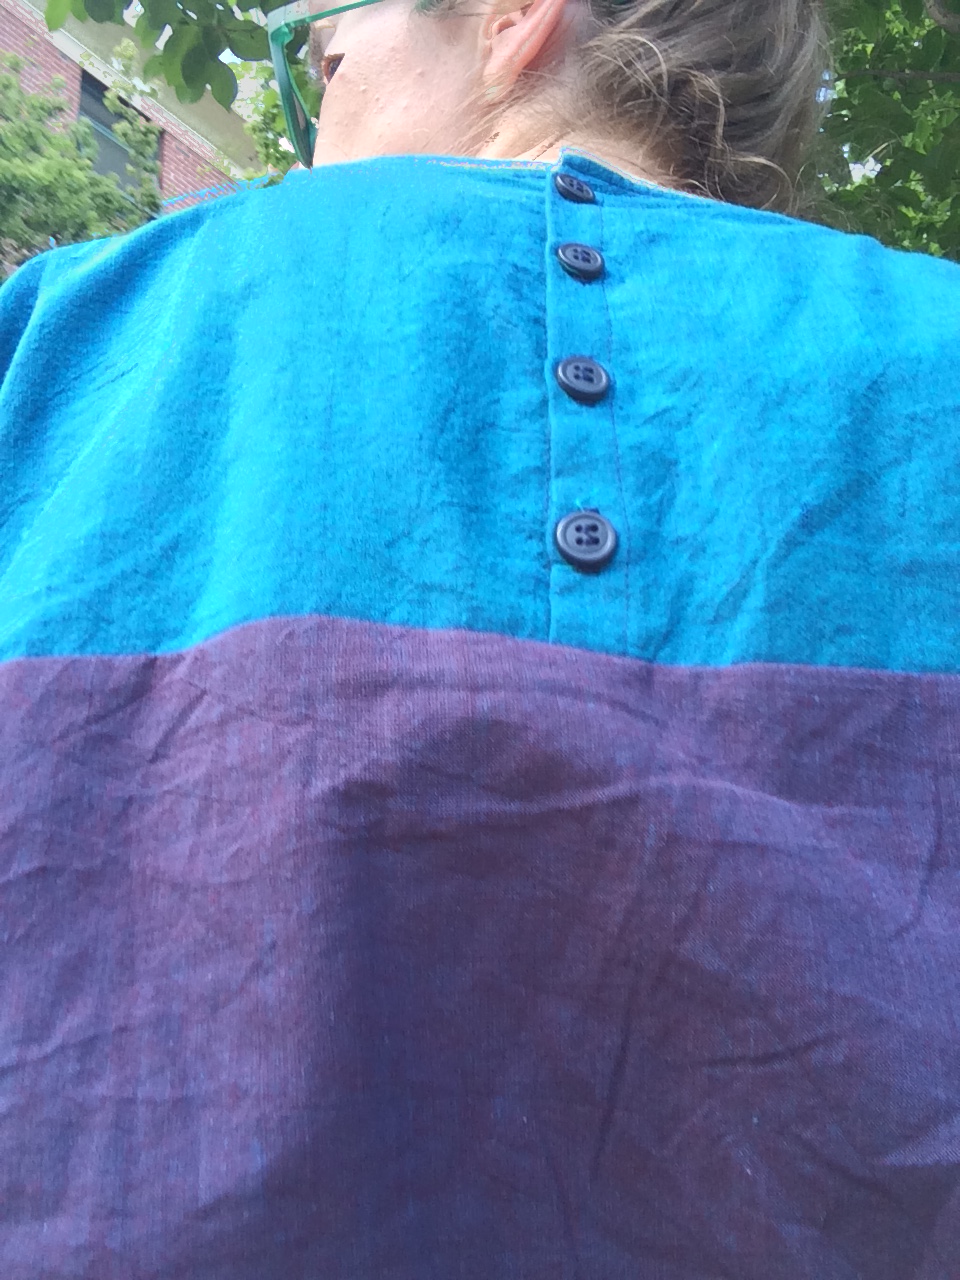
For some reason I’m all about button plackets right now so instead I cut the top portions of the back in two pieces, adding 1.5 inches to one side for the button placket, and 2.25 inches to the other side for the buttonhole placket. I sewed the plackets down and then sewed the tops to the bottom back portion which I’d cut on the fold.

IMG_3895

The rest of the shirt was sewn just like the first, also with the, “not the best idea ever,” french seams. After I’d finished all the other steps I put four buttons and buttonholes on and called it a day.

IMG_3894

Next time I make this I will size up, while they definitely fit well and are super comfortable, they’re not quite as roomy as the pattern is intended to be and I’d like to give the roomier fit a try. I was short on fabric for the color blocked version, I squeezed it out of two half yard cuts, so I went with the smallest size because with the built in ease I knew it would fit. I’ll probably also go without french seams!

IMG_3890

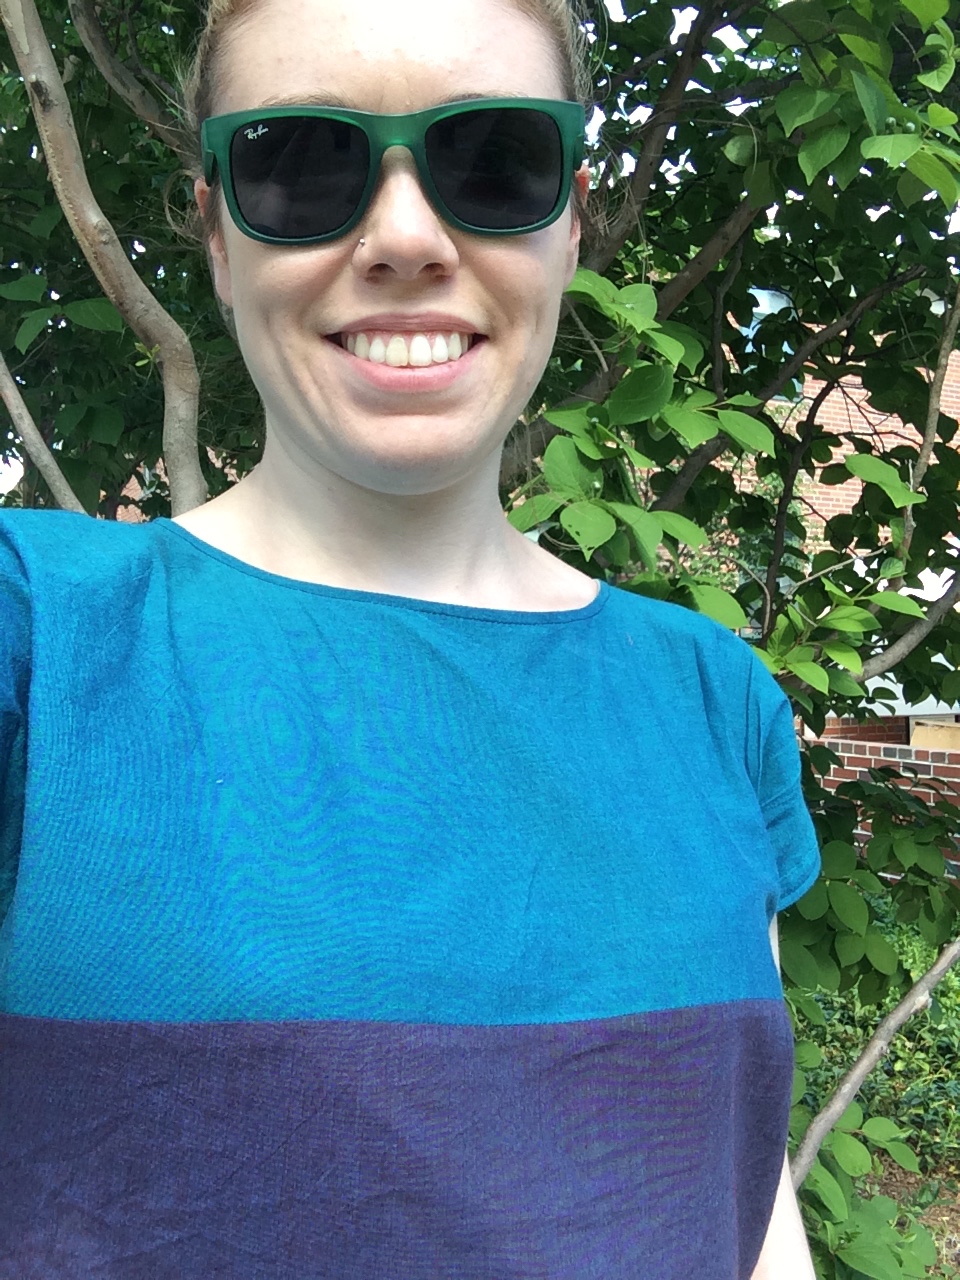
All in all I’m incredibly happy with these shirts. They’re not a lot of work and are really comfortable, especially in the hot weather, though I know they’ll also layer well in the winter. I would certainly recommend this pattern for some easy basics.

Details:

Pattern: Lou Box Top by Sew DIY

Fabric: Shot cotton from Gather Here
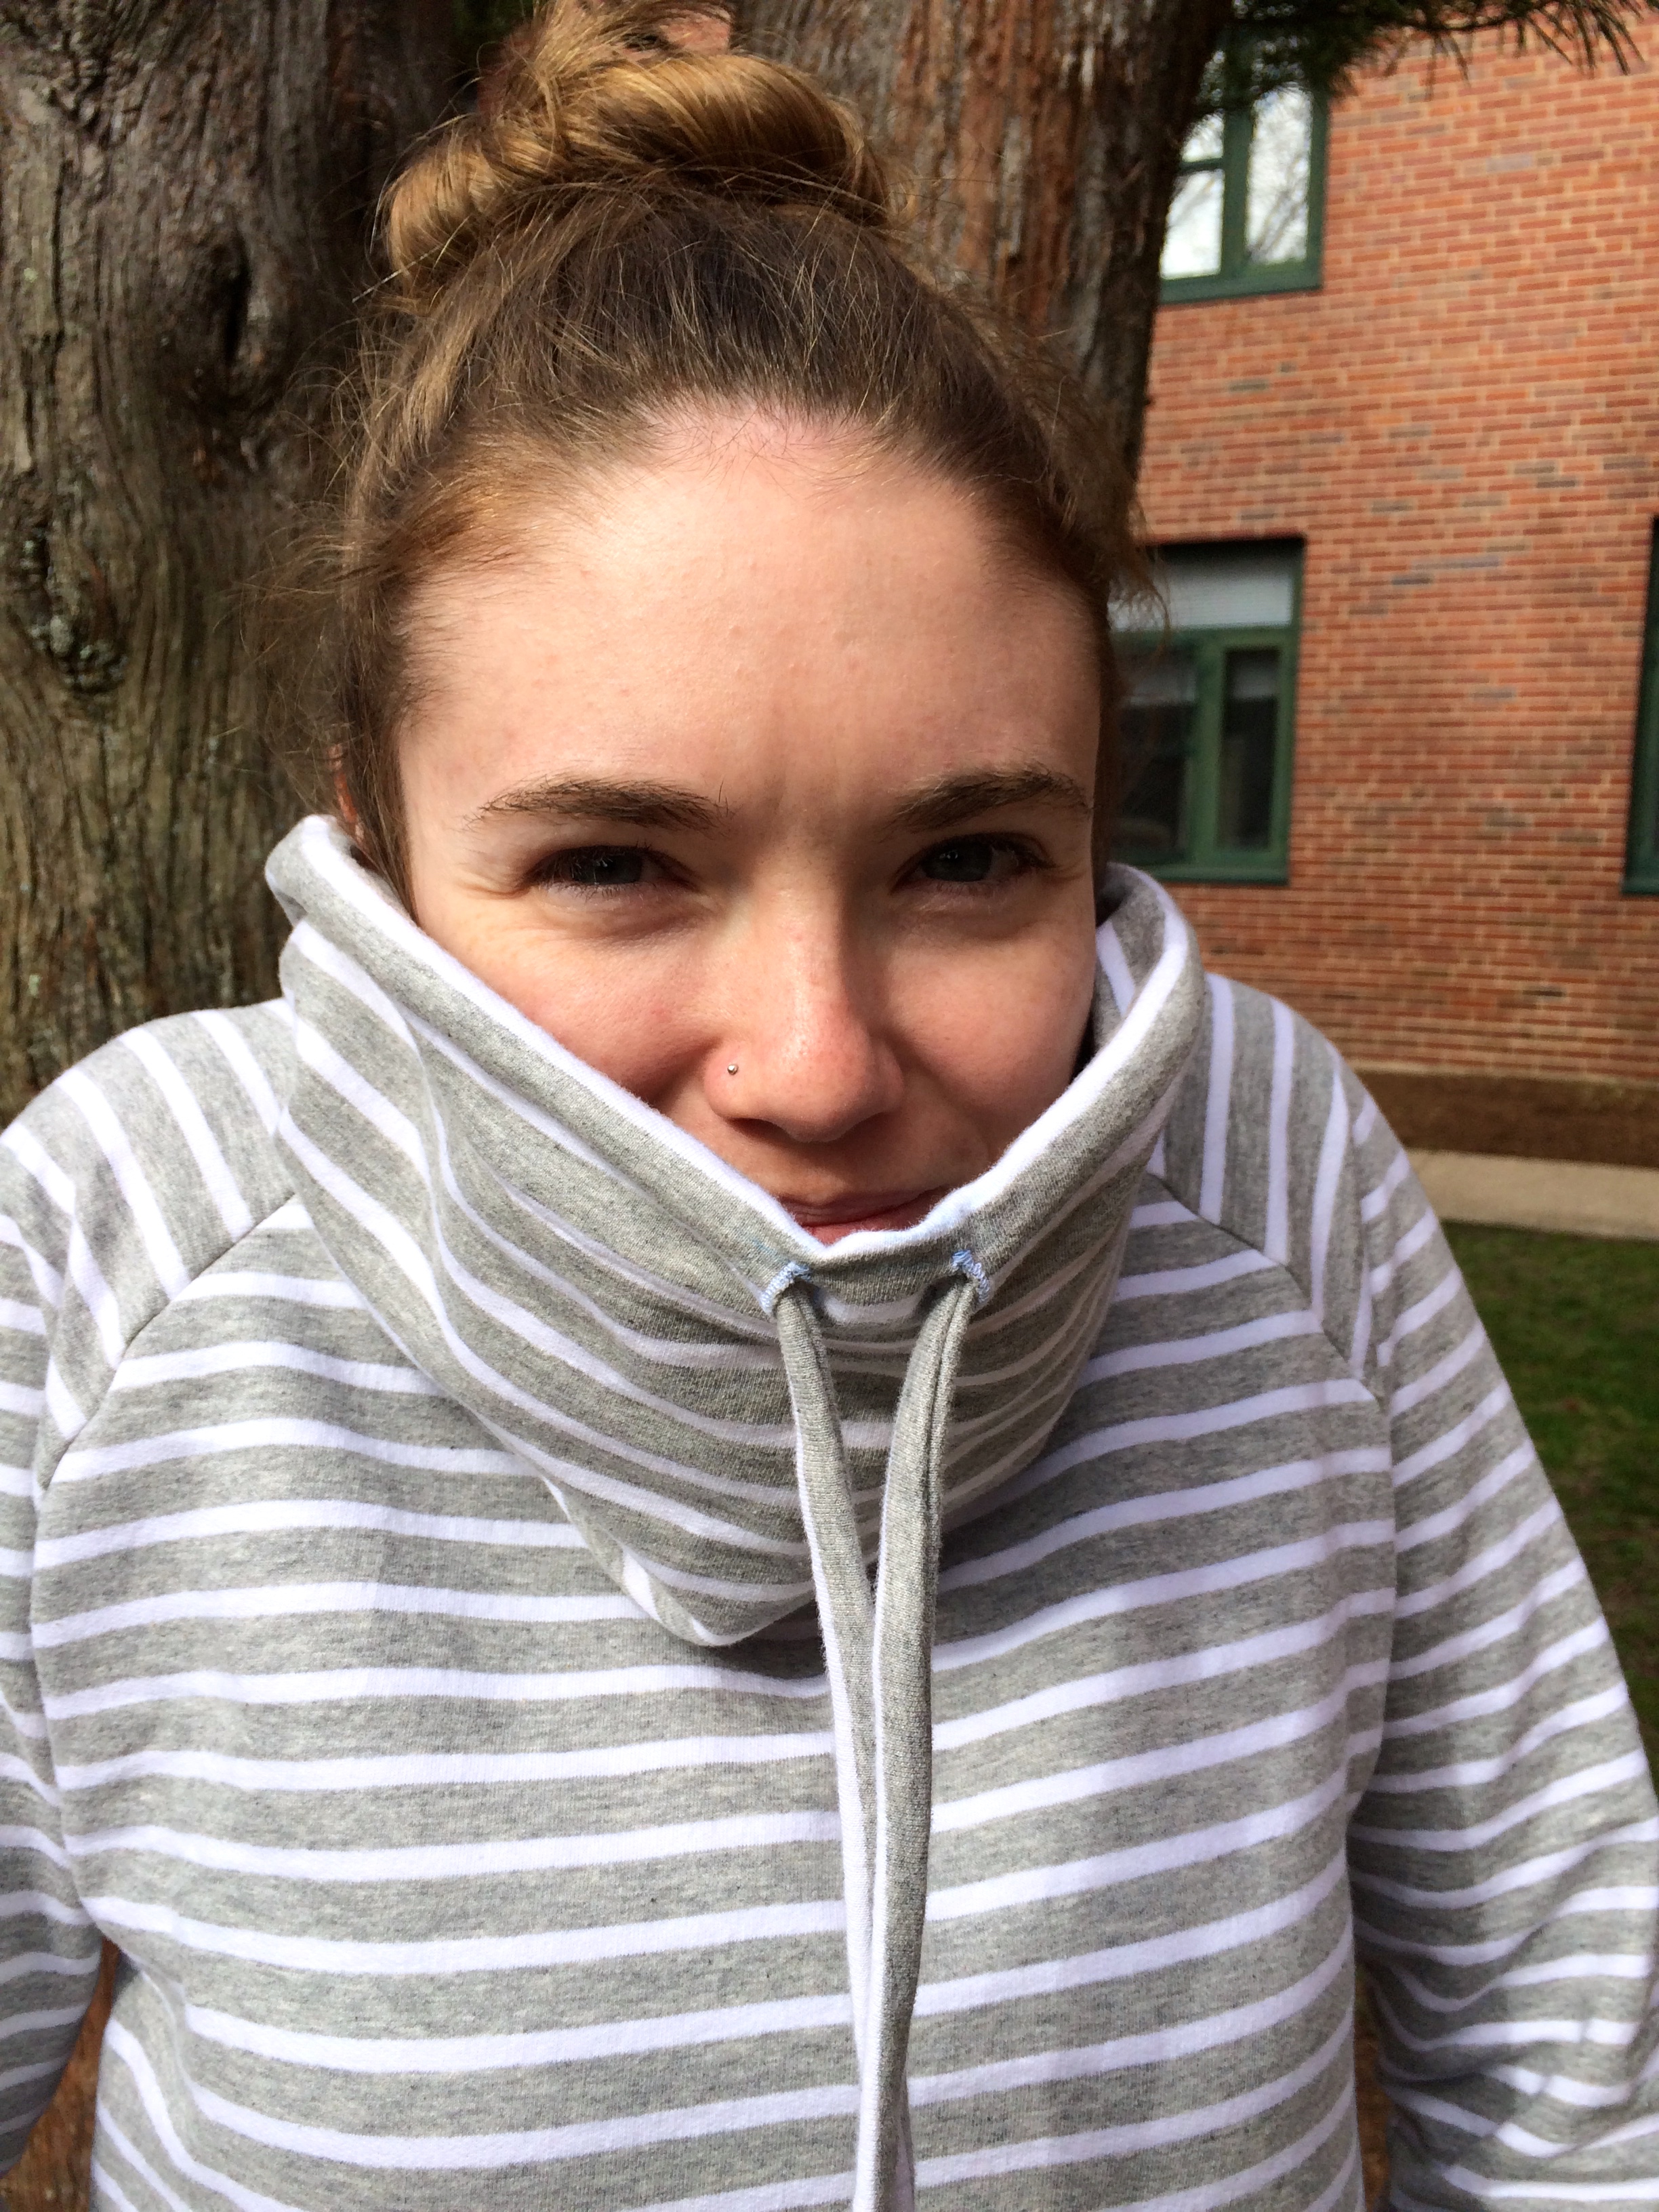
-Hannah

Advertisement

Me Made May Round-Up Part One

Sorry for the radio silence around here recently, it’s been a crazy couple weeks finishing up the semester and supporting Mr Match with grad school milestones. Any available time I’ve had I’ve spent sewing and not updating the bloggity blog.

Here’s an update on how Me Made May is going. This is the first time I’ve participated and I’ve done better than I was planning wearing my me-mades. I’ve worn something handmade 15 out of 18 days though I’m missing one picture.

I’ve been learning very quickly, perhaps relearning because let’s be honest I knew all of this already, which items get the most use in my wardrobe. As much as I love making nice dresses, and as much as I enjoy wearing them, I don’t have as many occasions to wear them as I do dresses I want to make.

What I do go to every day is easy to wear shirts, jeans, and cardigans. My Ginger Jeans have been getting lots of wear, as have my tees and tanks. My more casual dresses have gotten some wear and I certainly want to make more Marianne dresses and Eucalypt dresses.

I think the even more important lesson I’m learning is about fabric choice and wardrobe planning. I’ve got a lot of great prints that had been part of my summer sewing plans but I’m realizing that I may want to rethink some of the those plans, simply based on what I am and am not pulling out of my closet and drawers.

I am hitting the point where I’m going to need to start repeating some things. I’ve still got a few items I haven’t worn though and a few items that I’m working on right now. I’d also been planning on making some Jamie Jeans during the sewalong over on Indie Sew. School work prevented me from participating in the sewalong but I’m looking forward to adding another pair of jeans to my wardrobe.

I’m also prioritizing sewing more tanks and tees. I’ve got a bunch of different patterns I want to try out which will hopefully help me pick out a couple patterns that will become TNTs. So far Me Made May has been a great learning experience and I’m loving getting to show off my handmade clothing a lot more frequently.

Here are links for all of the garments that I’ve written posts about:

I’ll be back in a couple days to show off some of the things I’ve been working on recently. Now that school’s over for the summer I’ve got a lot more time to work on sewing projects. Hopefully I’ll have some great wardrobe additions for the second half of Me Made May. If you’re participating in Me Made May, how’s it going?

-Hannah

Internet Highlights

Today I’m rounding up my favorite bits from the interwebs this week, things that I’ve found interesting, useful or simply entertaining.

  • I was planning to join the Indie Sew Jamie Jeans sewalong so in preparation I was looking around the internet for blog posts folks had written about their Jamies. I discovered over on Peneloping not just Ping’s thoughts on her Jamies but she shared a conversation she had with the pattern’s designer about picking the right denim for these jeans. Reading that was super useful.
  • The quilt templates over at Haptic Lab are blowing my mind right now! I think one of these may need to be my summer hand-stitching project. The only question is Boston street map or Northern Hemisphere constellations!?!?
  • I’m planning on making a Cargo Duffle at some point in the next month or two. This tutorial on modifying a two way zipper so that it opens in the center will definitely come in handy.

Off to stop procrastinating and get some paper writing done so that I can finally get back to all my sewing plans!!

-Hannah

Lane Raglan Hack

I’ve been totally consumed for the last two weeks writing a term paper and haven’t had a single minute for sewing. It’s been killing me! I’ve always known that sewing time was a huge mood boost but hadn’t ever experienced being this bummed out by not sewing. I still have another term paper and finals but I was able to take some time yesterday to whip up a great light sweatshirt Lane Raglan hack.

IMG_3648

I got the Lane Raglan as part of the Indiesew Fall Collection but hadn’t used the pattern yet. I know that ideally I should be making a pattern as is before hacking at it but I guess I’ve always been a bit of a rule breaker! This is also a very low key hack.

IMG_3647

I’ve been seeing lots of funnel neck sweatshirts recently, and then last week I saw one on someone and realized I could just make one. I think I’m still new enough to the idea of sewing my own wardrobe that i sometimes forget how simple some things are and that I’m totally capable of making them myself.

IMG_3645

As I was finishing my paper on Wednesday I was trying to figure out what sewing project to work on as a reward for my hard work. I knew I didn’t want to start one of my longer projects, I needed some instant gratification. But I wanted to work on something I was excited to wear. I remembered my desire for a funnel neck sweatshirt, and this french terry I got from Girl Charlee a couple weeks ago. BINGO!

IMG_3643

This was a very simple make. Pattern taped together and cut out to finished garment in four hours!!

IMG_3637

To add the funnel neck I started by lowering the neckline by an inch at the CF. I saw that tip on this tutorial when I did a quick search for funnel neck hacks. It helps to keep this from being a turtleneck. I measured down an inch and graded that out to nothing about an inch onto the sleeve, ending before the shoulder notch.

IMG_3644

I measured the new neckline removing the seam allowance from that number. For me that was a 29″ neckline – eight 1/4″ seam allowances for a total of a 27″ neckline. I measured up, somewhat arbitrarily, from where I though the new neckline would hit to where I wanted the funnel neck to end up. That was 7″. I doubled that because I wanted the funnel neck to be self-lined and added 1/2″ for two seam allowances for a total of 15.5″. I did not add a seam allowance tot he 27″ for the funnel neck width. I knew I wanted to make it need to stretch a bit when sewing it to the neckline of the shirt so it wouldn’t be ripply. I was expecting to make it narrower but it fit into the neckline perfectly.

IMG_3632

Before sewing the funnel neck to the neckline I added two buttonholes. Then I sewed it on just like it was the regular neckband from the pattern. After I’d put everything else together I sewed a line about 1.5″ down from the top of the funnel neck for a drawstring channel. Then I fed a drawstring though and I was done!

IMG_3635

I’m super happy with this one. I will definitely be making another at some point. I’ll probably slim the sleeves a little next time and have the funnel neck narrow a bit toward the top.

IMG_3633

What a fantastic start to Me Made May! I need to focus for a little longer on school work but I’ll be back later this weekend to take stock of my me-mades in preparation for the rest of the month.

-Hannah


Julia and Natalie

This post is a bit of a photo/project dump. I’ve got a two finished projects that I’m not sure I have a whole lot to say about, not necessarily because I am unhappy with them but mostly because they’re been going on for a while and I just want to get them written up and be able to move on.

IMG_3615

IMG_3582

IMG_3580

My first finished project to show you is the Julia cardigan by Mouse House Creations. This was an unplanned project. I was at Joann’s a few weeks ago and noticed that in amongst the piles of polyester grossness was this amazing reversible double sweater knit. I was excited about it when I thought it was just a cotton/rayon striped sweater knit. Imagine my amazement when I discovered it had polka dots on the other side!!

IMG_3604

Instead of making this fabric into a quick project I decided that I had to take advantage of it being reversible and then set about trying to figure out how to make the Julia cardigan pattern work that way. At first I was considering flat felling all my seams so I could just make it according to the pattern with the doubled-over collar. But trying to neatly flat fell a sweater knit seemed a bit crazy, even to me. Then I realized I could just use the technique in the Meridian cardigan, a pattern I’ve had for a while but not used yet. So I managed to squeeze two cardigans out of the three yards I’d bought. I made a version with the stripes on the outside and a version with the polka dots on the outside, adding a single collar to each. Then I just serged the outer collar edges together with the right sides of the two cardigans together.

IMG_3585

IMG_3612

I stitched in the ditch in a few key places so that the two layers were anchored together. I got stuck for a while on the cuffs. I really wanted to figure out a way to attach them with the serger, not have any seams showing, and make sure that the stripes weren’t showing on the polka dot side or vice versa. I tried a two piece cuff serged to one side and then topstitched with a zigzag on the other side but it just stretched the cuff out too much. Next try, a severely lengthened two piece cuff serged to both sides. The serged seam shows on the striped side but the cuff is long enough to be folded up. Done and done!

IMG_3581

After months of hiding the Natalie top, by Liola Patterns, in the back of my sewing cabinet, it’s finally done. Man was that a pain in the ass. I zipped through a lot of this top in one evening. But then I couldn’t get the front pleats to sew up properly. And then I managed to sew in one of the sleeves inside out. So it got put in time out for a month or two.

IMG_3623

On the fourth or fifth attempt, and after finally just hand-basting the center front seam, I got the front pleats taken care of. The sleeves went in easily.

IMG_3627

Of course my needle went straight through the first button I tried to sew on, fortunately I had an extra. And the first buttonhole I sewed was crooked. I got to try every single step multiple times with this thing. But it’s done. And guess what?

IMG_3628

I actually like it!! I’m not sure I’ll be making another any time soon but I’m so glad it’s not feeling like a waste of fabric, time, and energy.

IMG_3624

I think I’m caught up on finished projects now. On to the new ones!

-Hannah