When the Felicity Dress pattern was released by Jennifer Lauren Vintage in February I snapped it up right away. I think perhaps this was partly a desperate, “if I start making spring and summer clothes this blizzard will stop,” moment. But I was also really attracted by the gathered neckline and the swingy skirt. While I haven’t been a circle skirt kind of lady in my adulthood, there’s really something about being able to spin in such a delightfully ripply circle that feels so playful and fun and childlike in the best possible way.
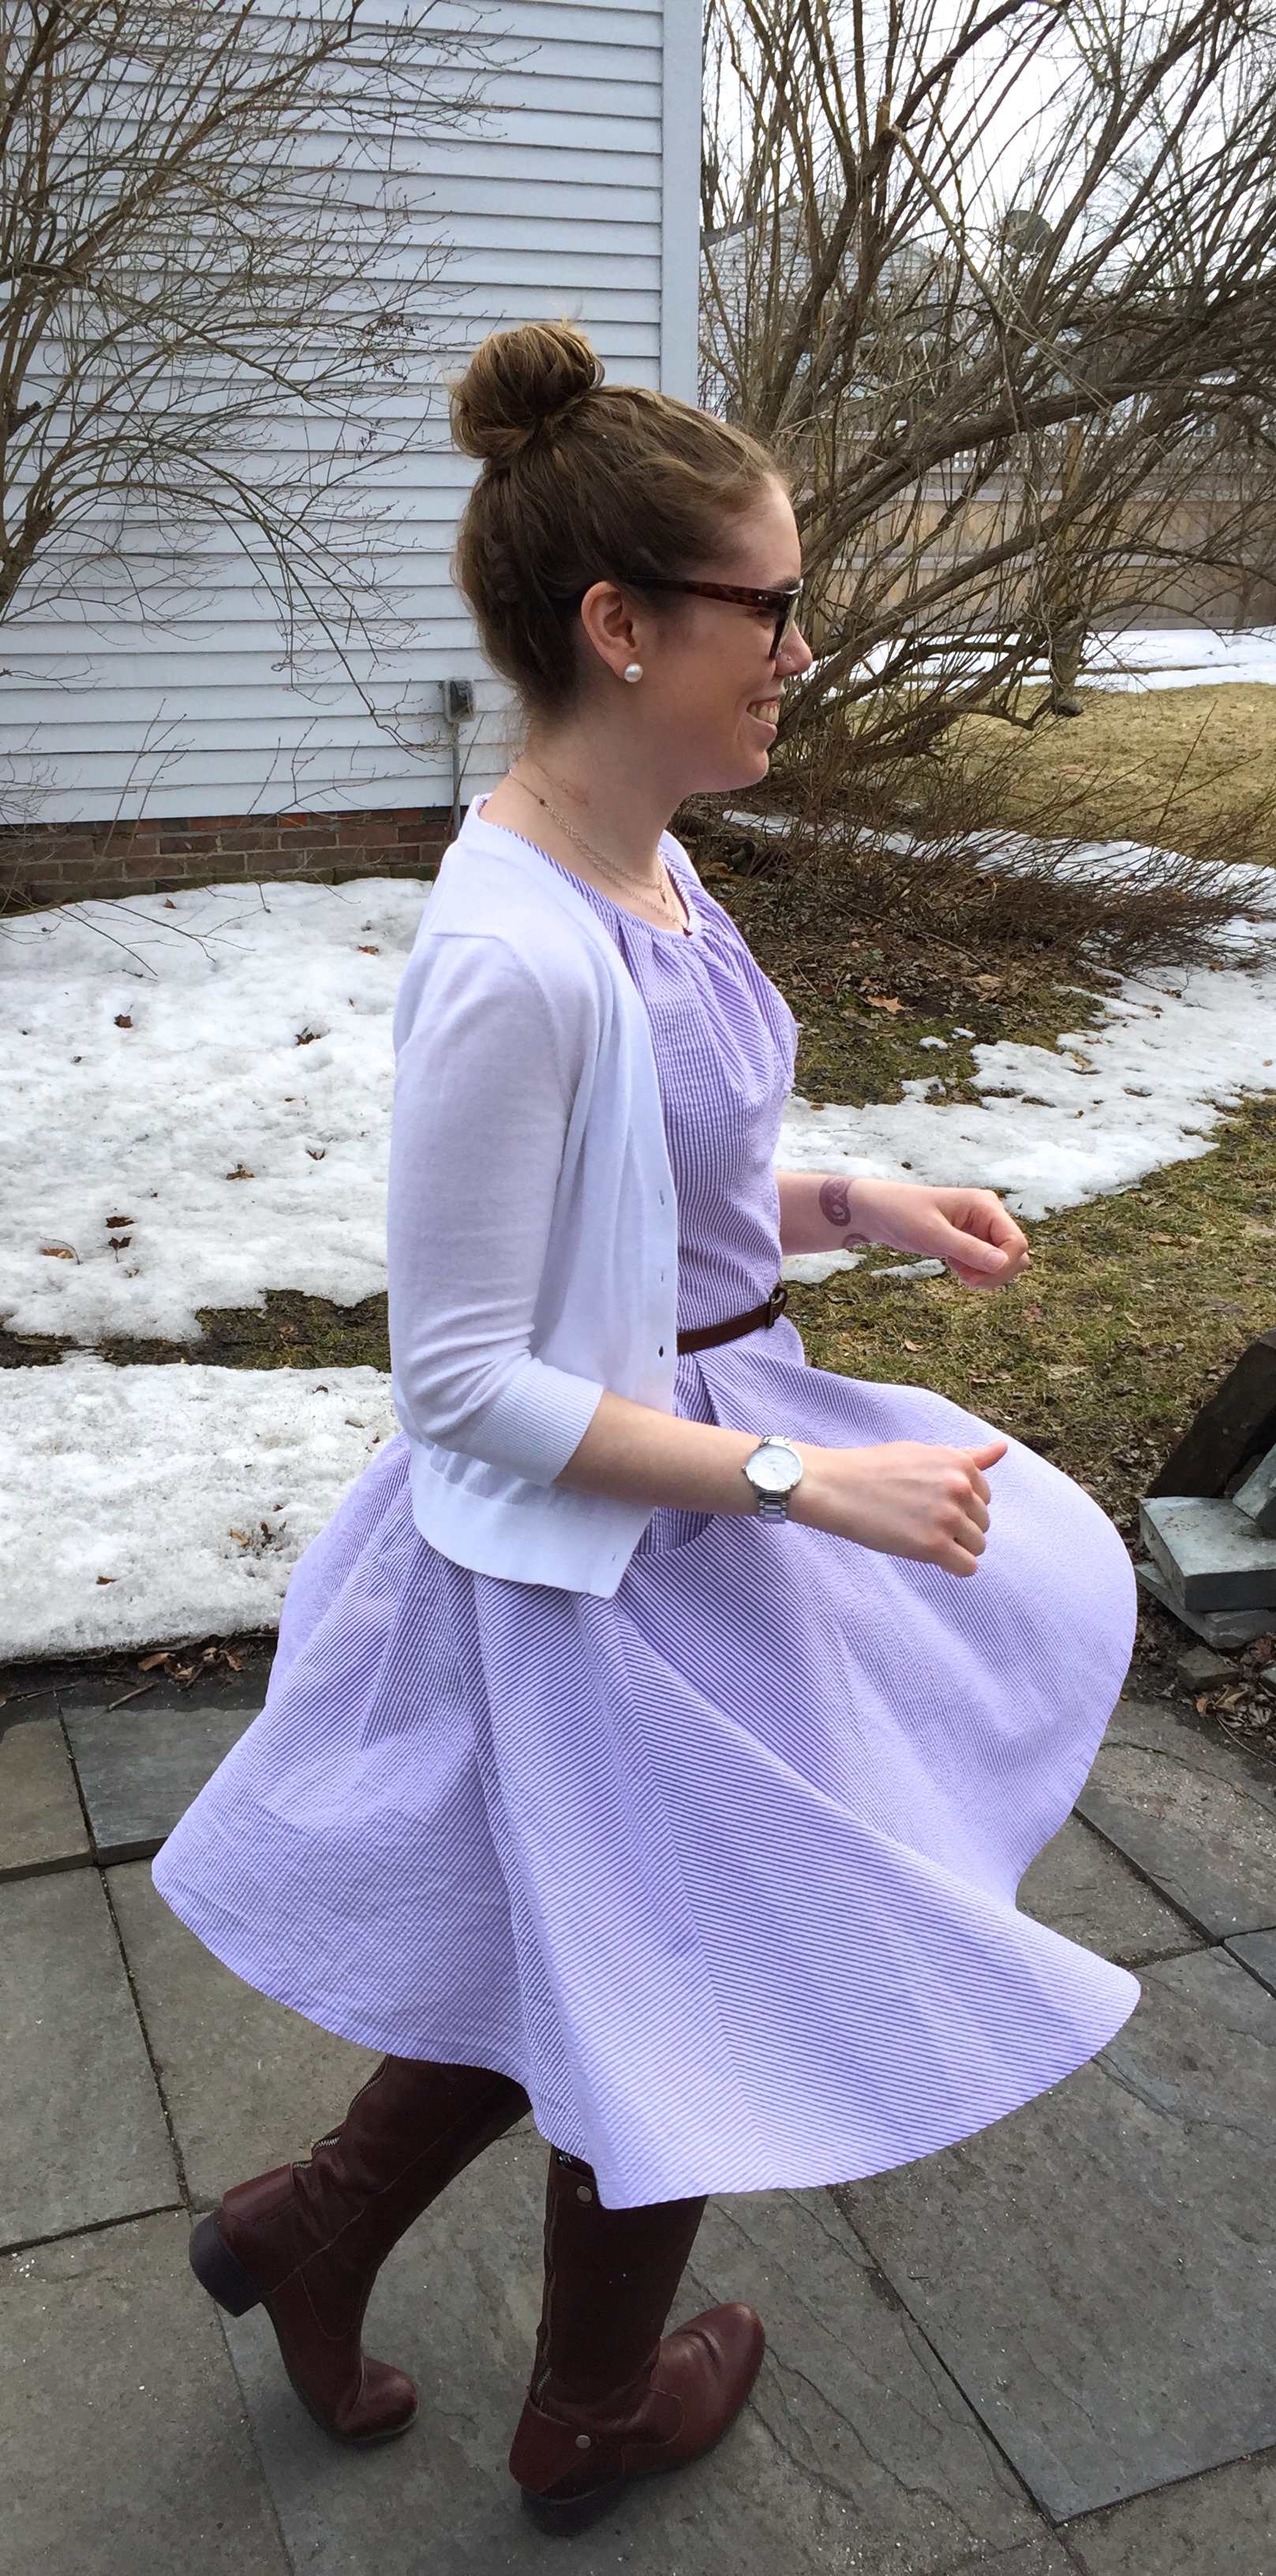
I apparently can’t spin quite as much as I could as a child, I spent the next five minutes after this photo gripping Mr Match’s arm and trying not to throw up. Whoops!
I’d originally planned to make this dress during the sew-along and hoped to have it done for a wedding we were planning to attend this summer. But it was such a quick sew that it only took me a weekend. I made View 1 without any alterations.
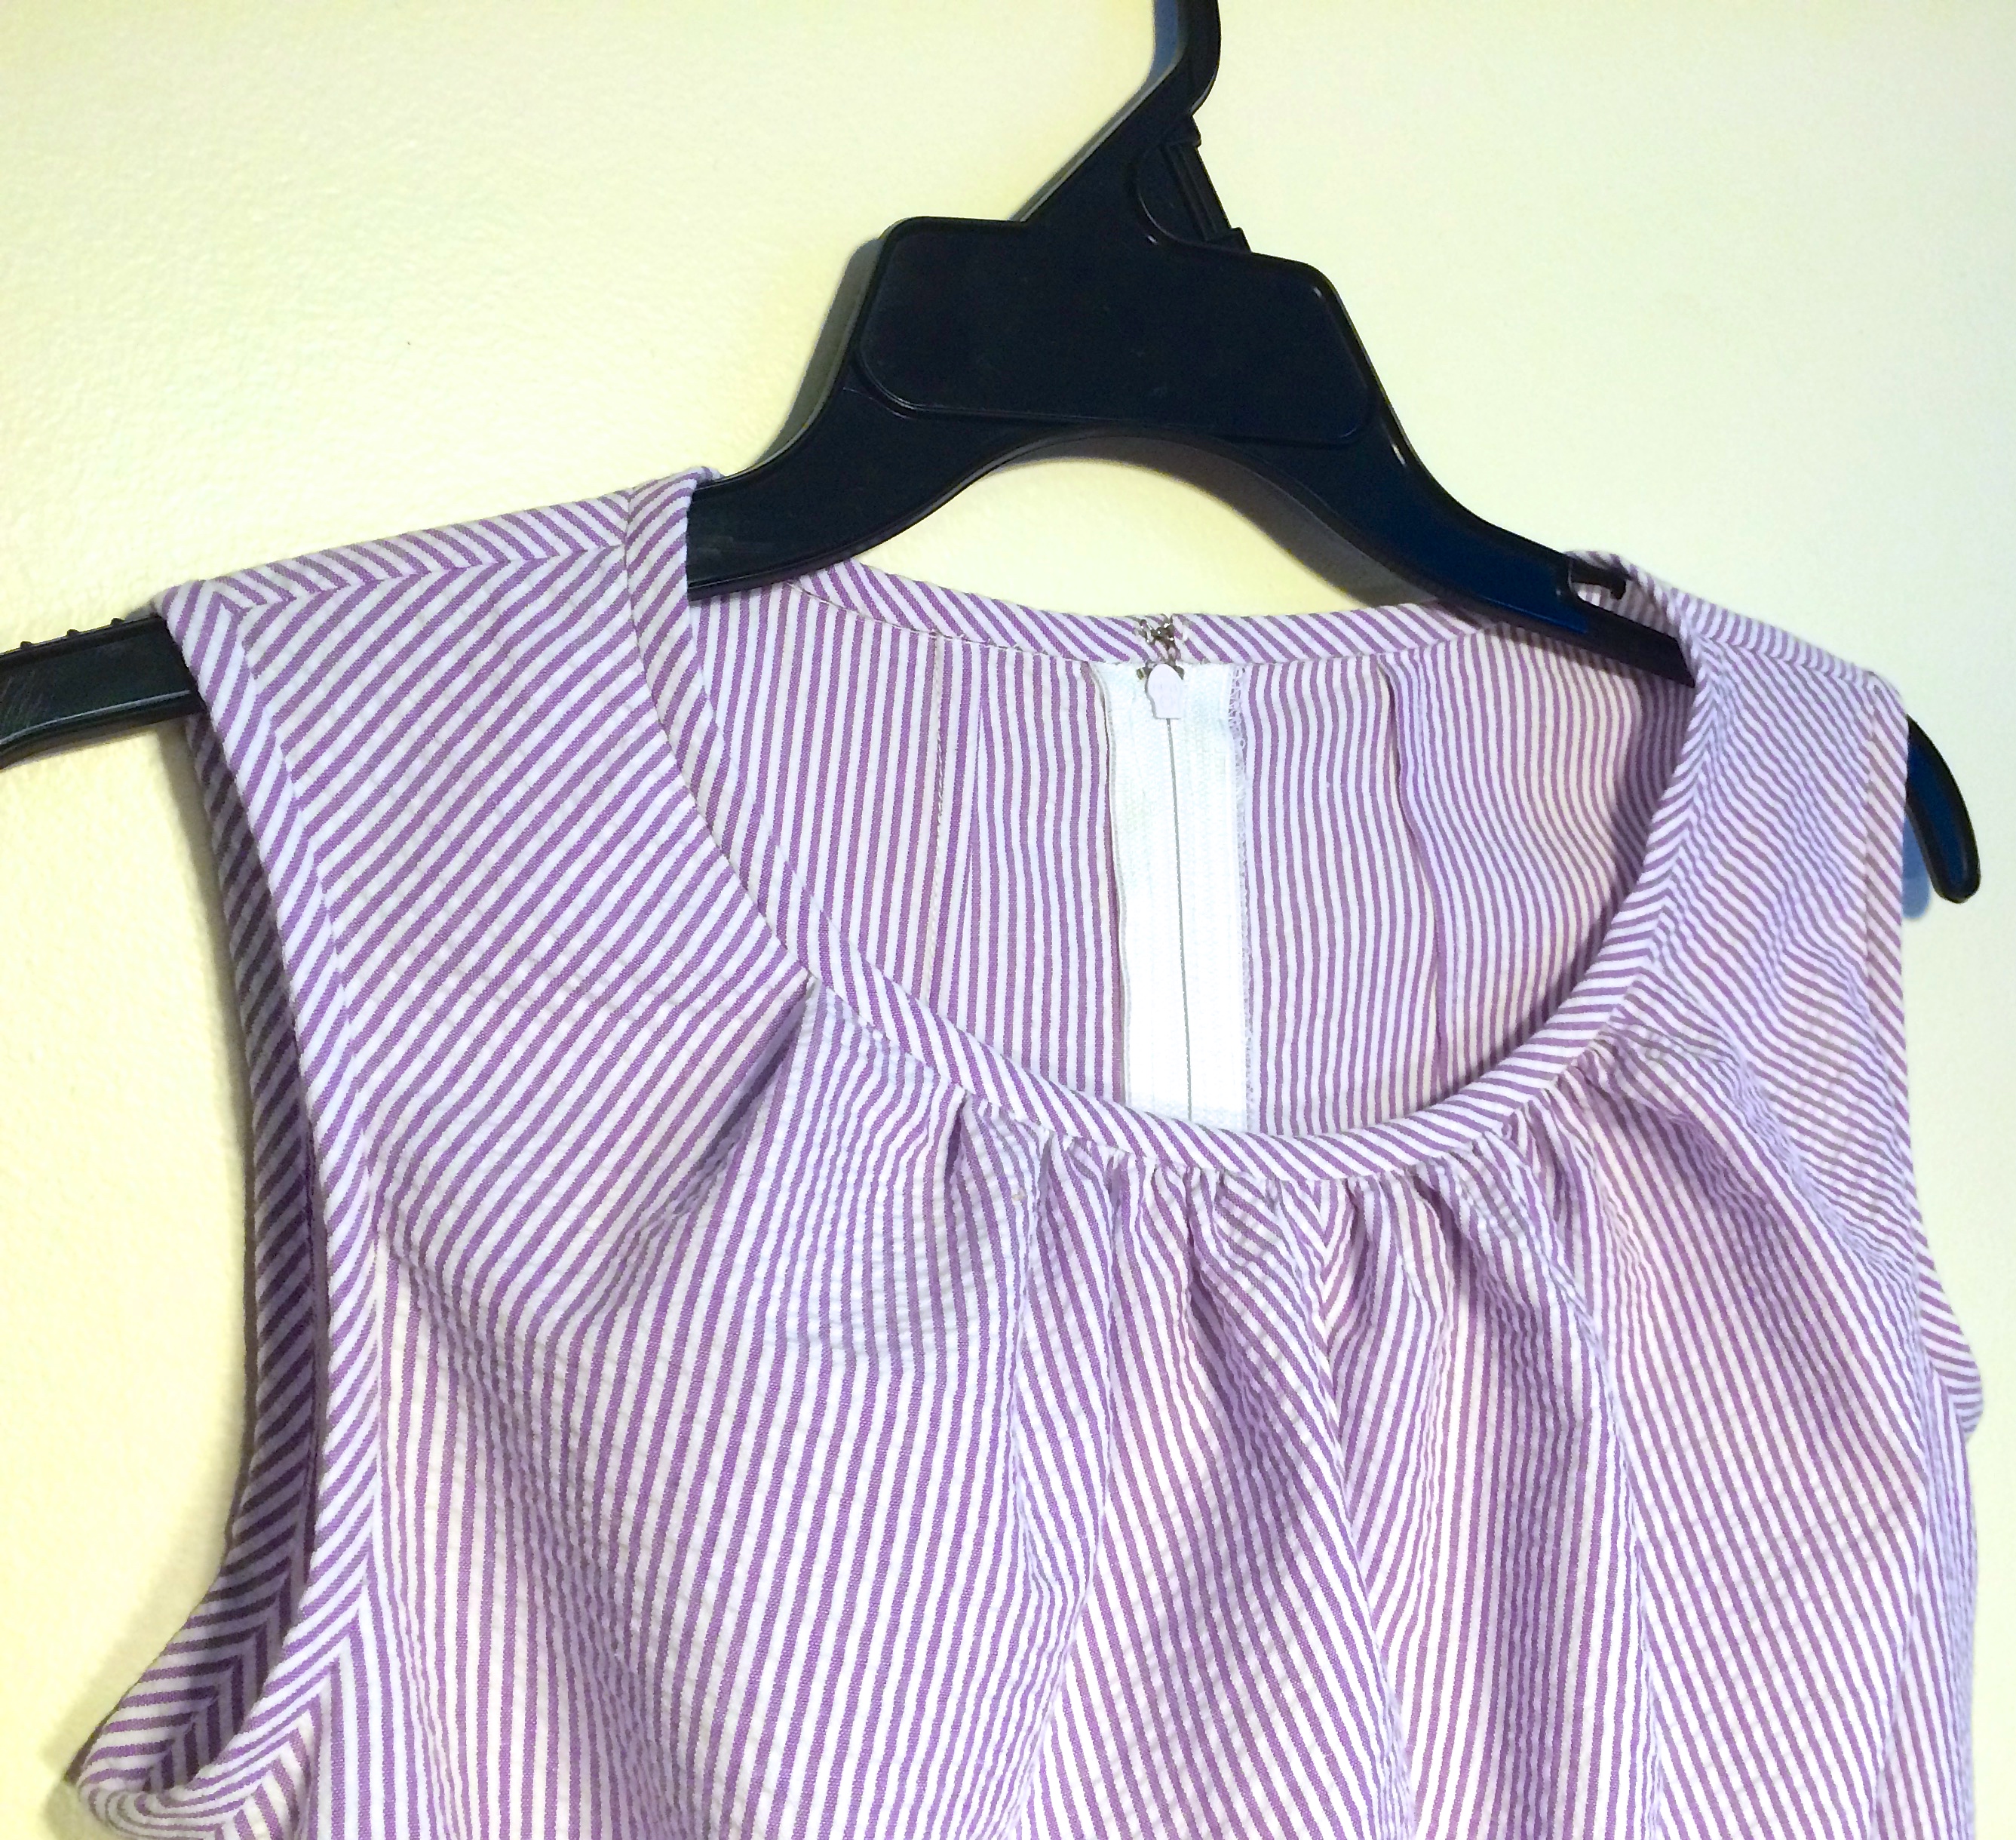
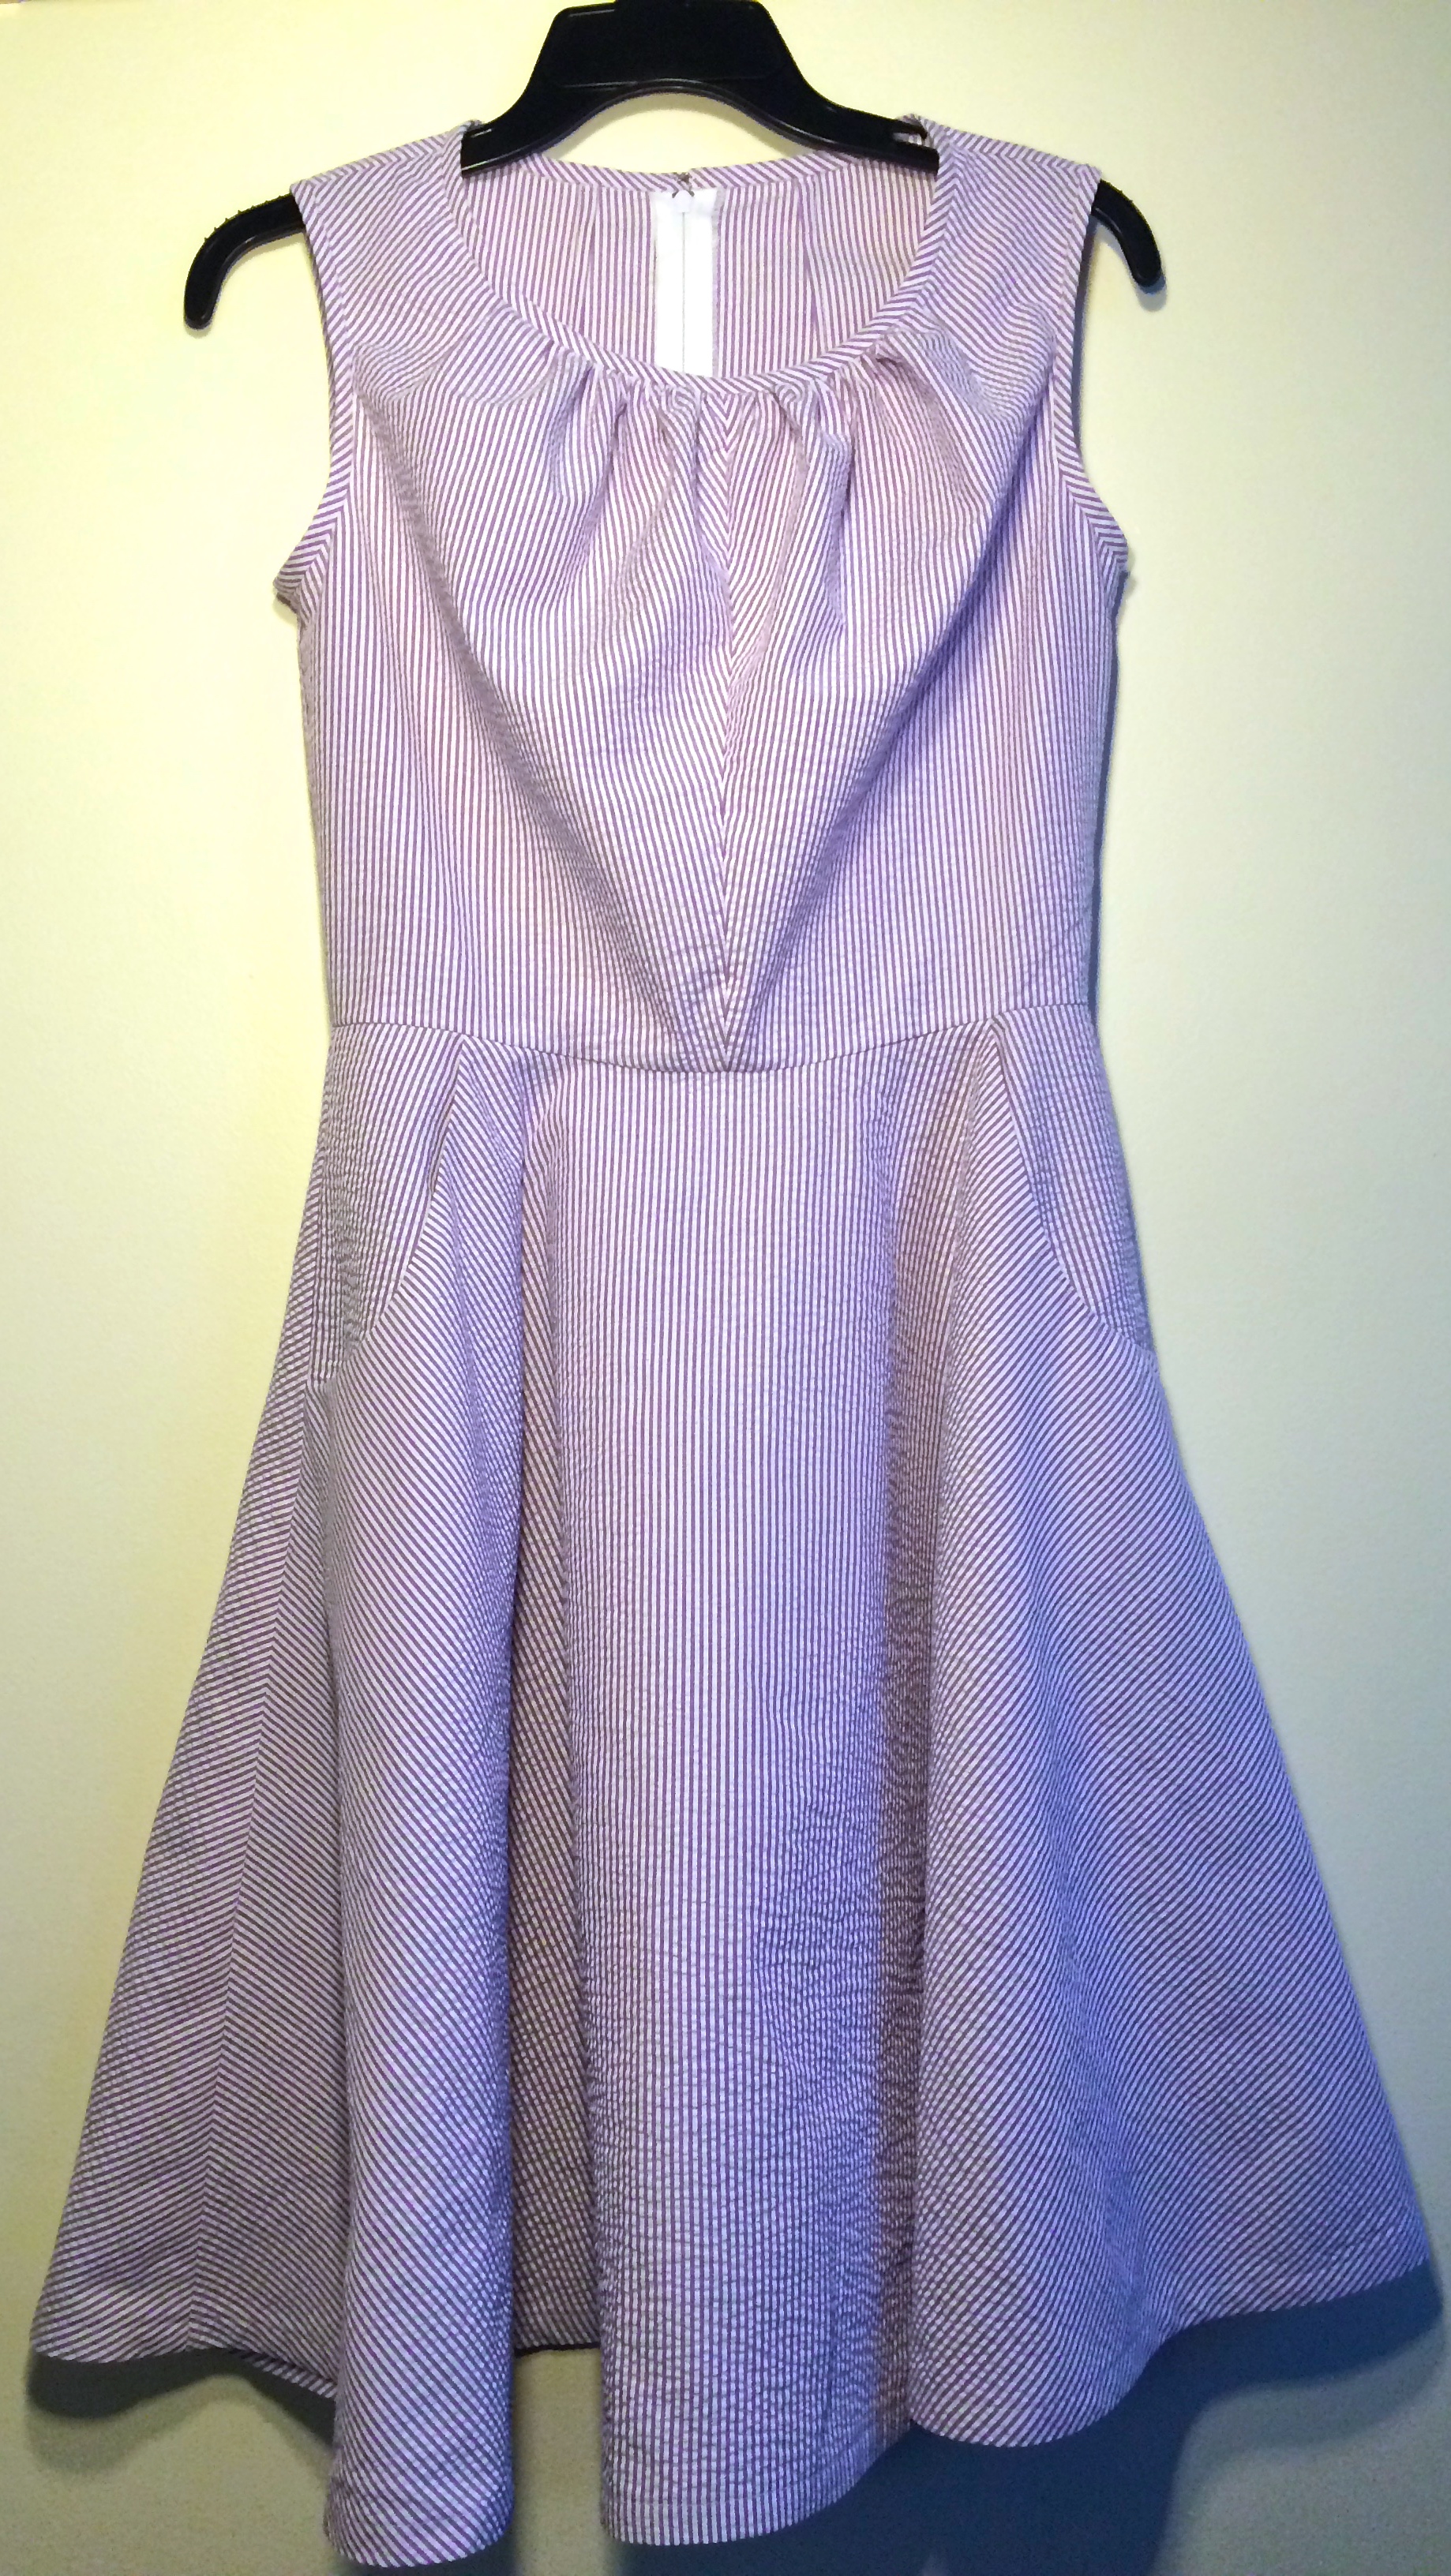
I ended up slip-stitching the neckline and armhole binding on the inside. I wasn’t sure at first that I would do it this way but as I was turning it under I was just loving how clean the binding looked on the outside and didn’t want to risk ruining it with top-stitching so I went for the slip-stitching. It took a little while but really not that long and totally worth it for high-quality finish.
I made up a muslin of the bodice and was happy with a straight size 8. It turned out that the seersucker didn’t gather quite as easily as the muslin, not much of a surprise there, so I ended up adding a tuck on either side of the neckline to pull it flatter against my chest. I think the tucks helped enormously. I probably should’ve used Jennifer’s instructions for a smaller bust adjustment, she drafts her patterns for a D-cup which I’m definitely not. But that post hadn’t come out by the time I was working on this and I think I made it work. The gathers are pretty forgiving although I think if you have an A or B-cup a small bust adjustment would be necessary unless your fabric is light enough that it really gathers well.
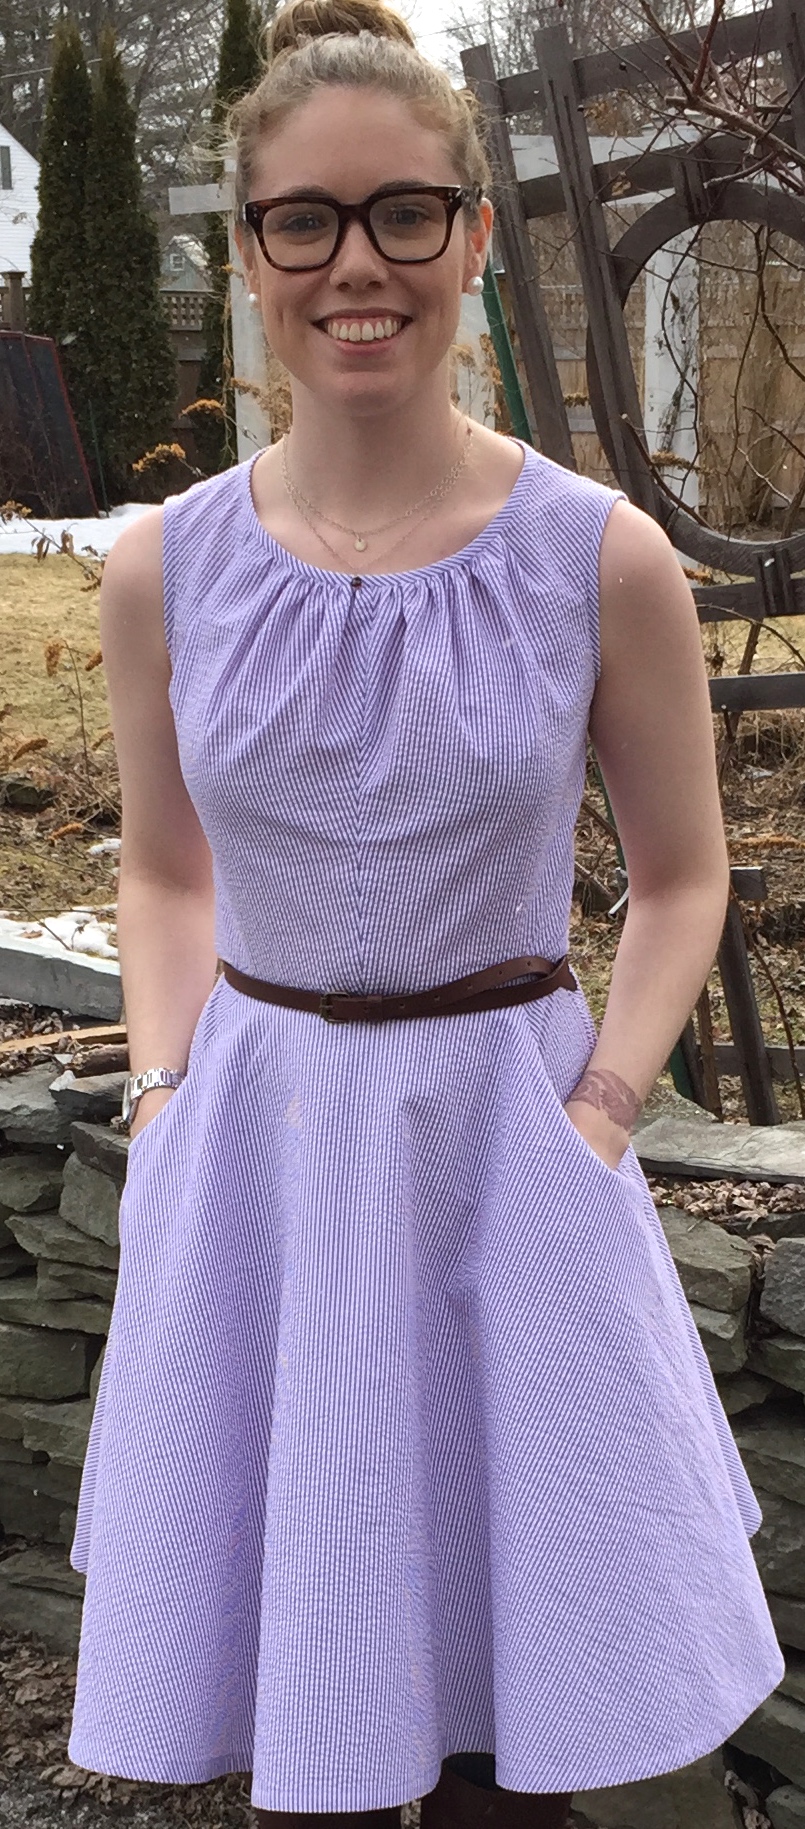
The pockets on this turned out really well. I’m a firm believer in pockets in dresses. I put them in the very first dress that I made and they’re just not that hard to do so I can’t imagine making a dress without pockets unless it really doesn’t work with the fabric. Even my wedding dress had pockets, major selling point! I think it’s possible that I didn’t cut the fabric on the right direction for the pockets, it certainly doesn’t match the direction of the skirt fabric. But I think it works. The nice thing about the narrowness of these seersucker stripes is that it looks great when they match up but it also doesn’t detract from the look if they don’t match up.
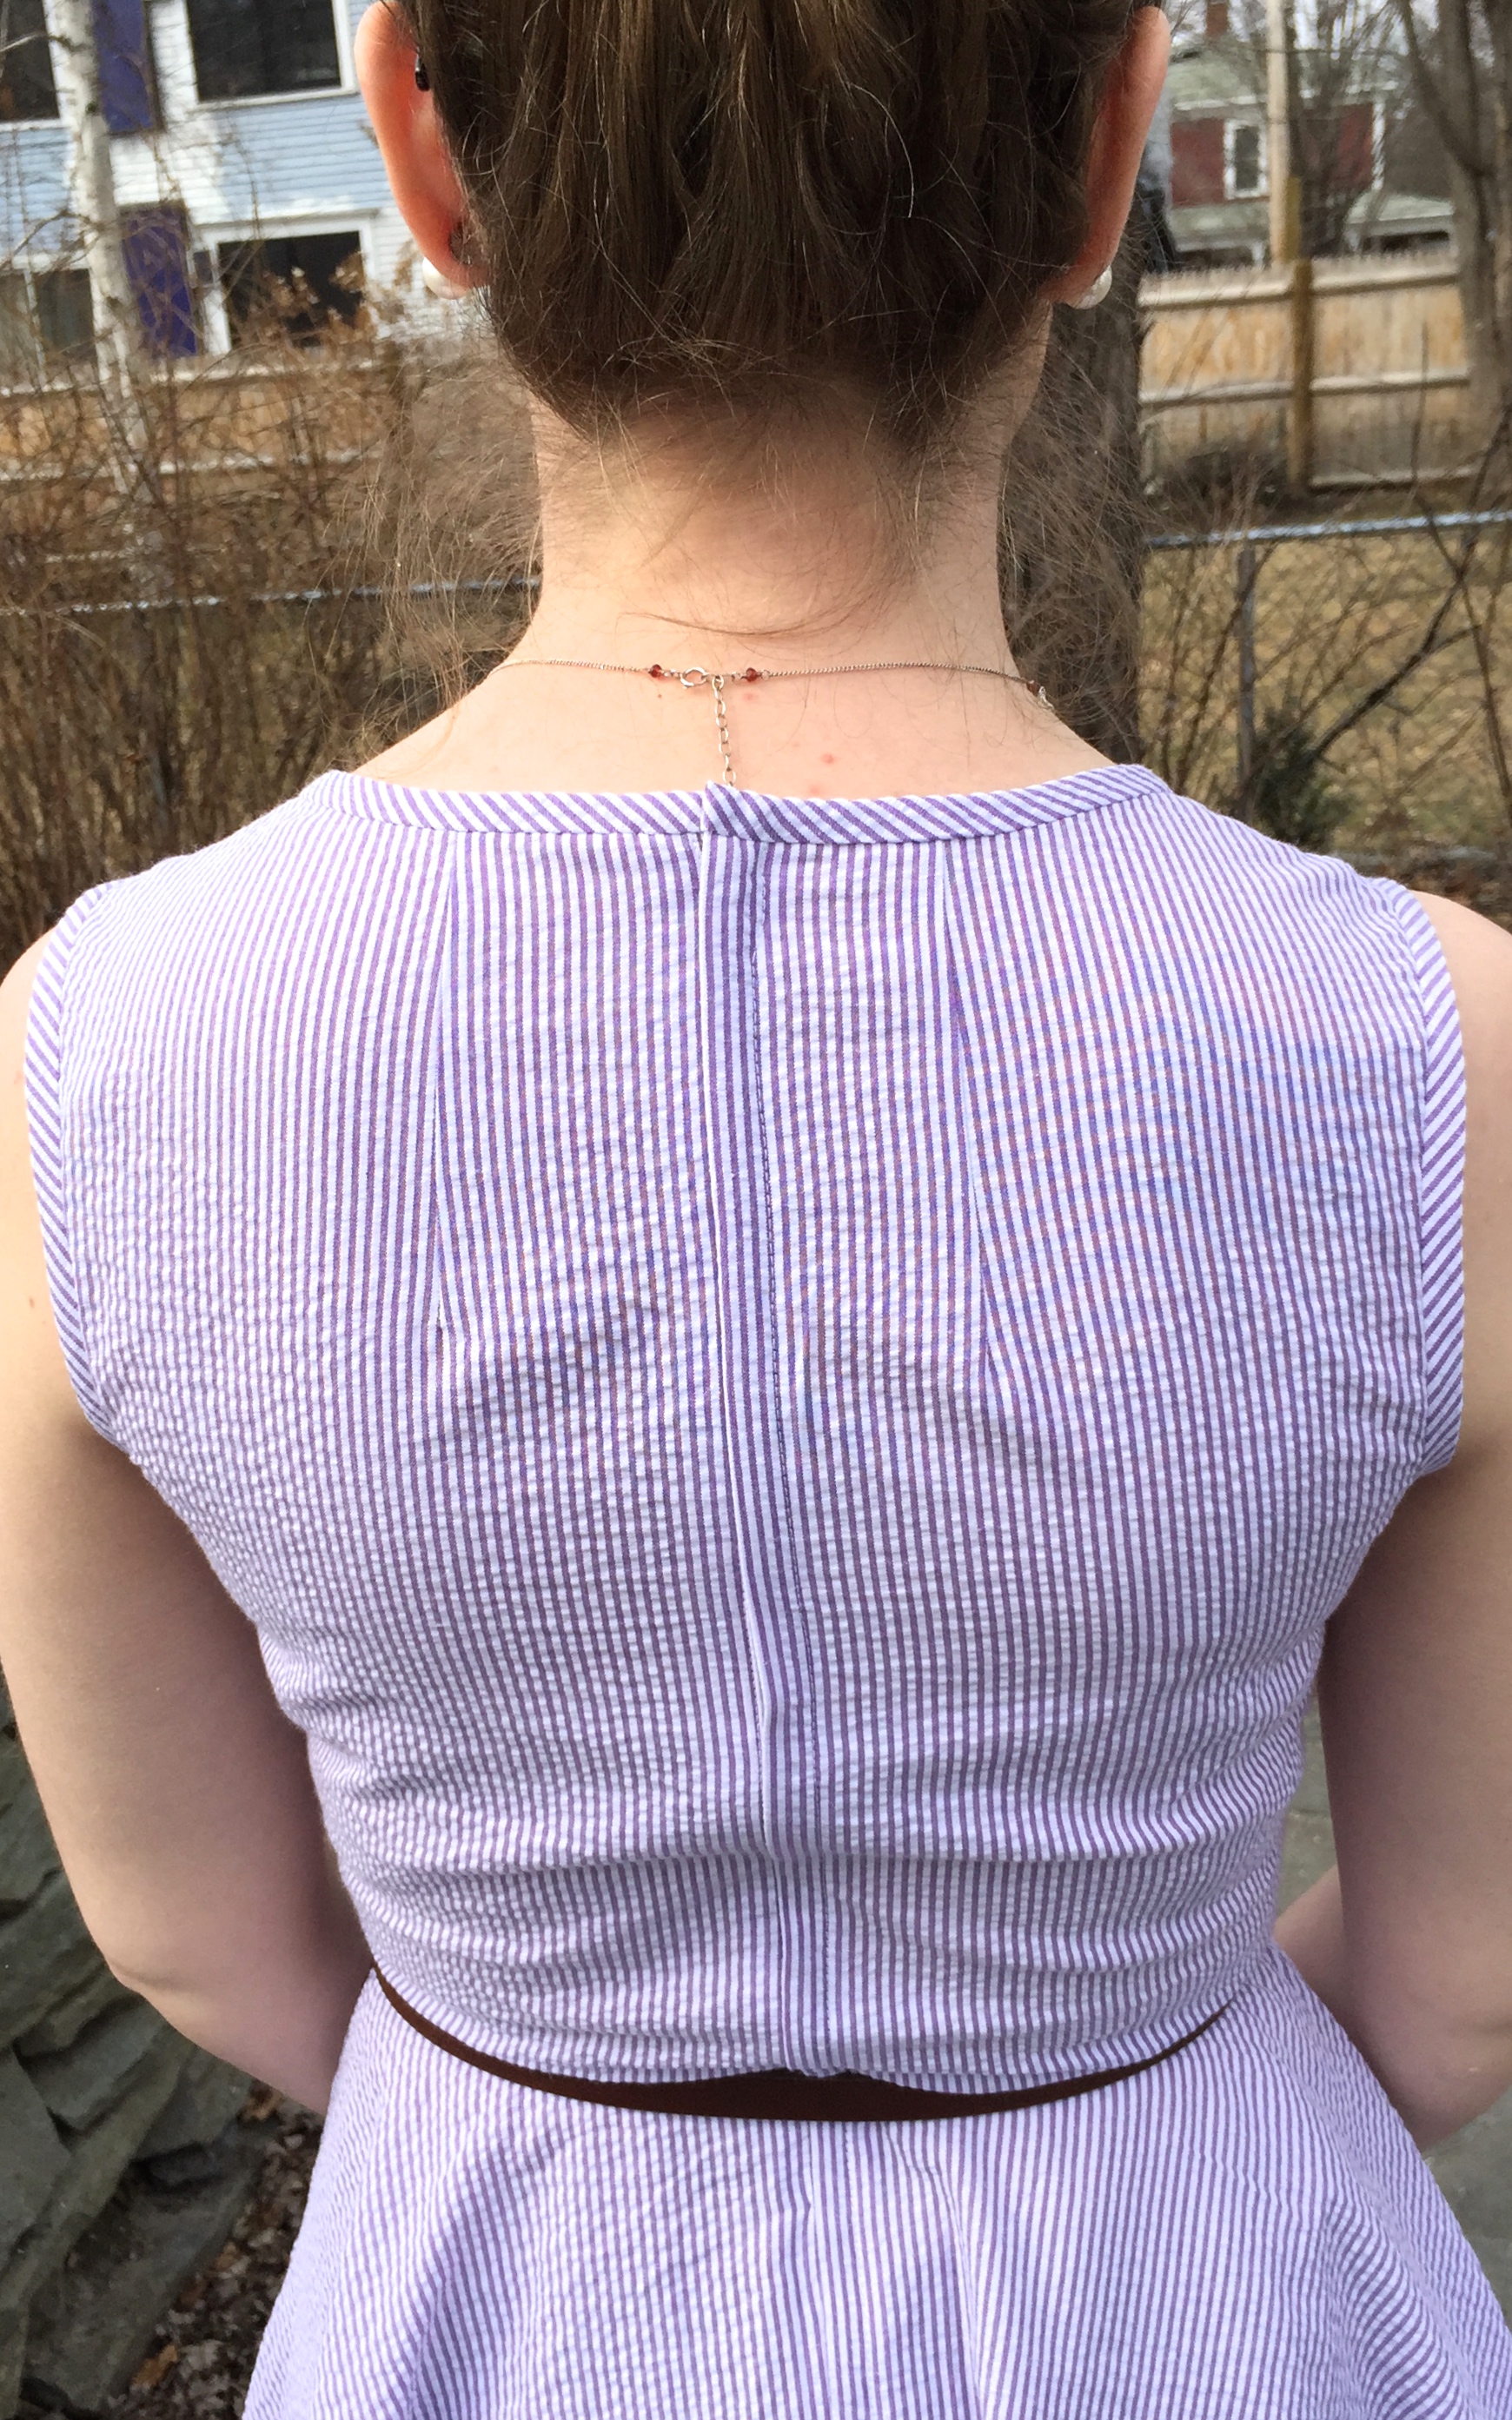
I’d never put in a lapped zipper before making this dress. When I was first looking through the pattern I couldn’t make sense of the zipper directions for the life of me. As usual, at least for me, as soon as I actually had the fabric cut out and was working on that part it made total sense.

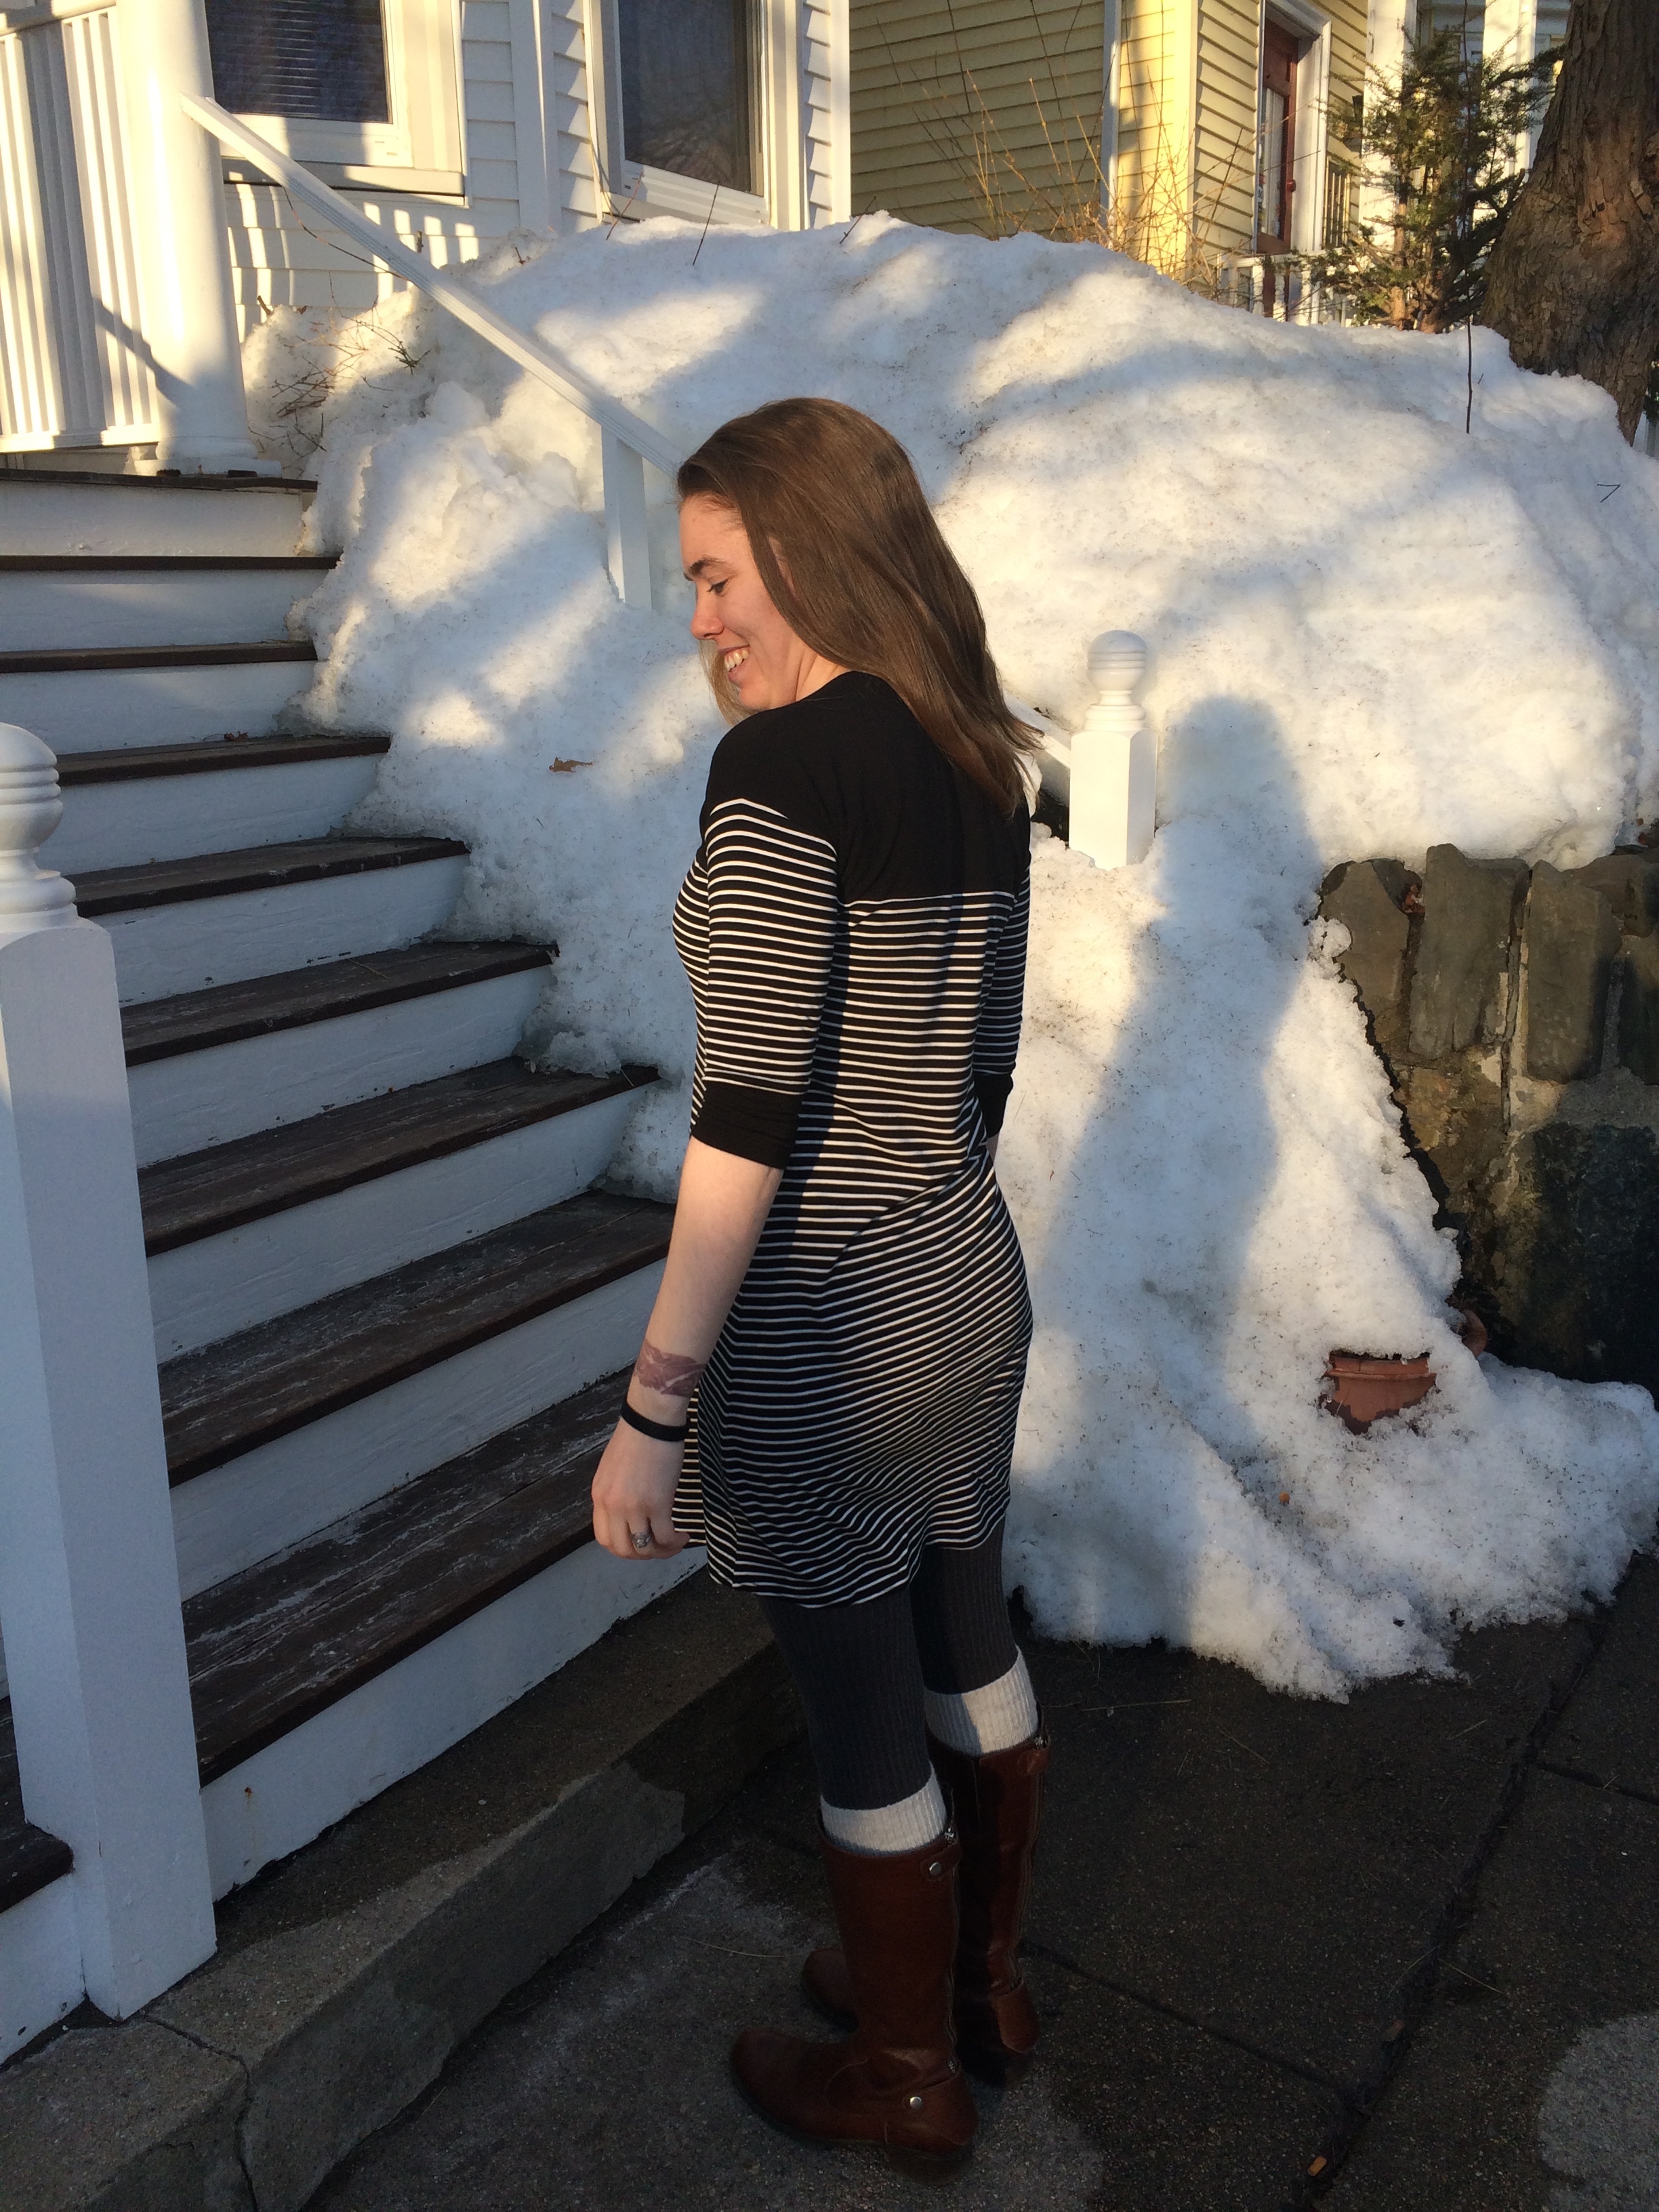
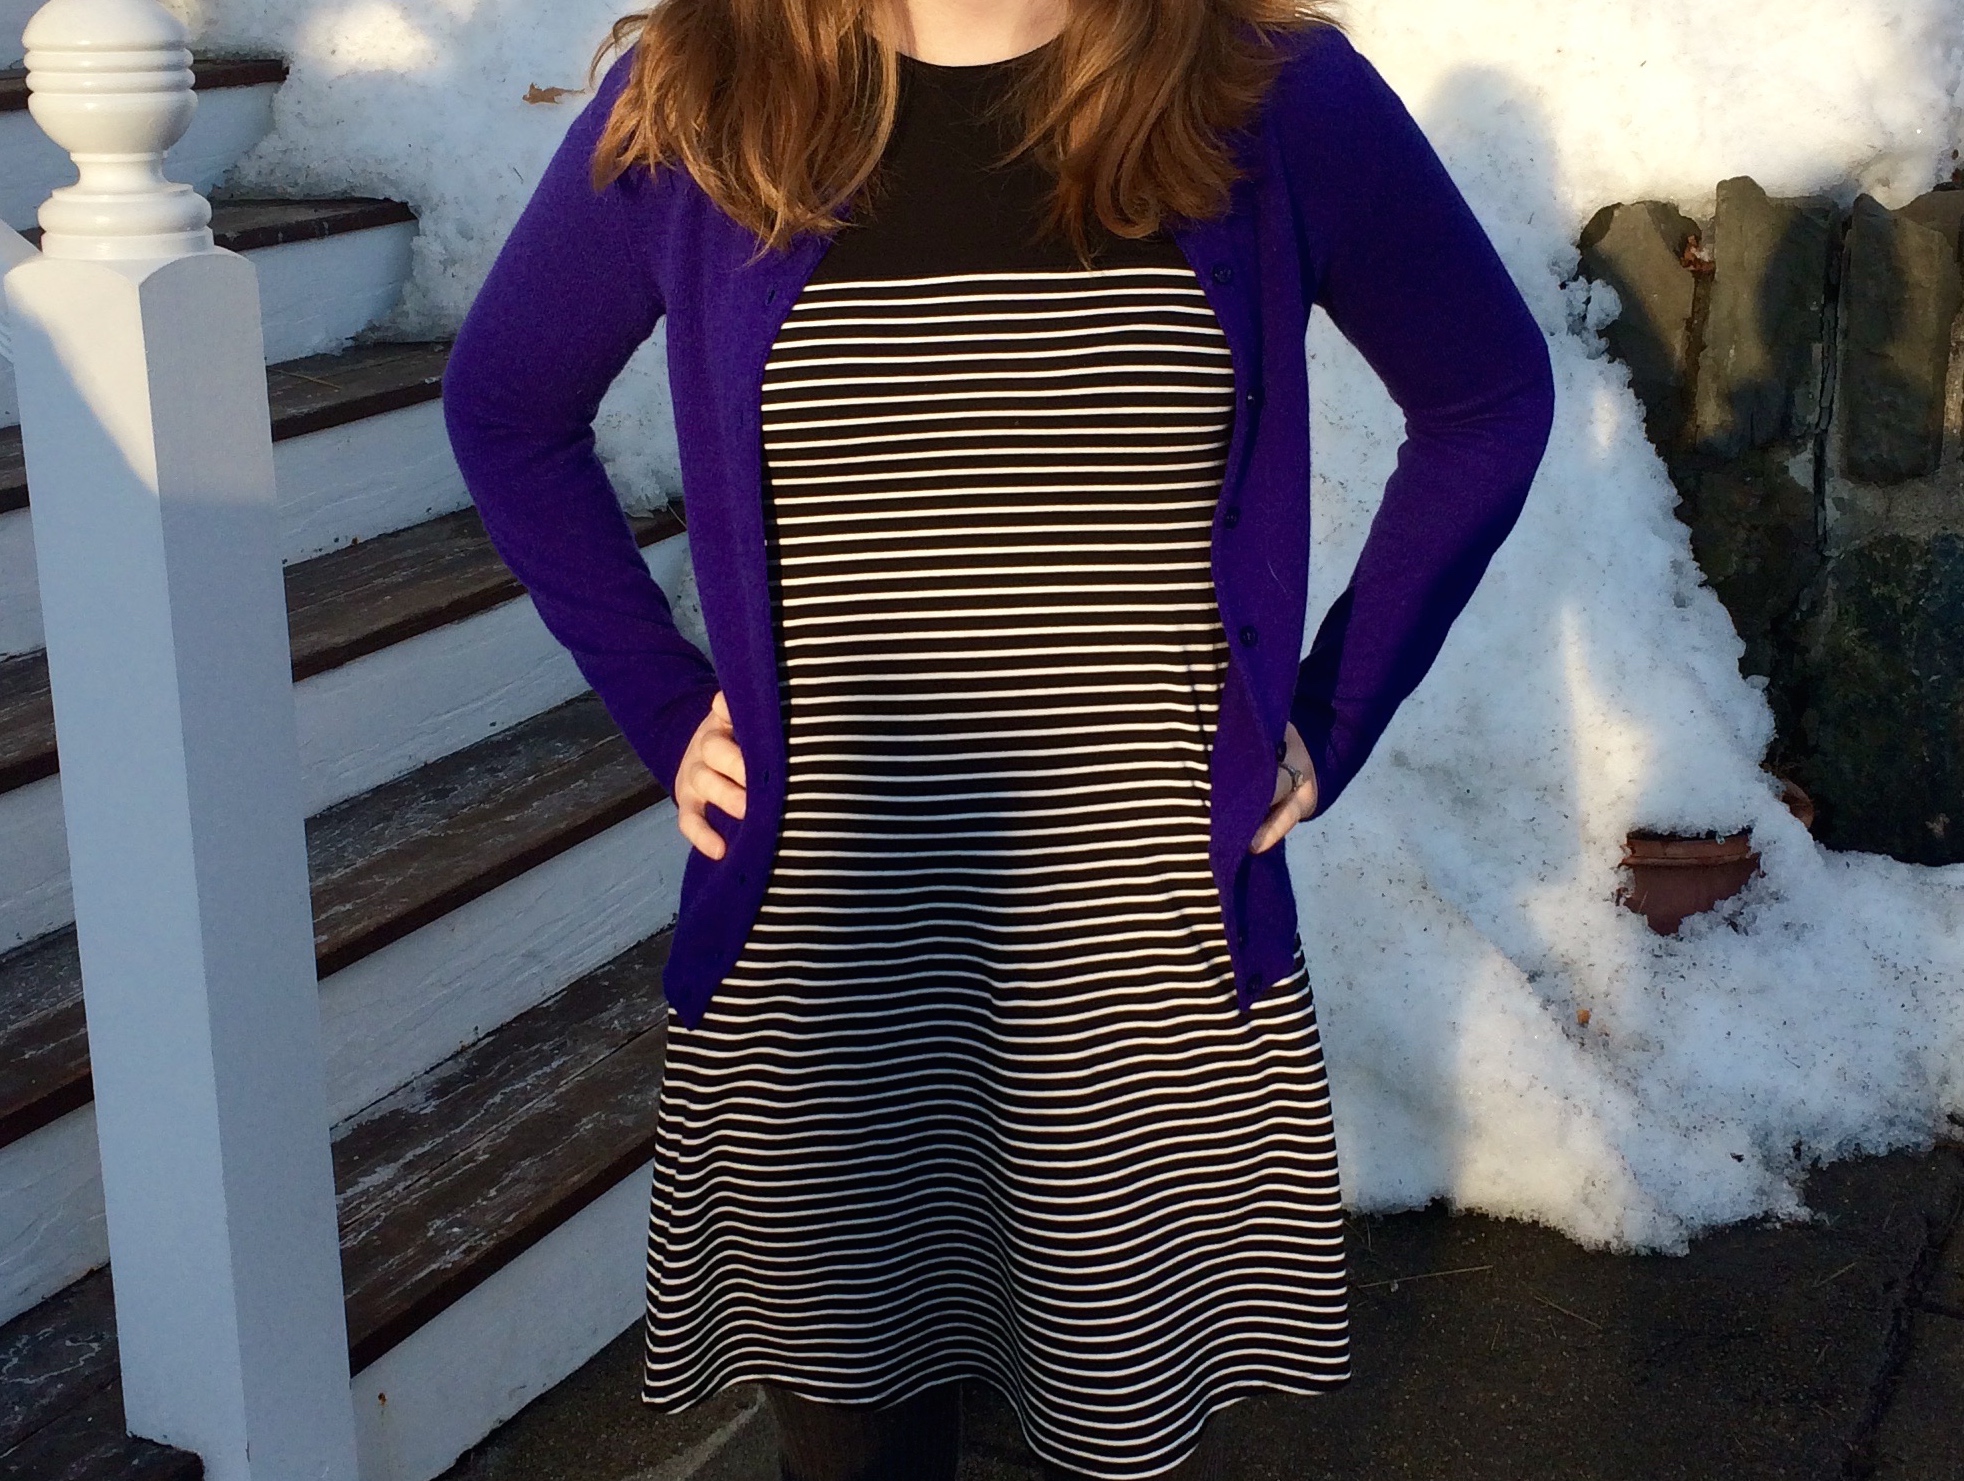
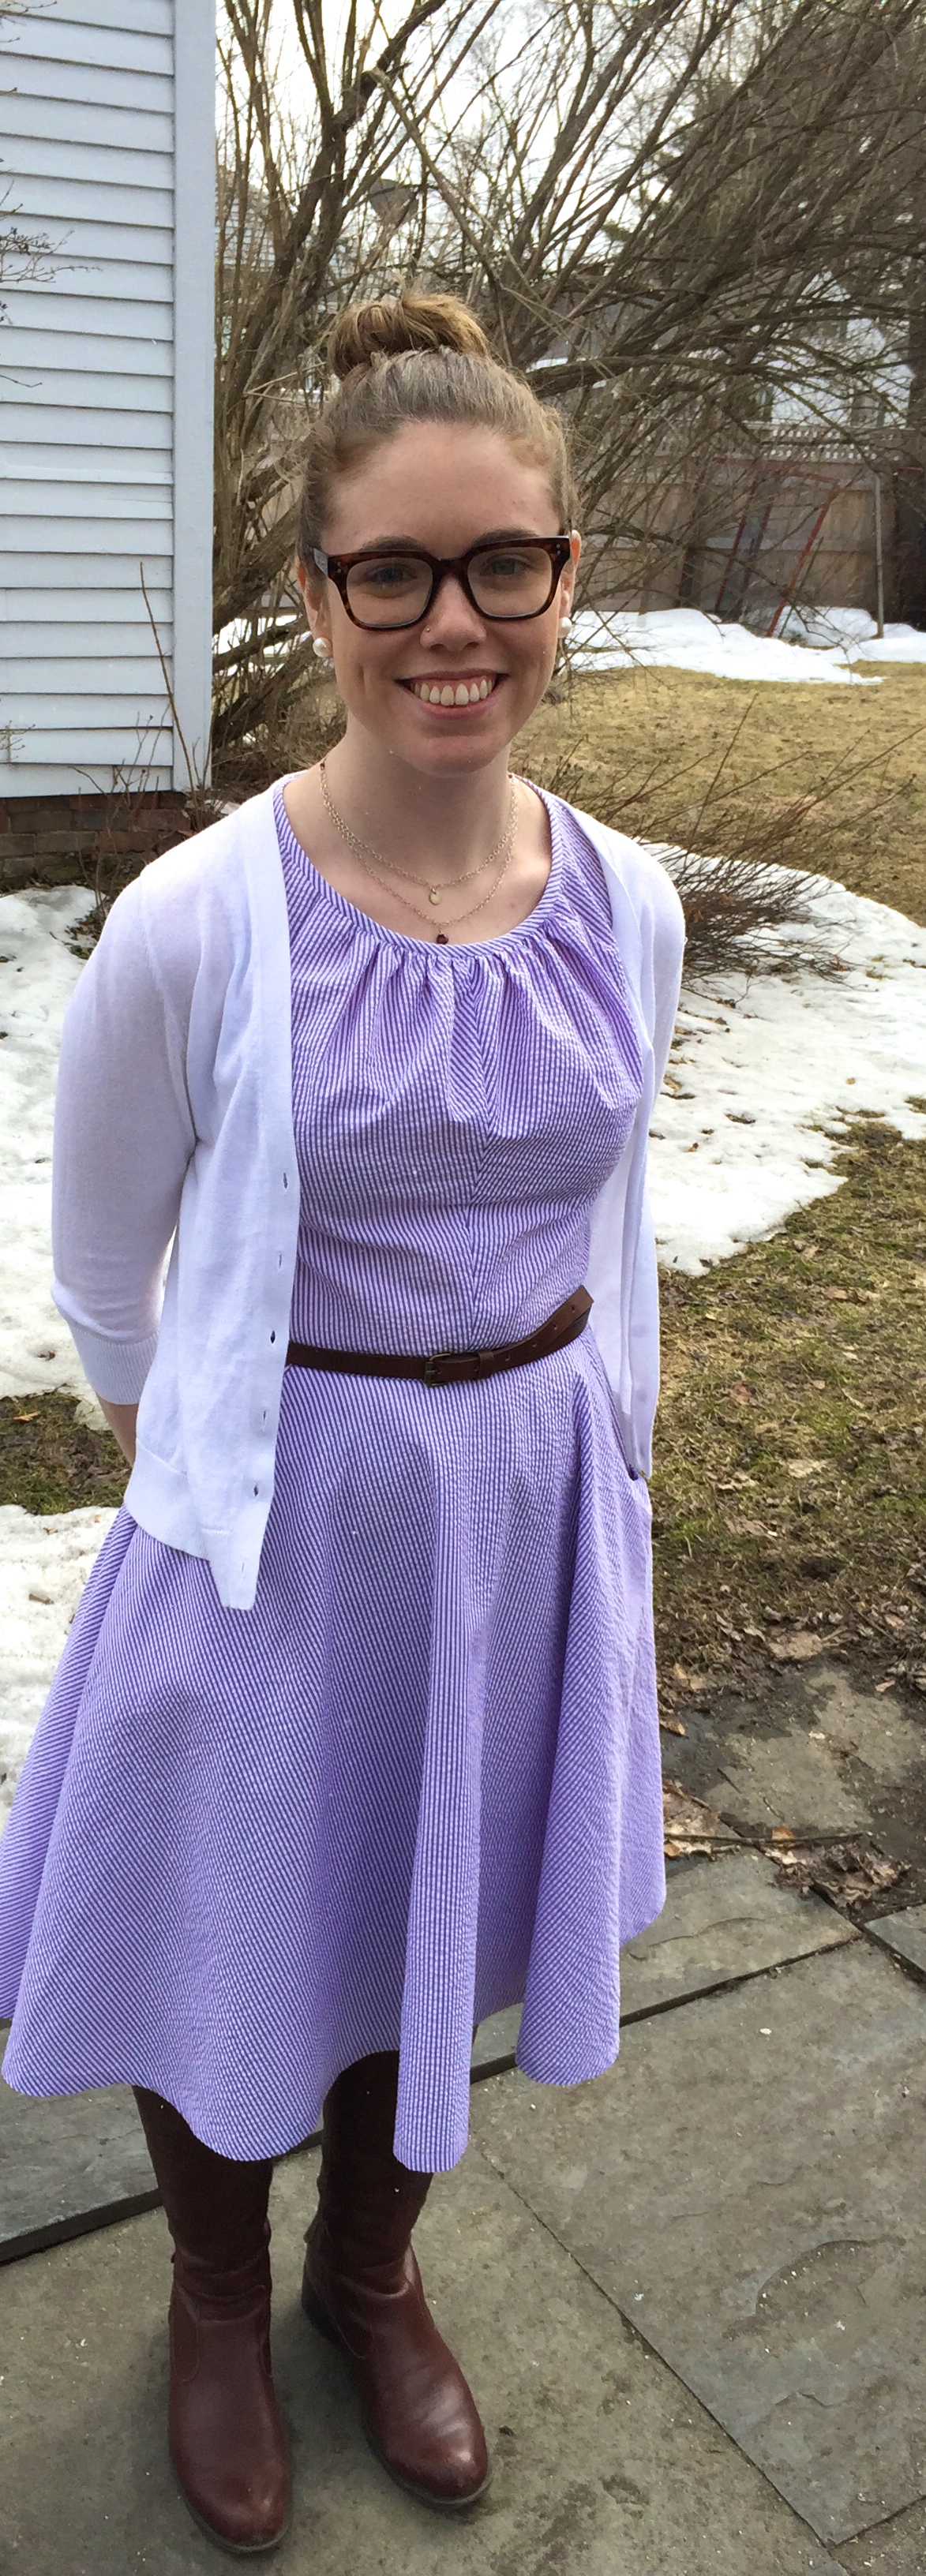
All in all a really satisfying make. The pattern comes together easily and the sewing is quick work. I got to wear it for Easter dinner last weekend. It layered well with a cardigan, blazer, tights and boots. Oh New England, will you ever warm up again!! Can’t wait to wear this in real spring/summer weather. The seersucker I used is so yummy and will make for such a nice dress in the hot humid summers we get here in Boston. I’m looking forward to making another one soon!
Details:
Pattern: Felicity Dress by Jennifer Lauren Vintage
Fabric: Robert Kaufman Seersucker in Lupine from fabric.com
-Hannah