2017 Sewing Wrap-Up

One of my goals for 2018 is to blog more, which shouldn’t be too hard since I only blogged once last year…oops. I don’t think I’m going to be a weekly blogger, or that I will even write a post for every project that I finish but I’m aiming for a post every month.

I’m going to start with a wrap-up of the projects I worked on last year.

By a quick count I made 55 garments last year. I think I’m probably missing a few but even with 55 that means I’m averaging about a garment a week!! I love the graphs that lots of makers have been posting so here’s the breakdown:Screen Shot 2018-01-04 at 12.51.48 PM

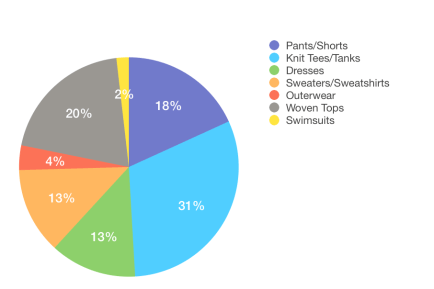
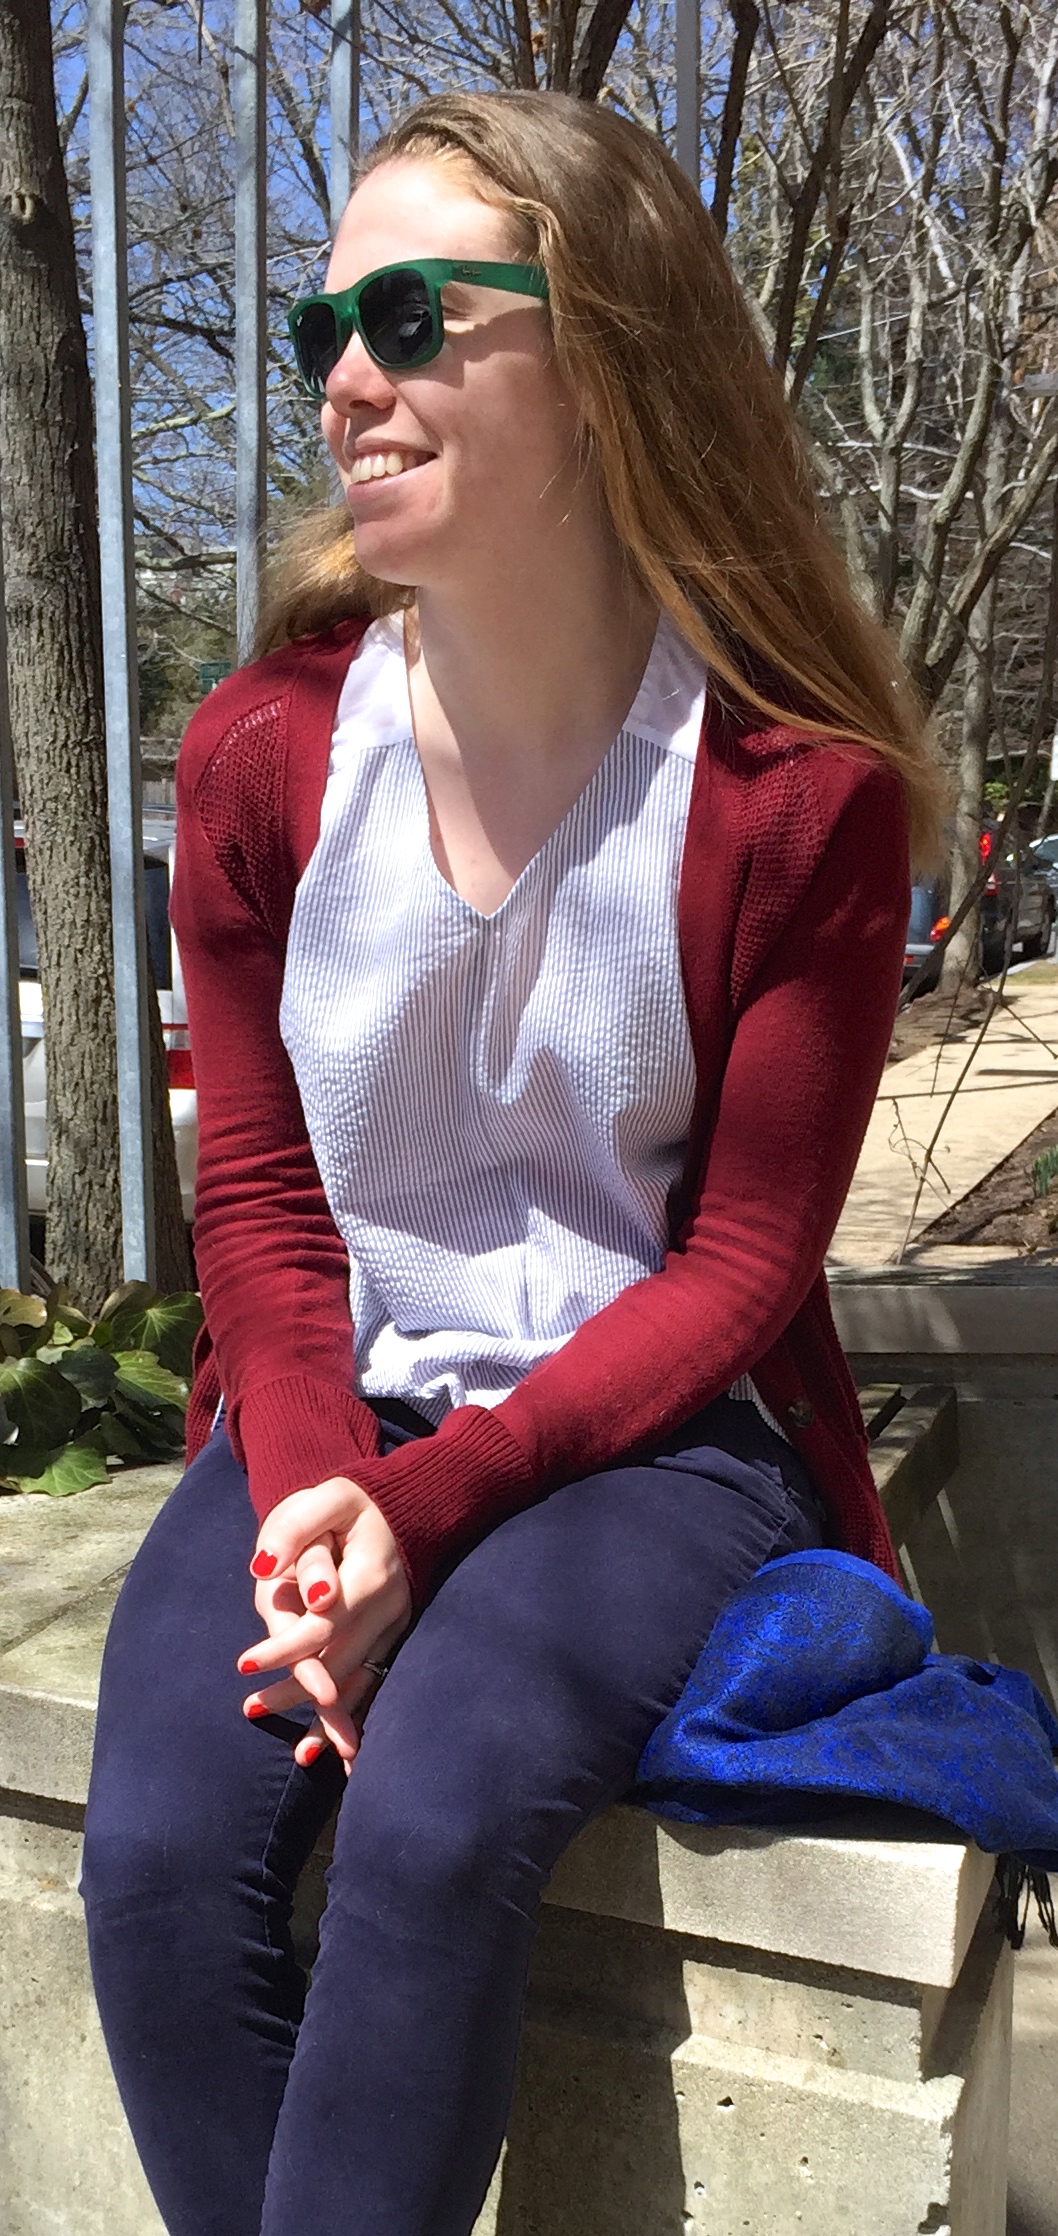
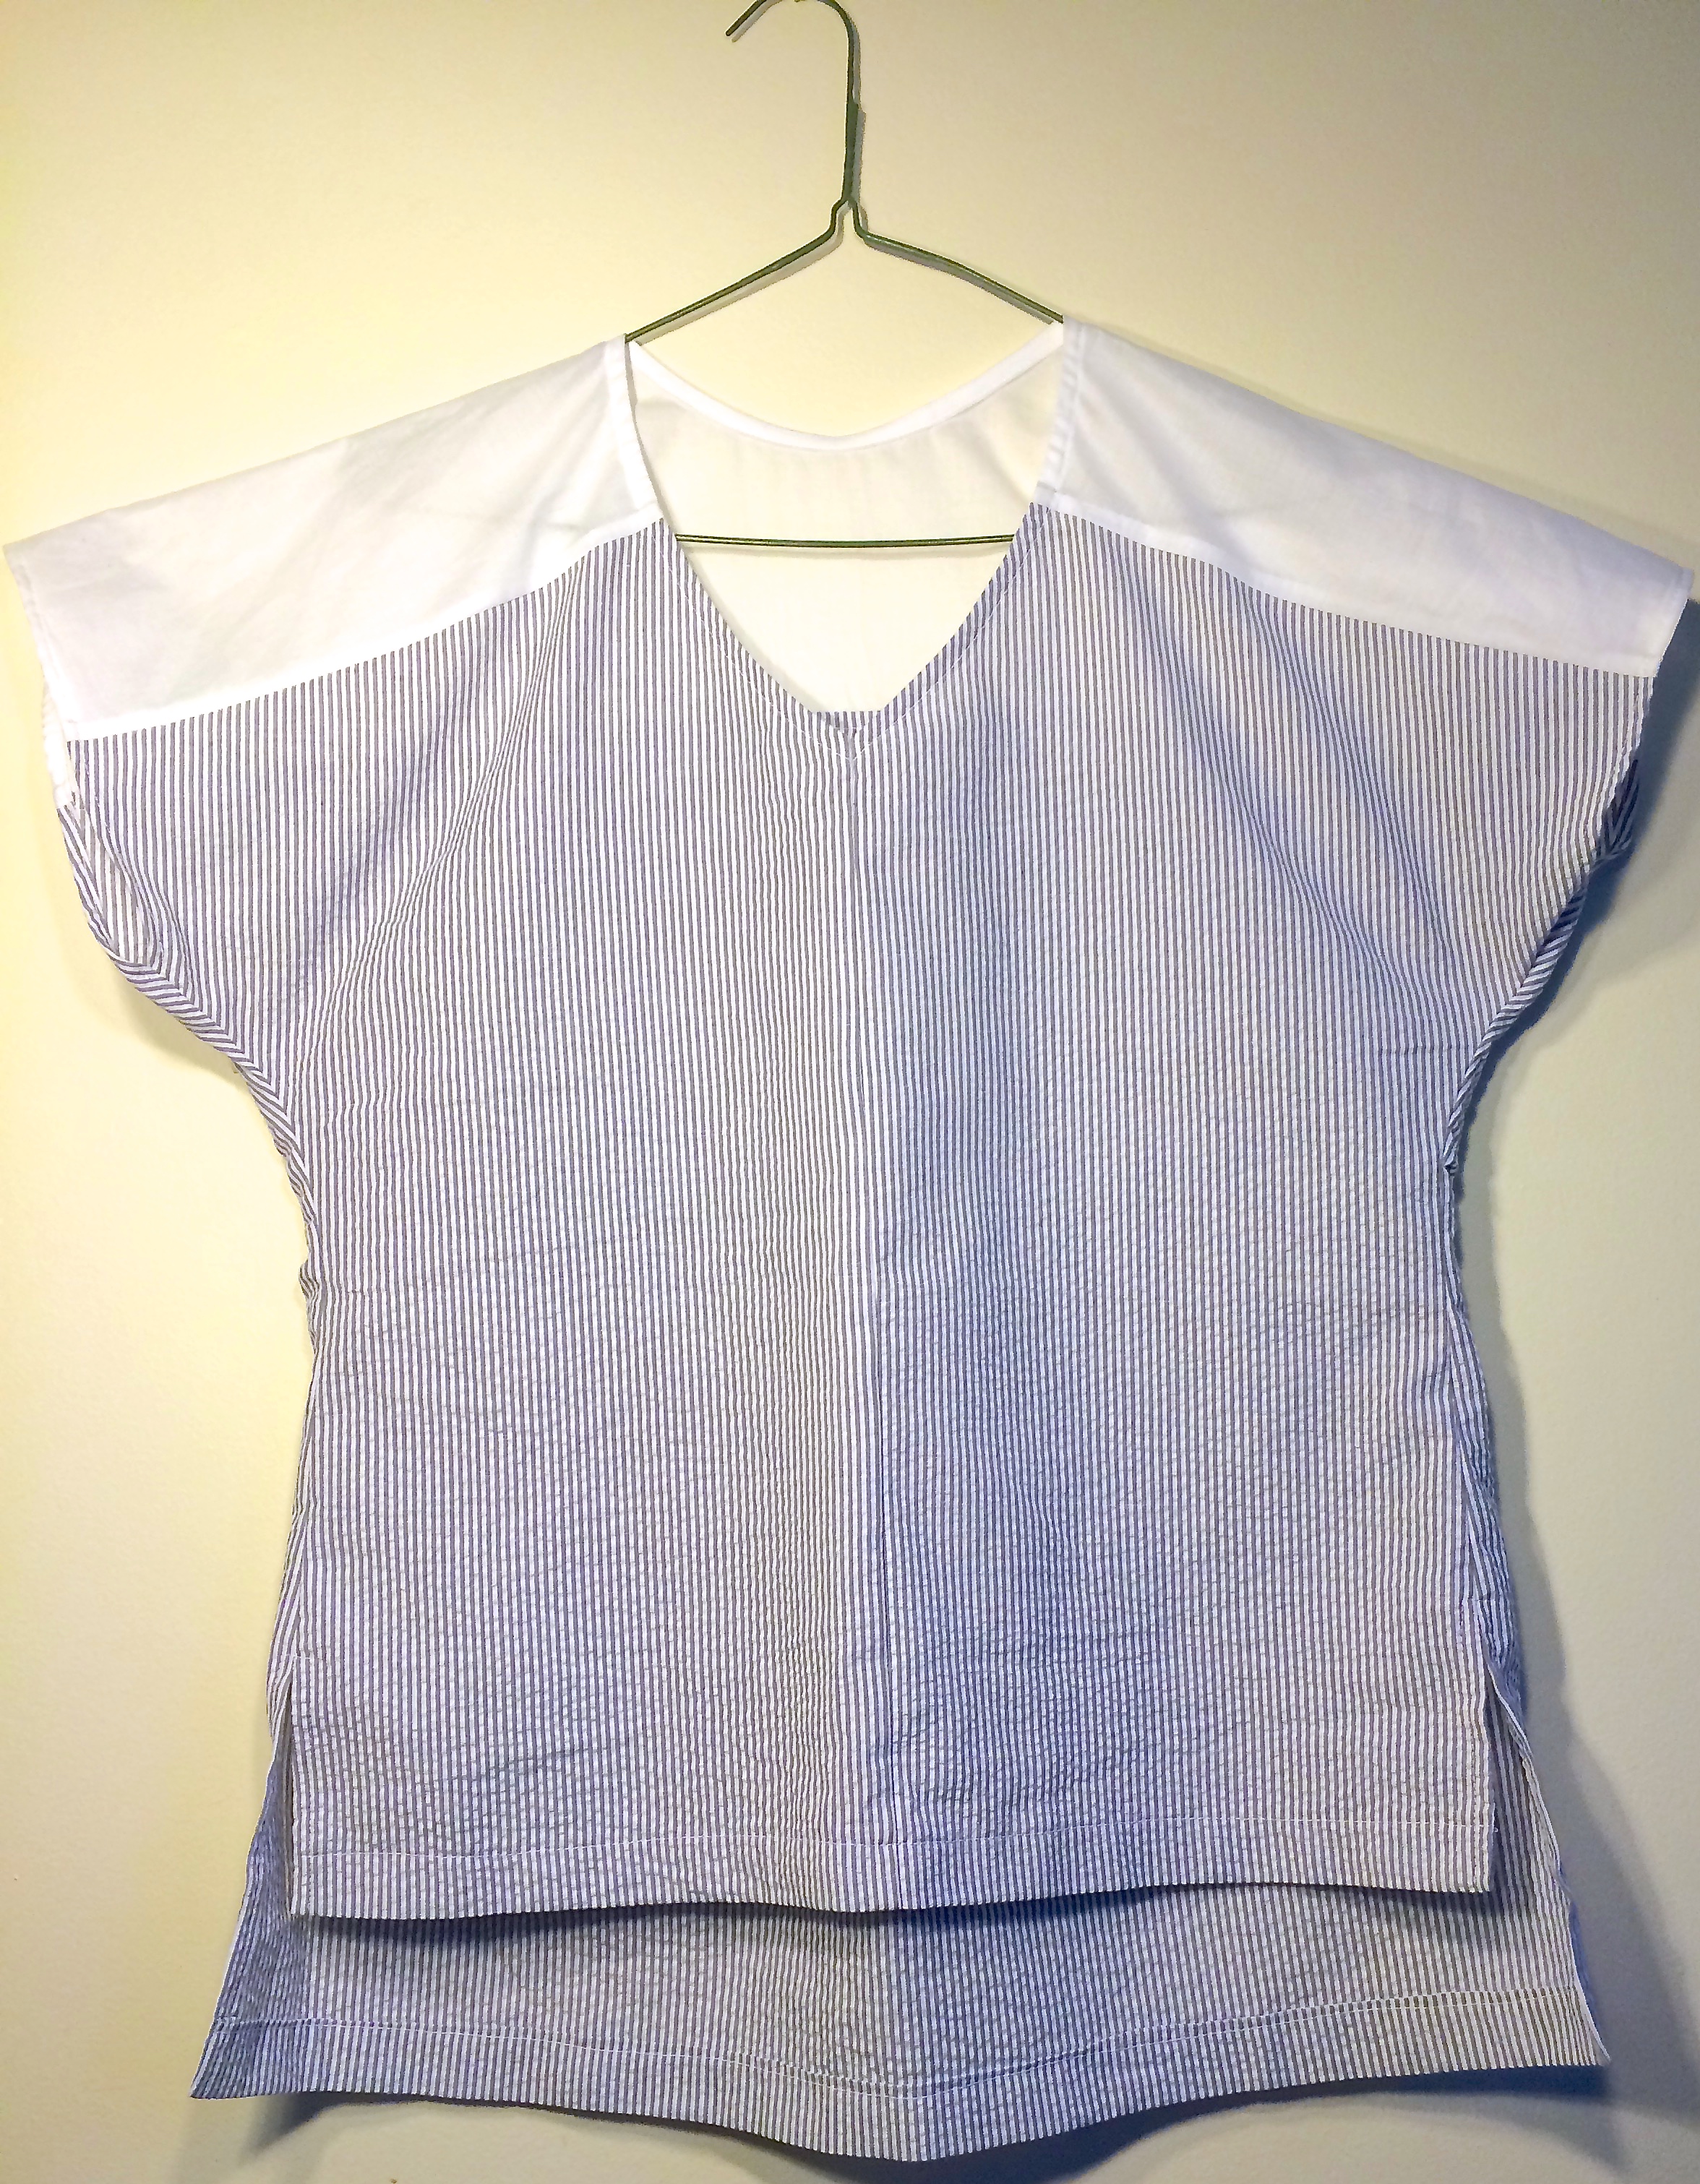
Lots of pants and shorts, lots of woven tops, and at least 17 knit tees and tanks! I’m very excited about the amount of clothing that I made last year and the fact that it’s allowed me to be wearing almost exclusively handmade most days. That’s a goal that I’m continuing to work toward this year.

2017makenine

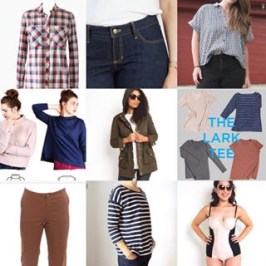
My #2017makenine goals included a Grainline Archer, Closet Case Patterns Ginger Jeans, Style Arc Blaire Shirt, Sew House Seven Toaster Sweater, CCP Kelly Anorak, Grainline Lark Tee, Alina Design Co. Chi-town Chinos, Grainline Hemlock, and CCP Sophie Swimsuit. I made 8 of those 9 patterns, some more than once! The Chi-town Chinos are the only pattern on that list that I did not make and that was simply because they didn’t make it to the top of the list until November when I was feeling the crunch with work and school. They will hopefully be made, at least once, in 2018.

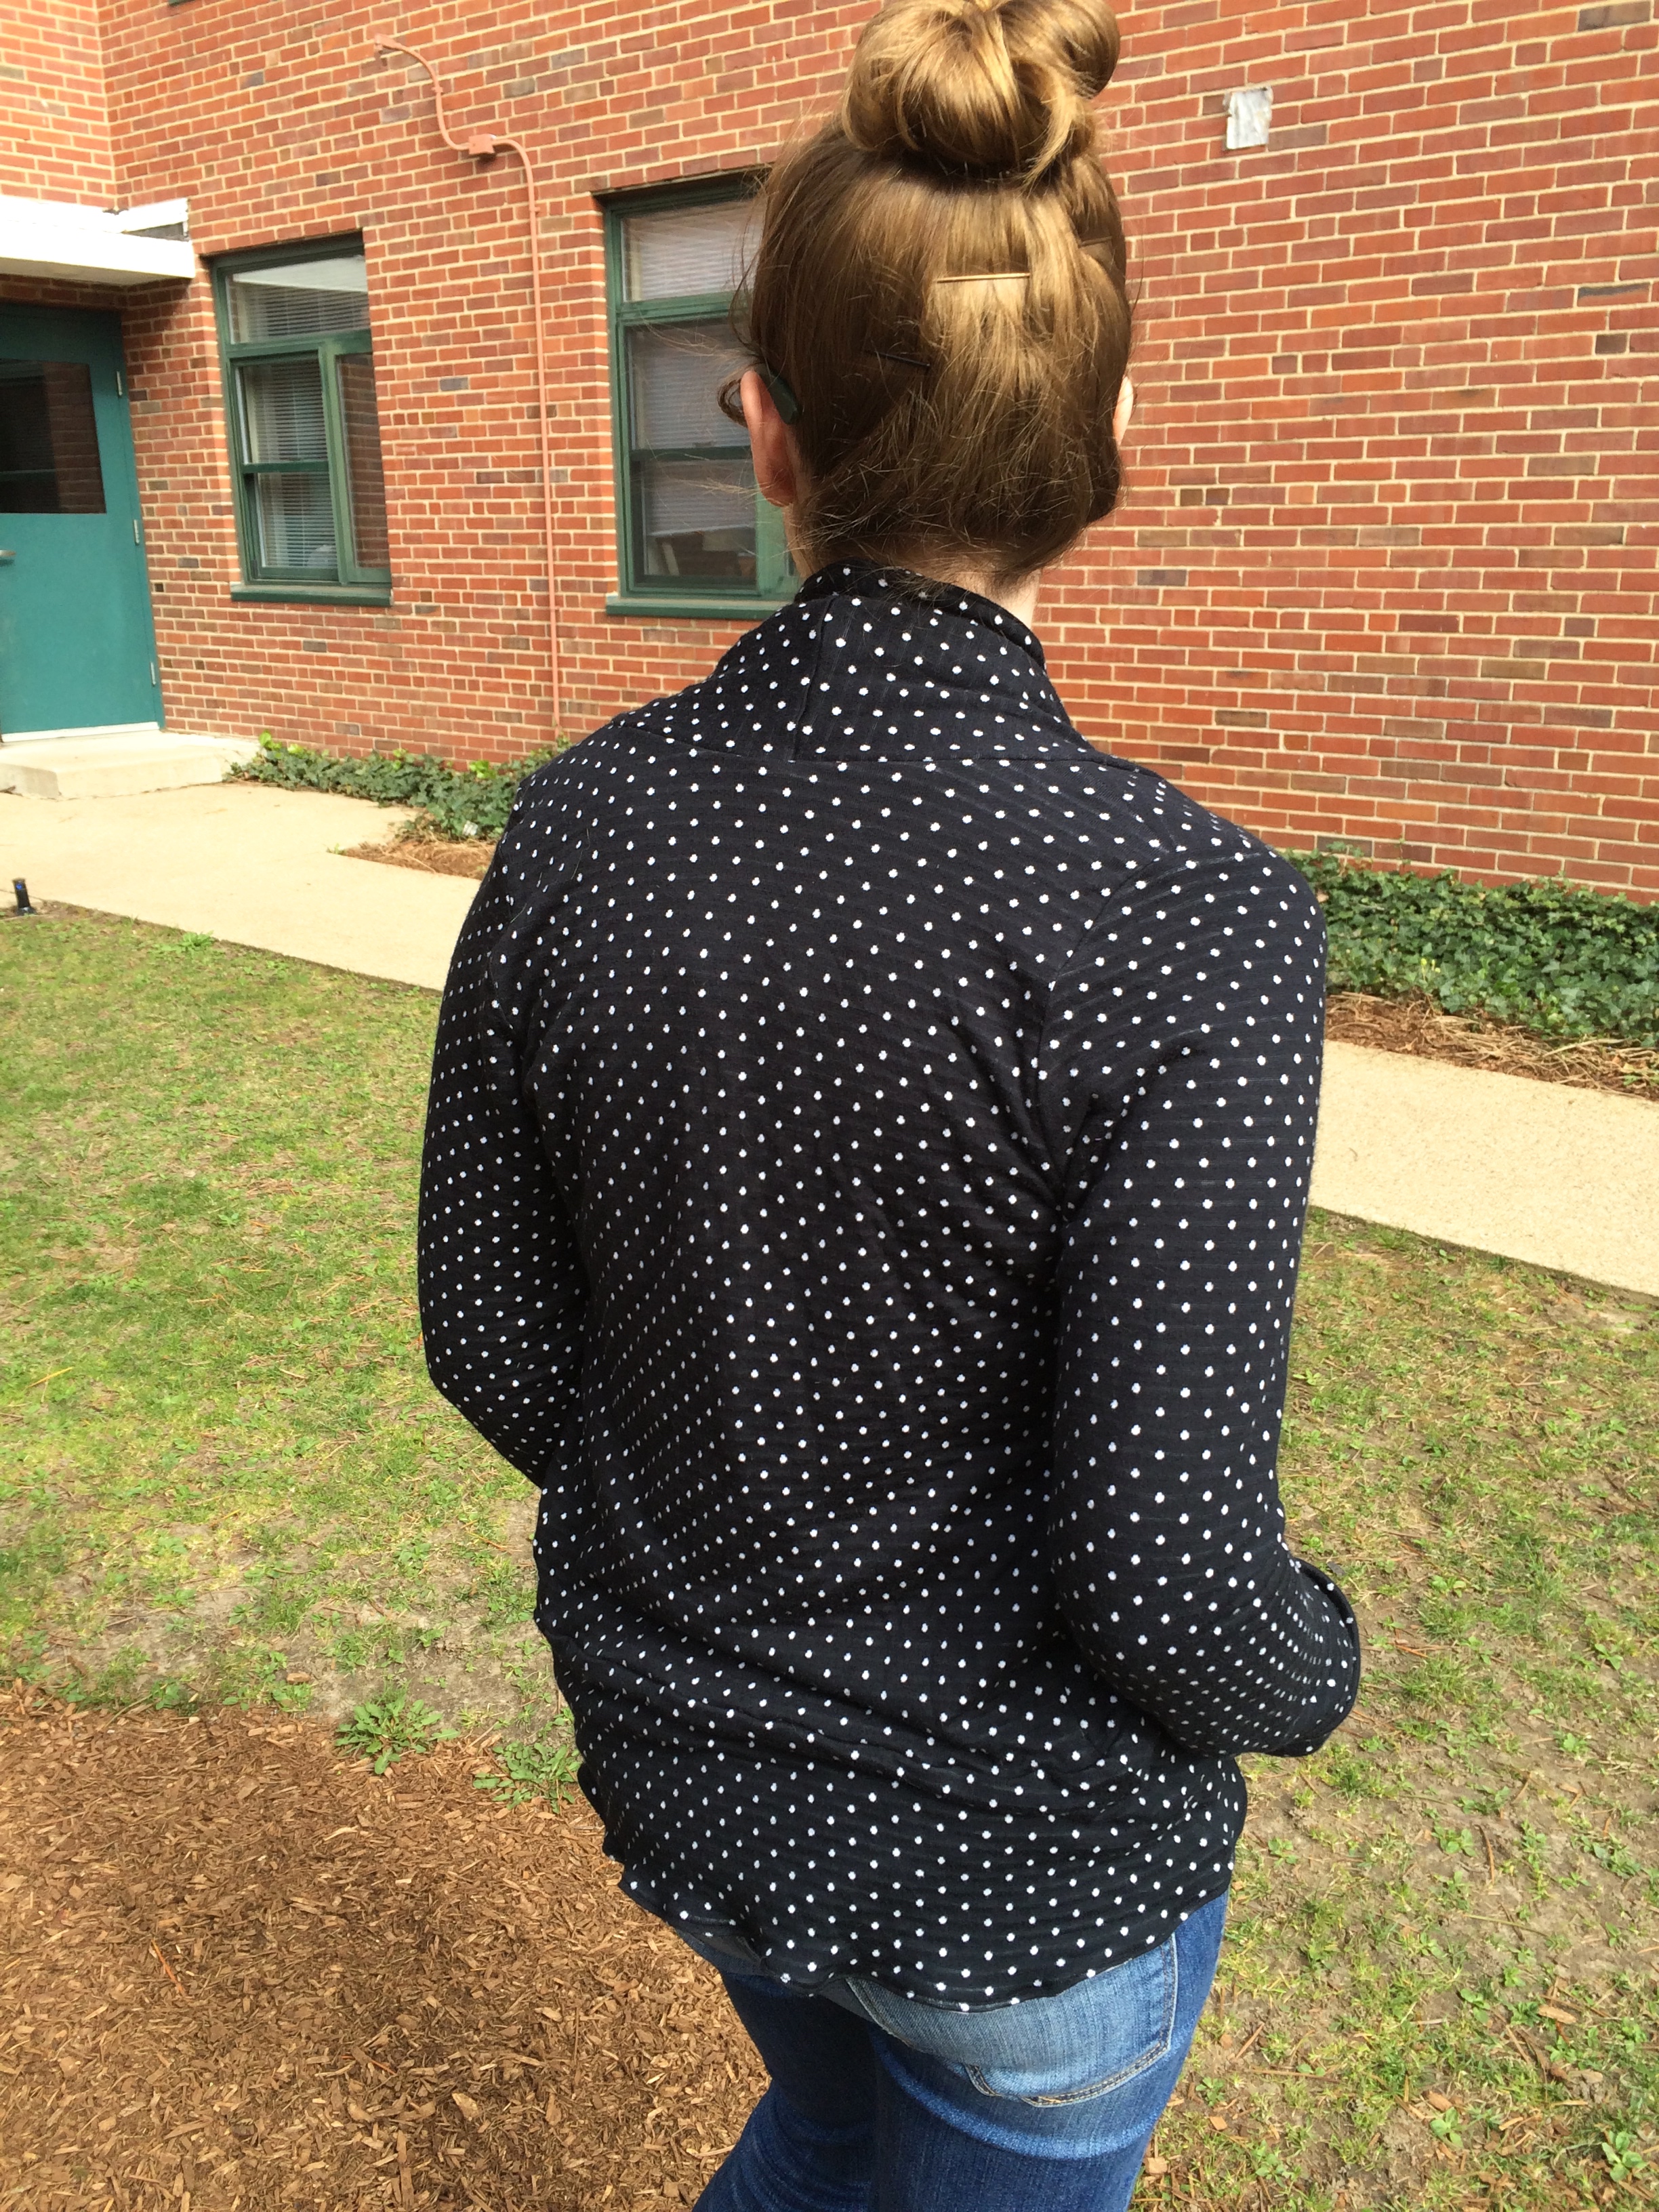
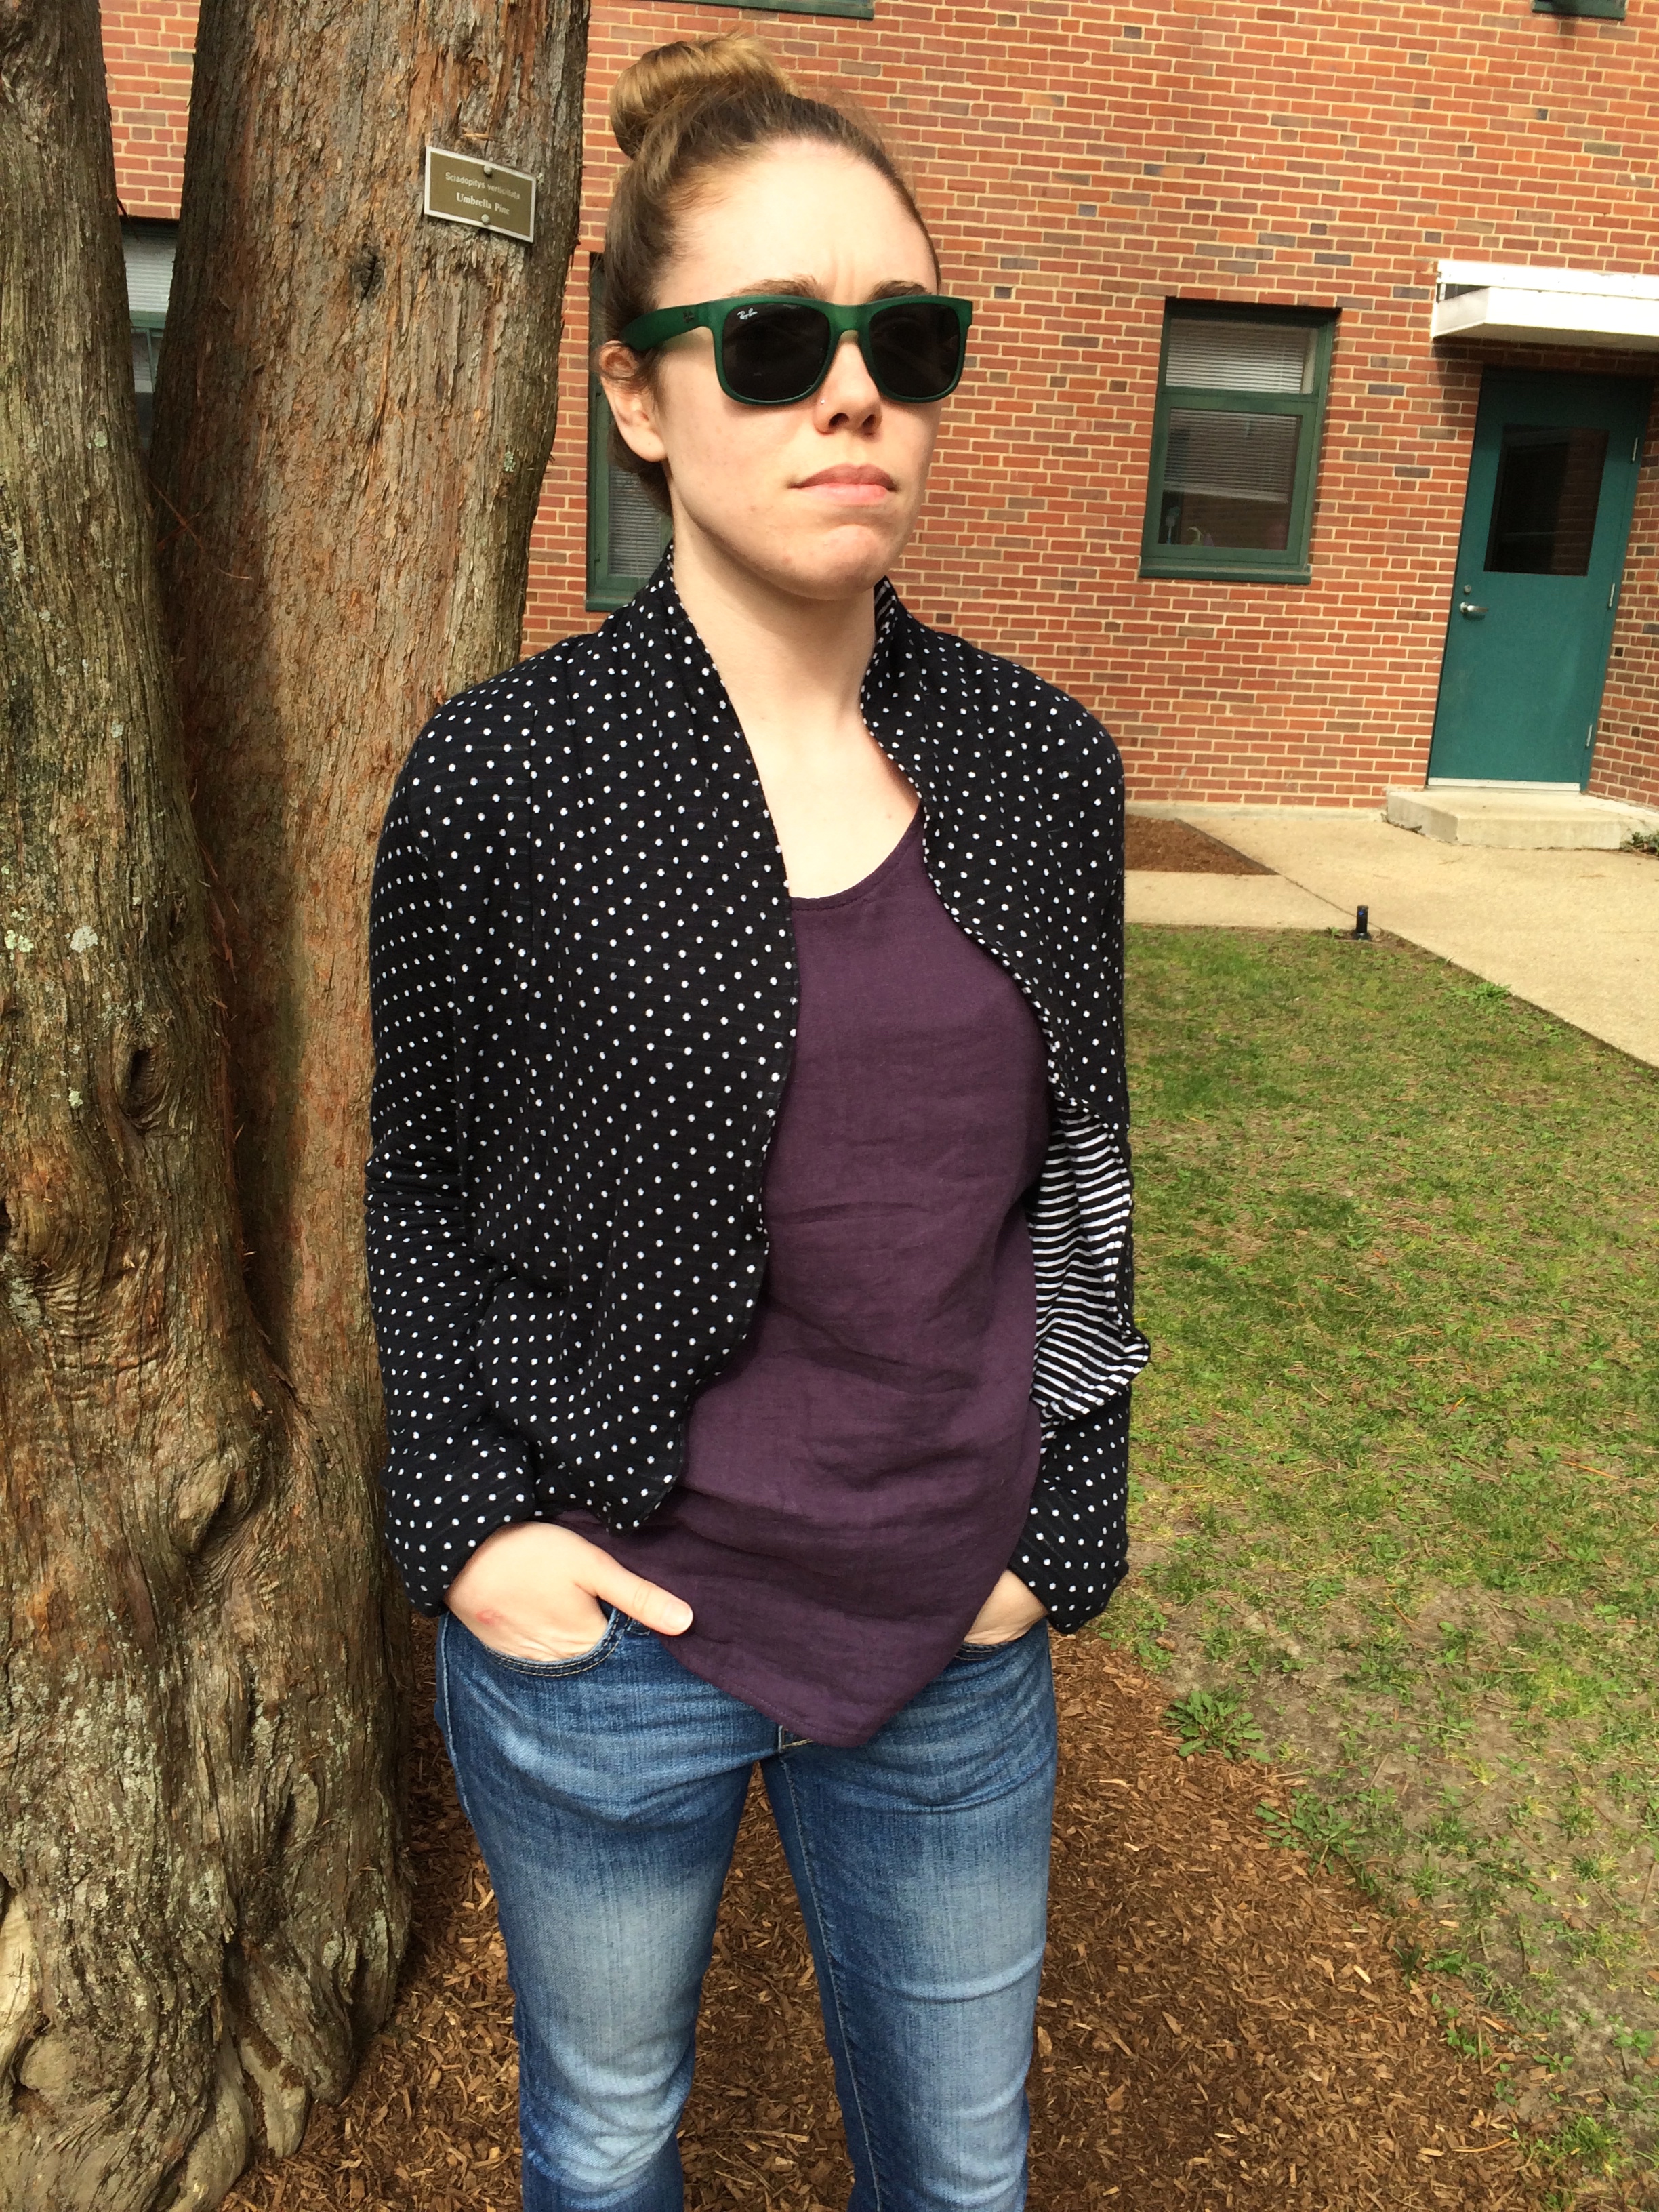
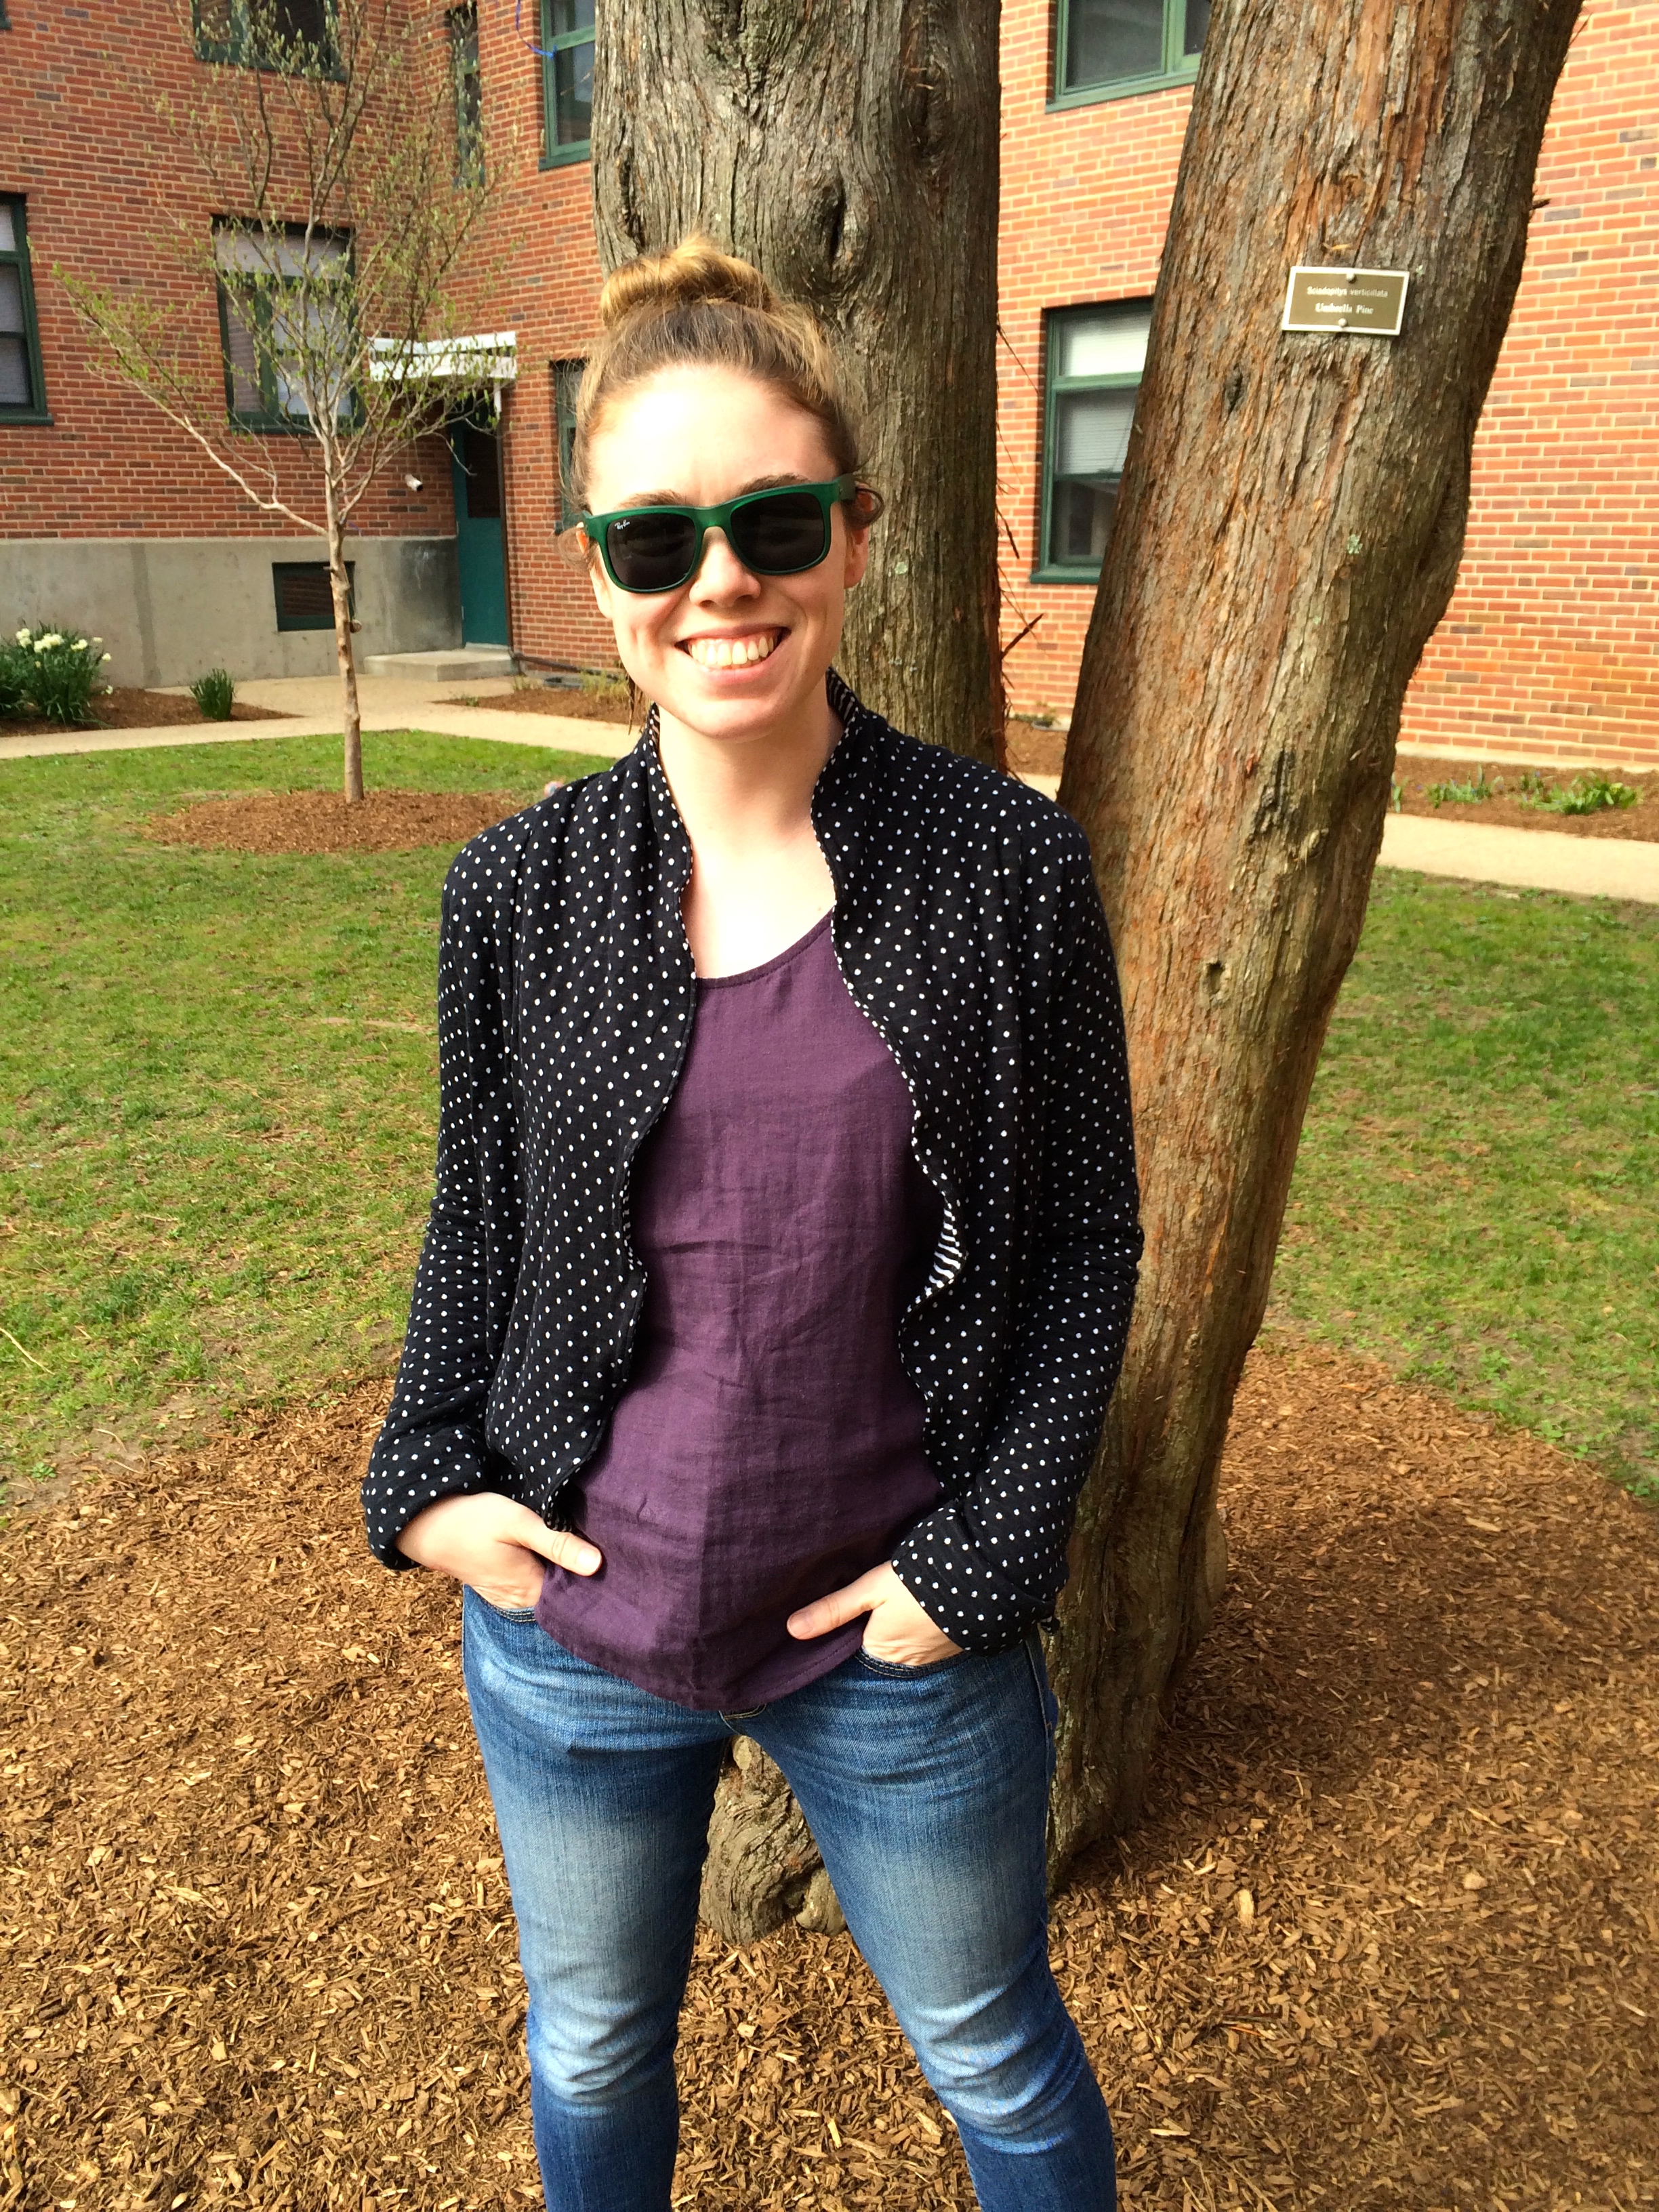
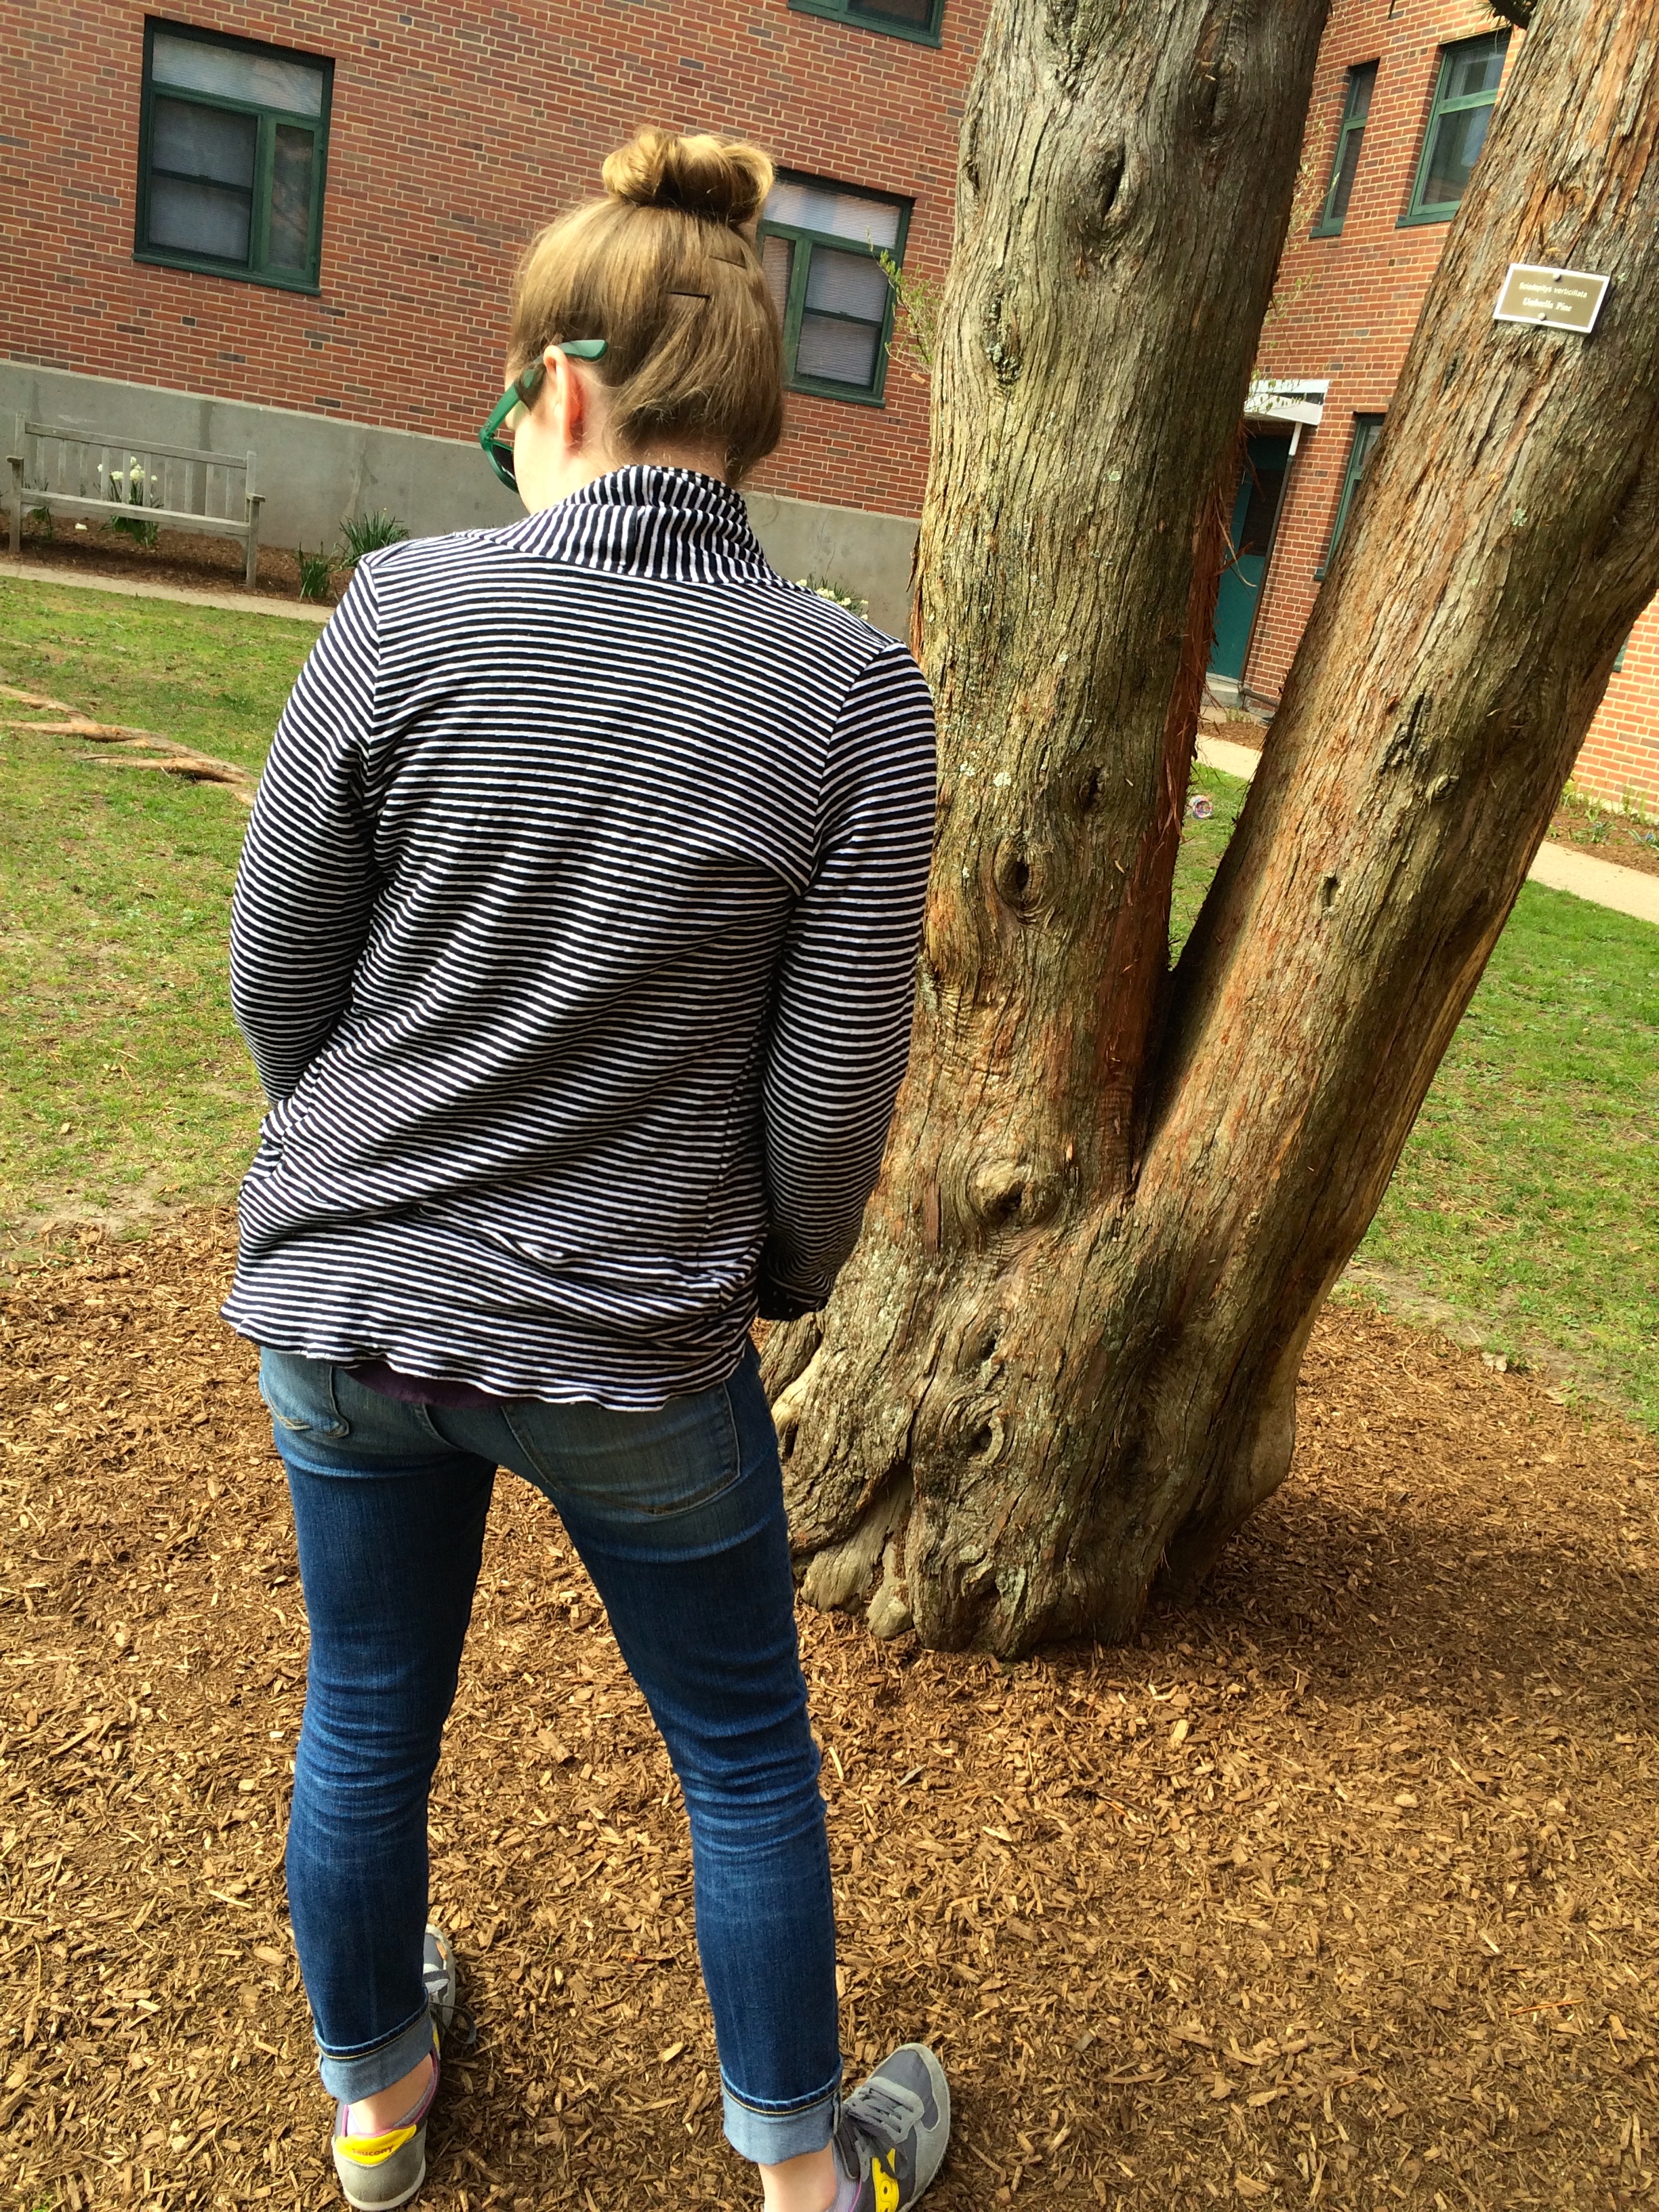
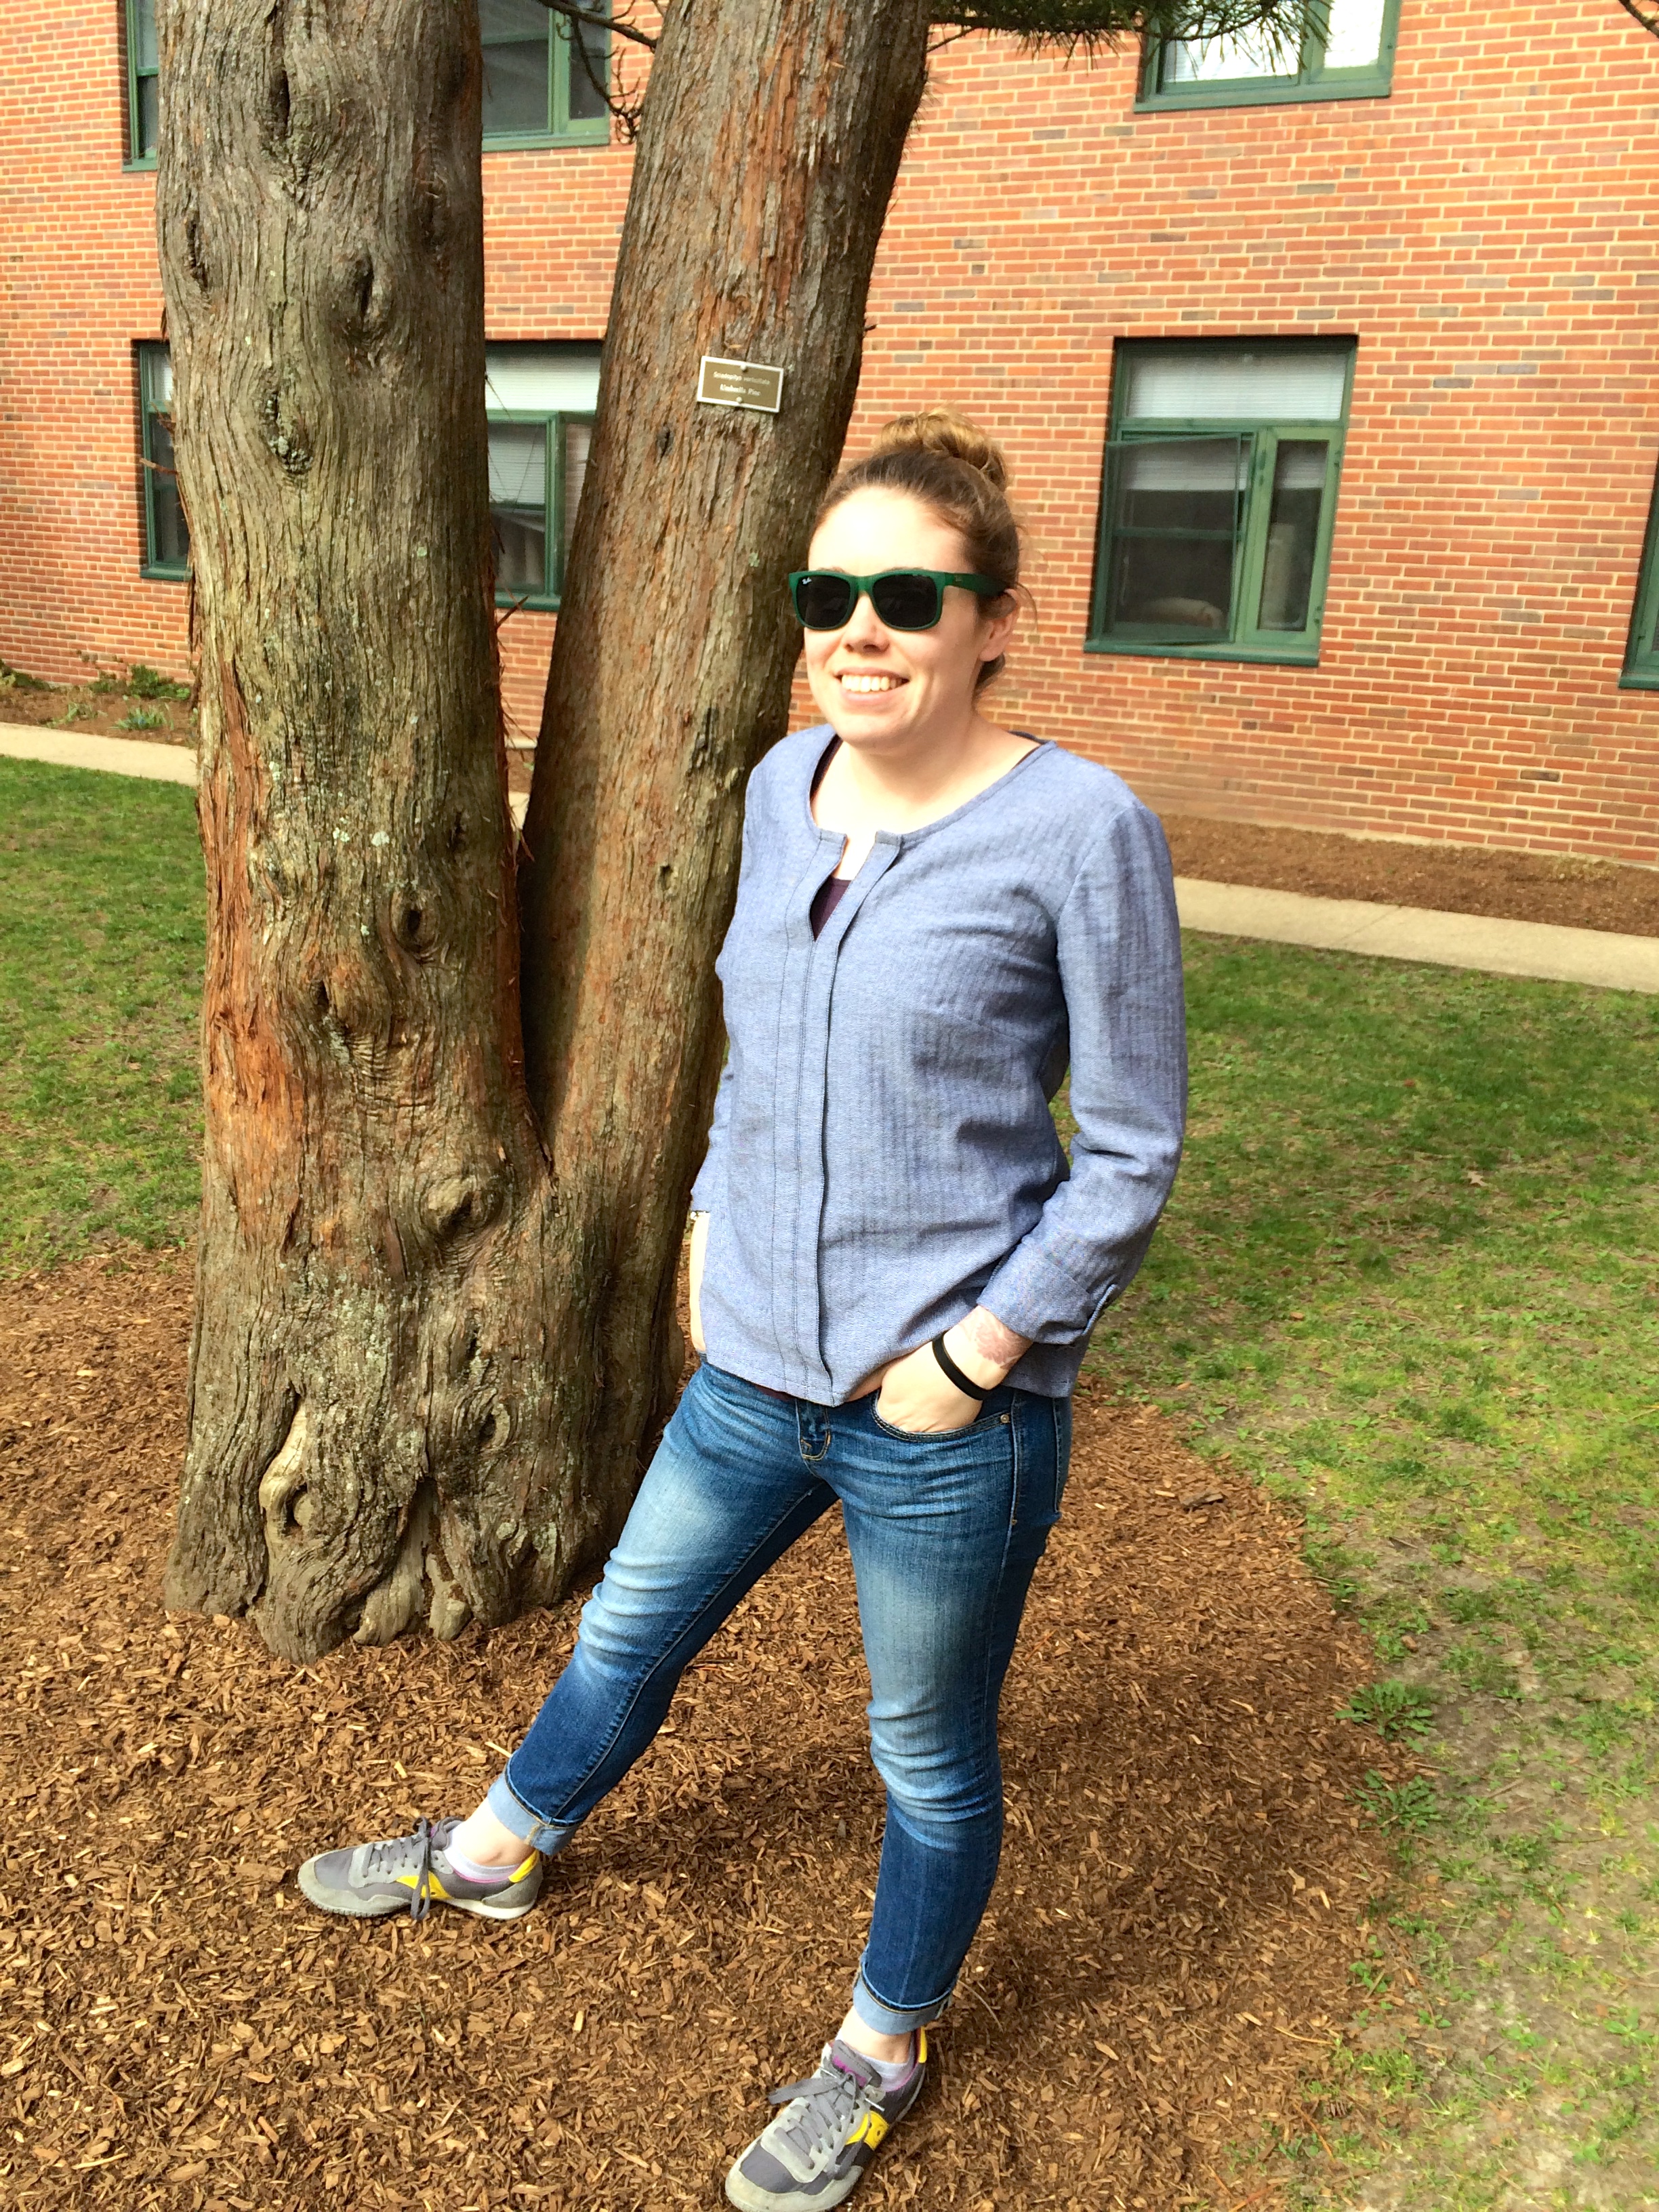
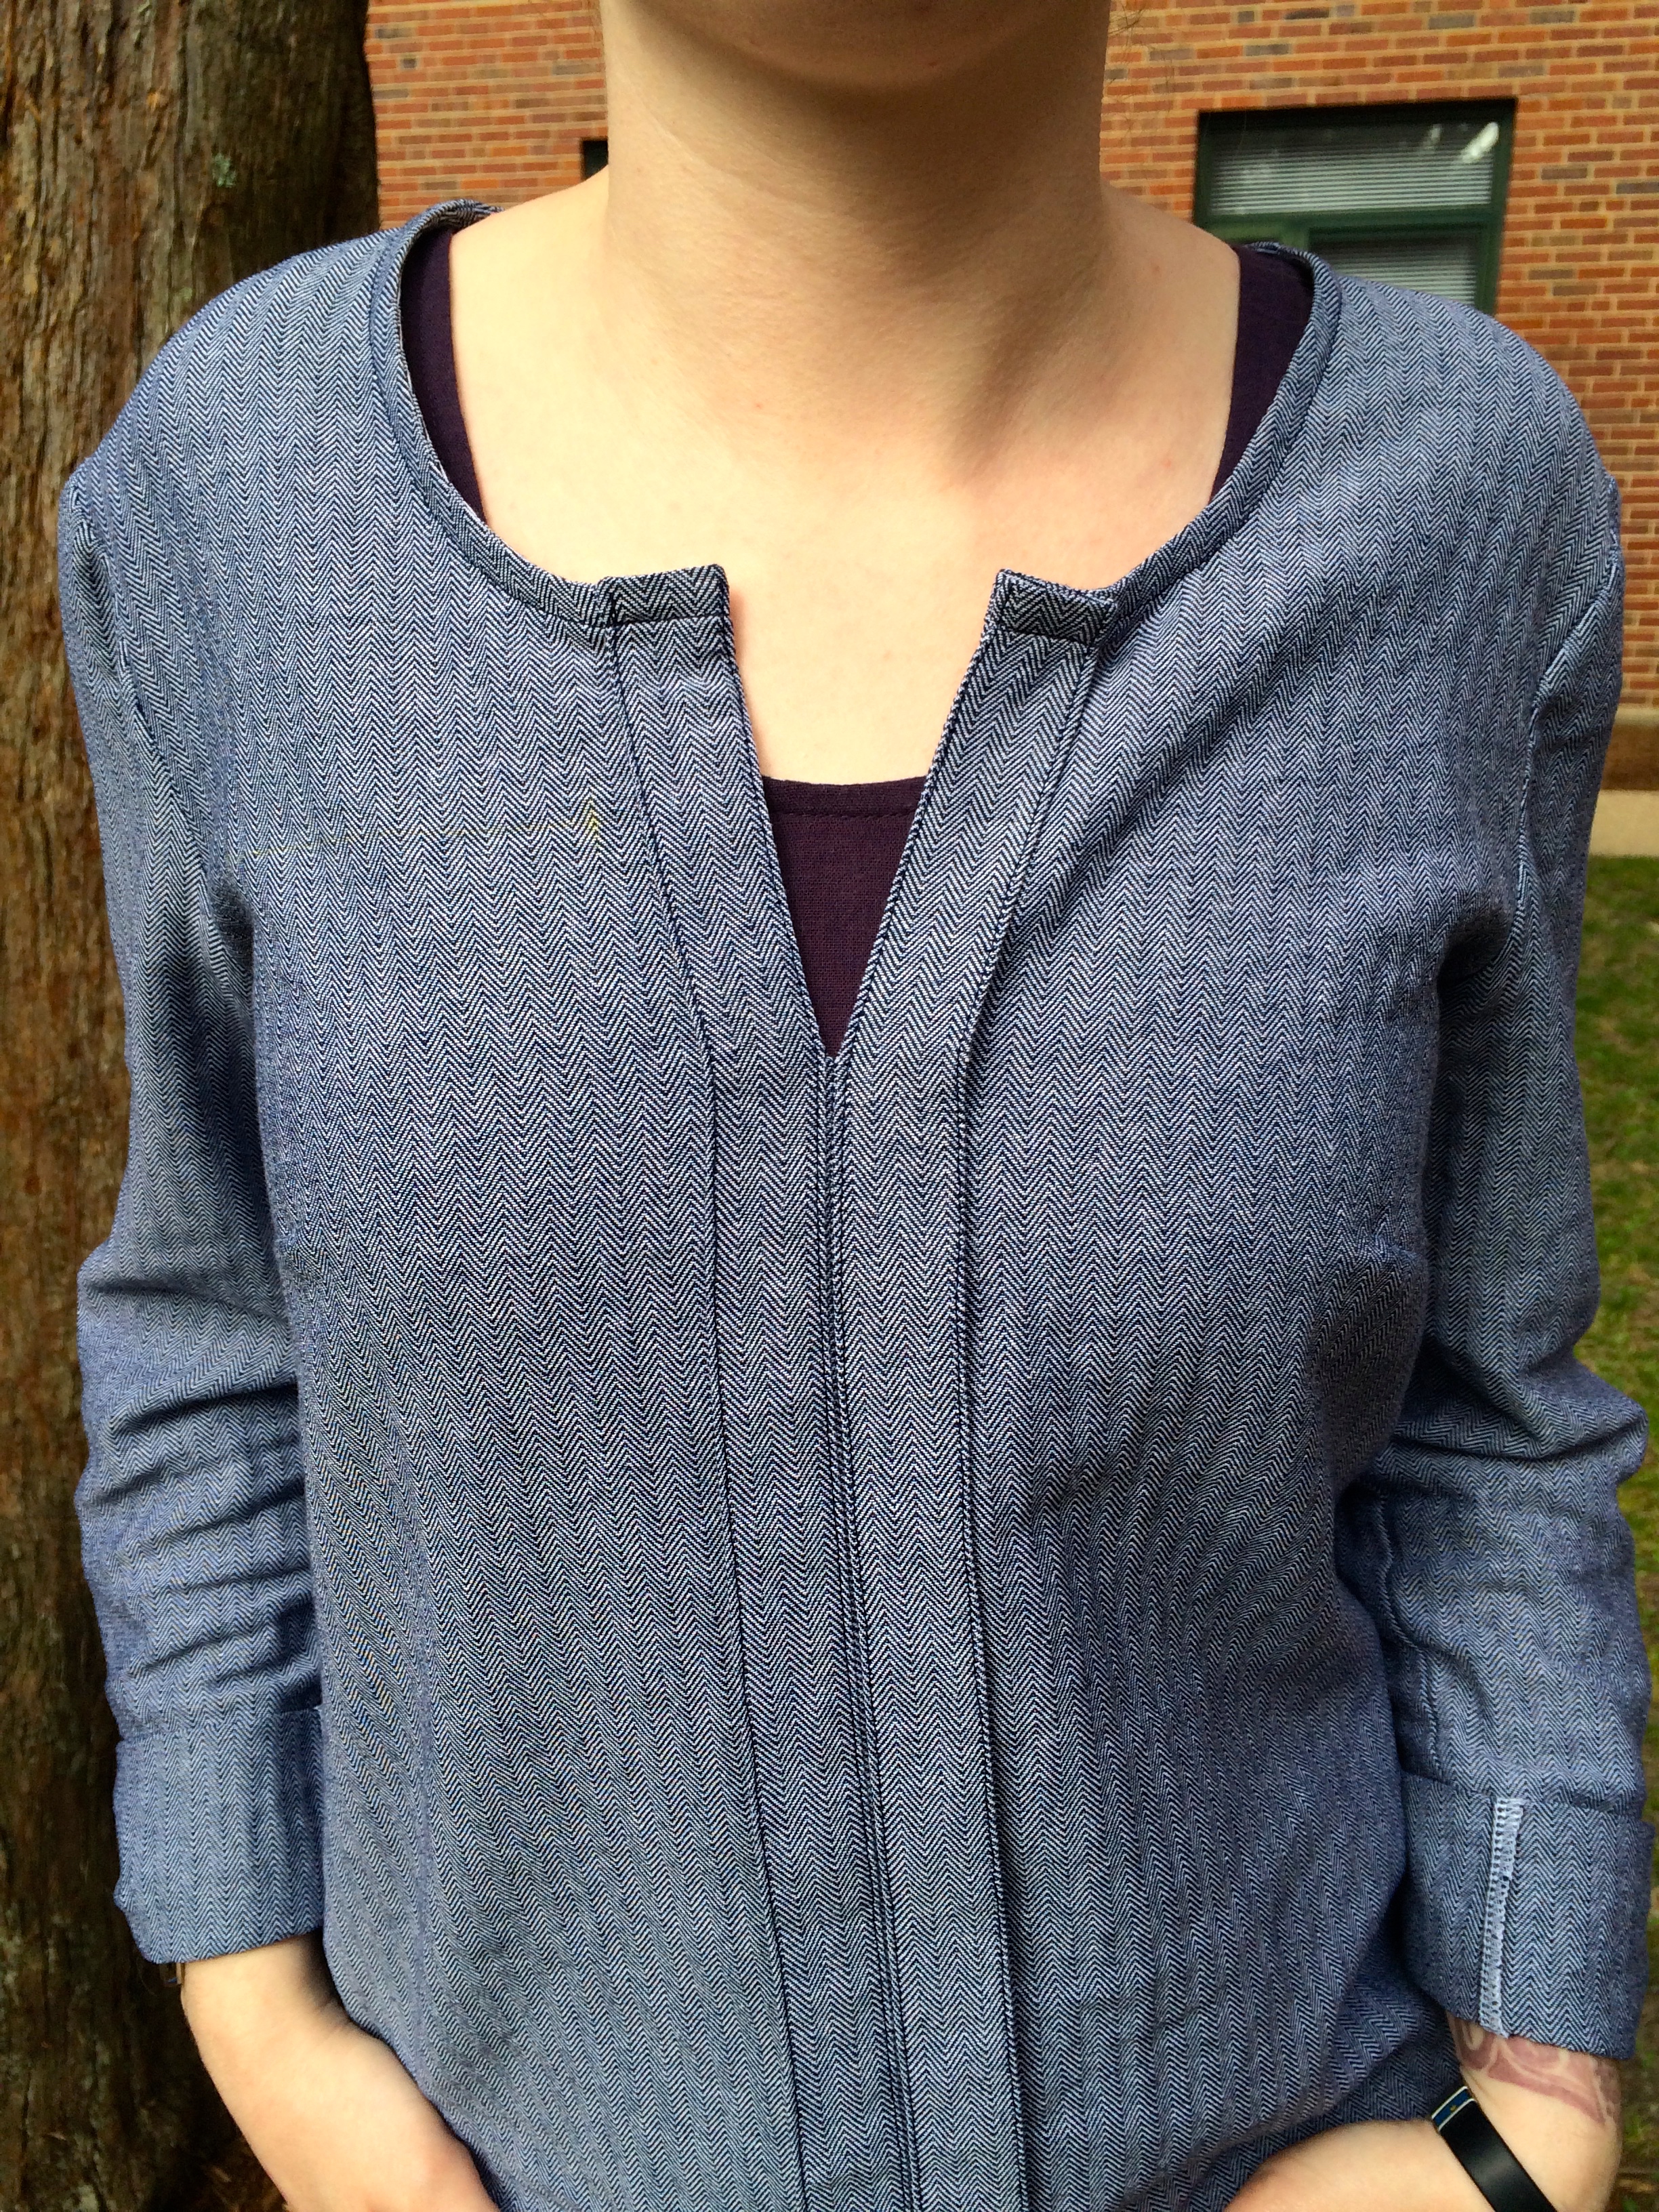
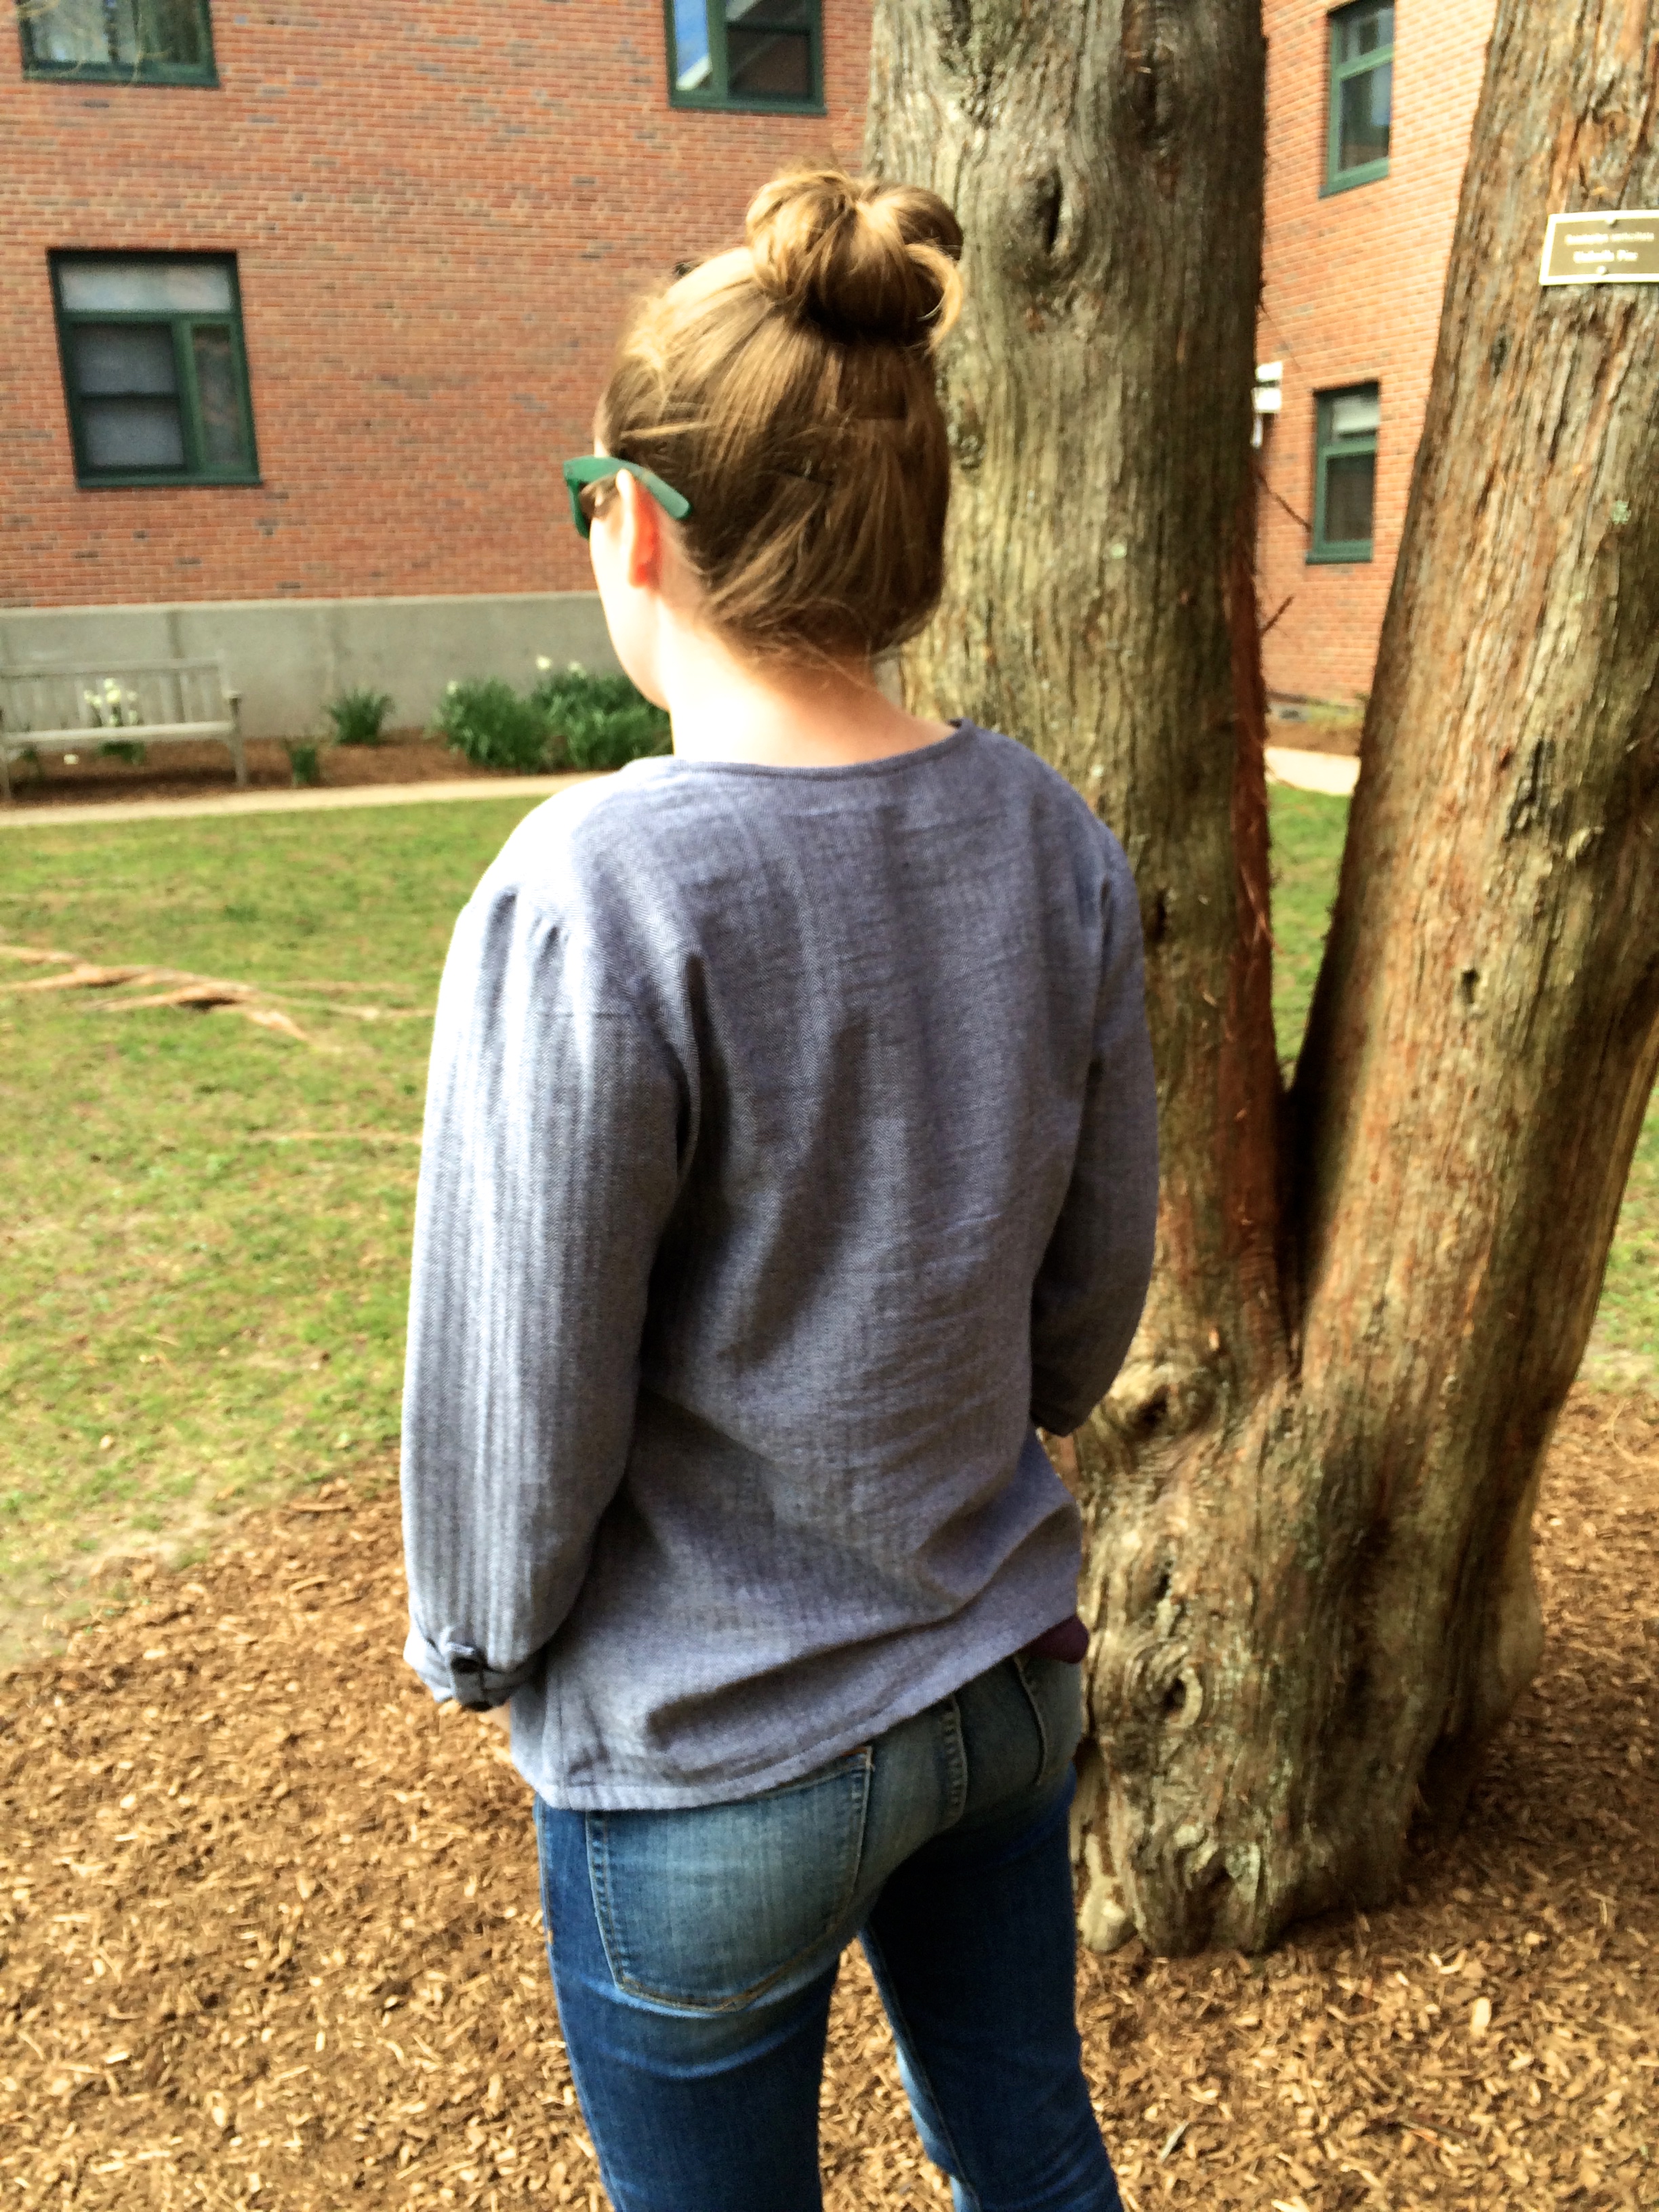
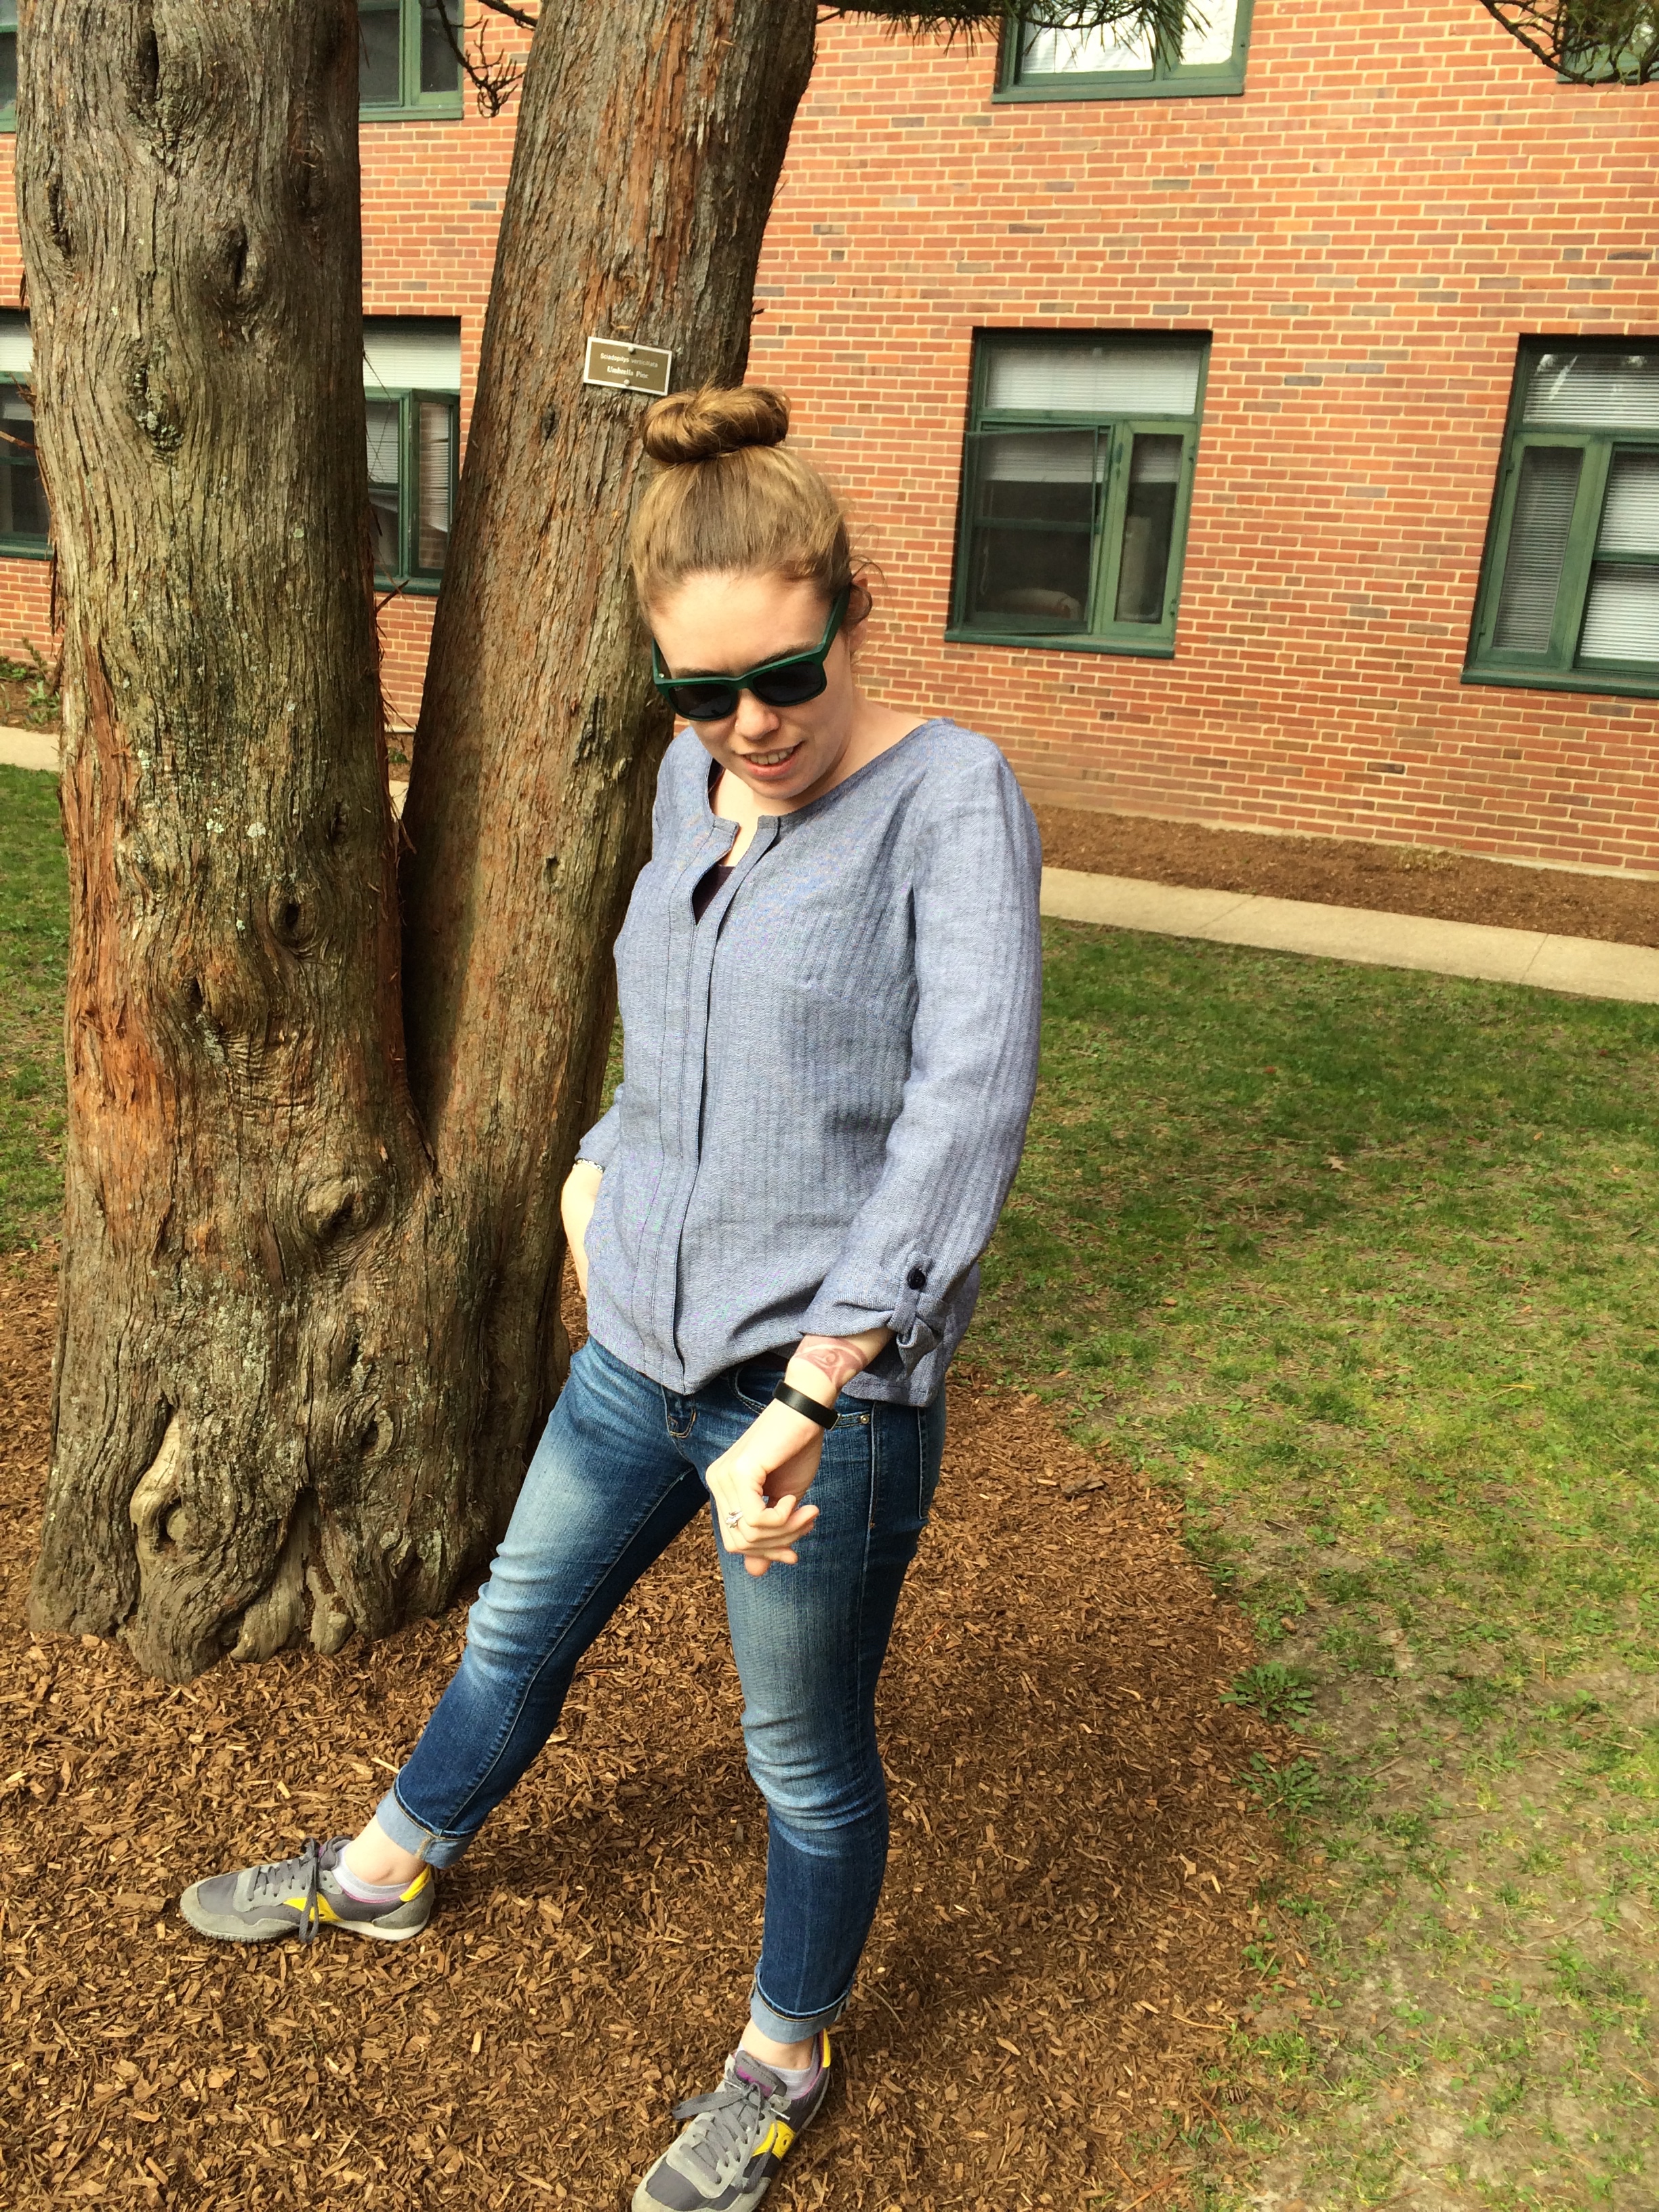
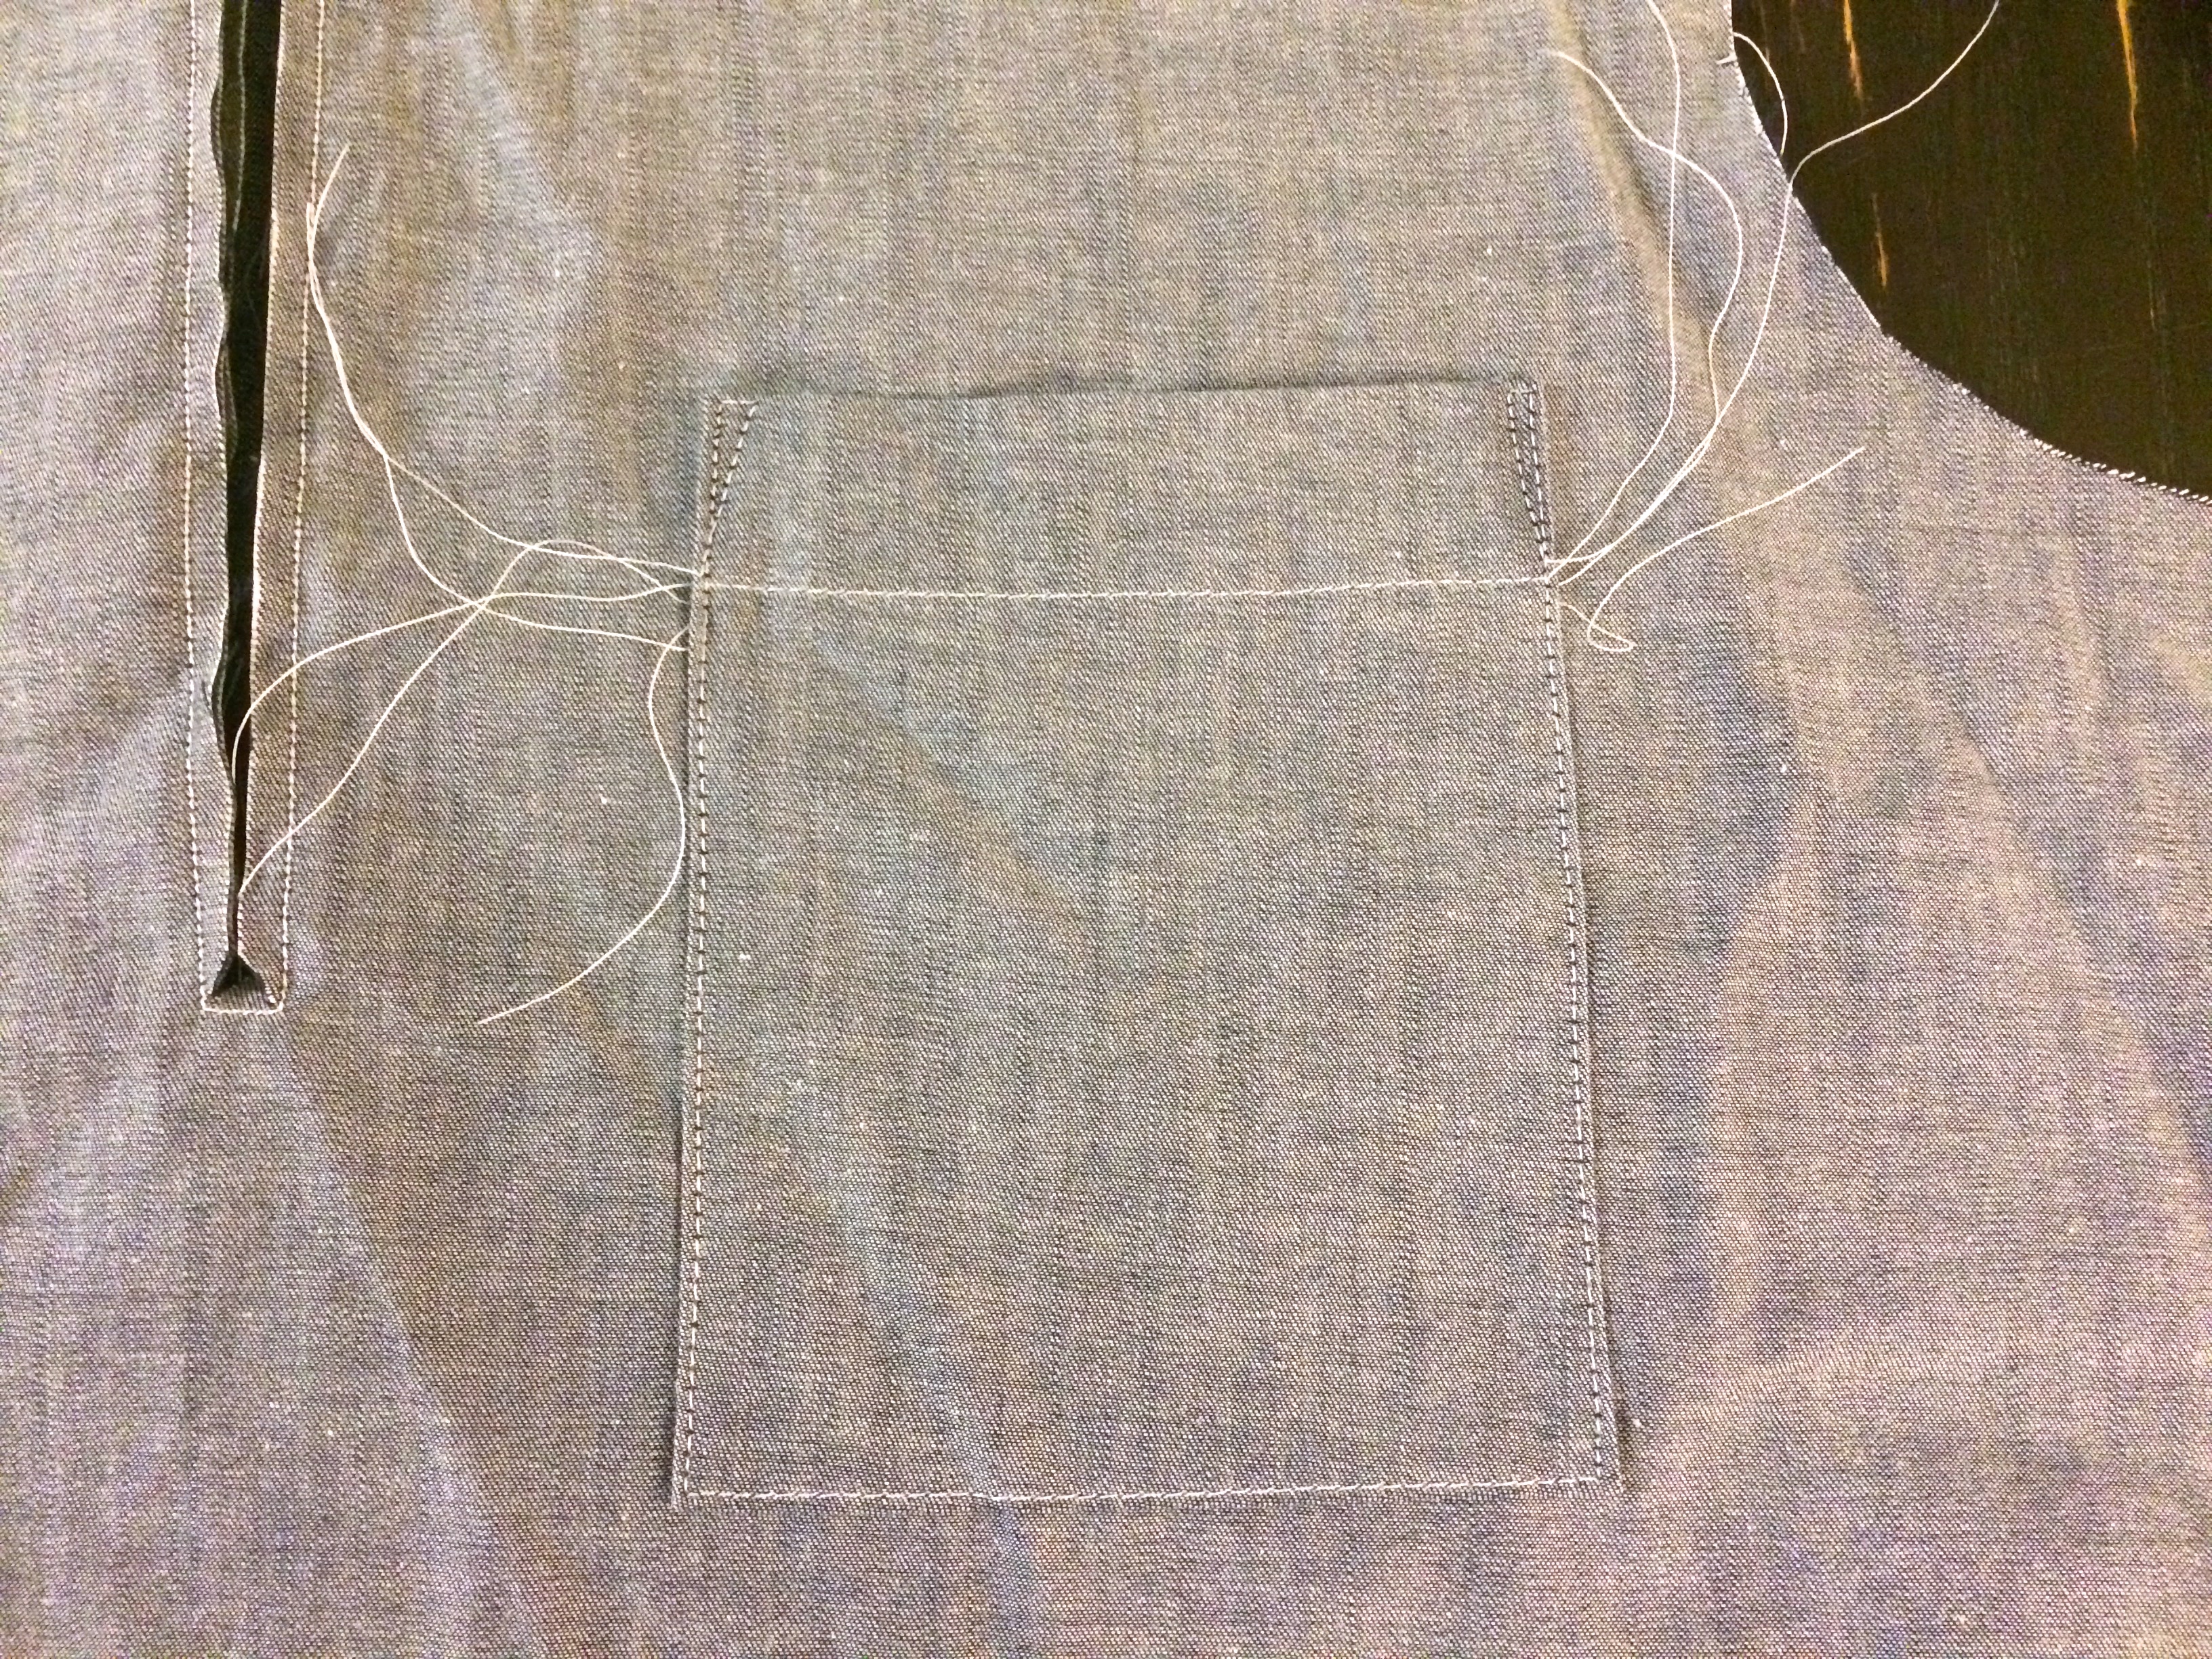
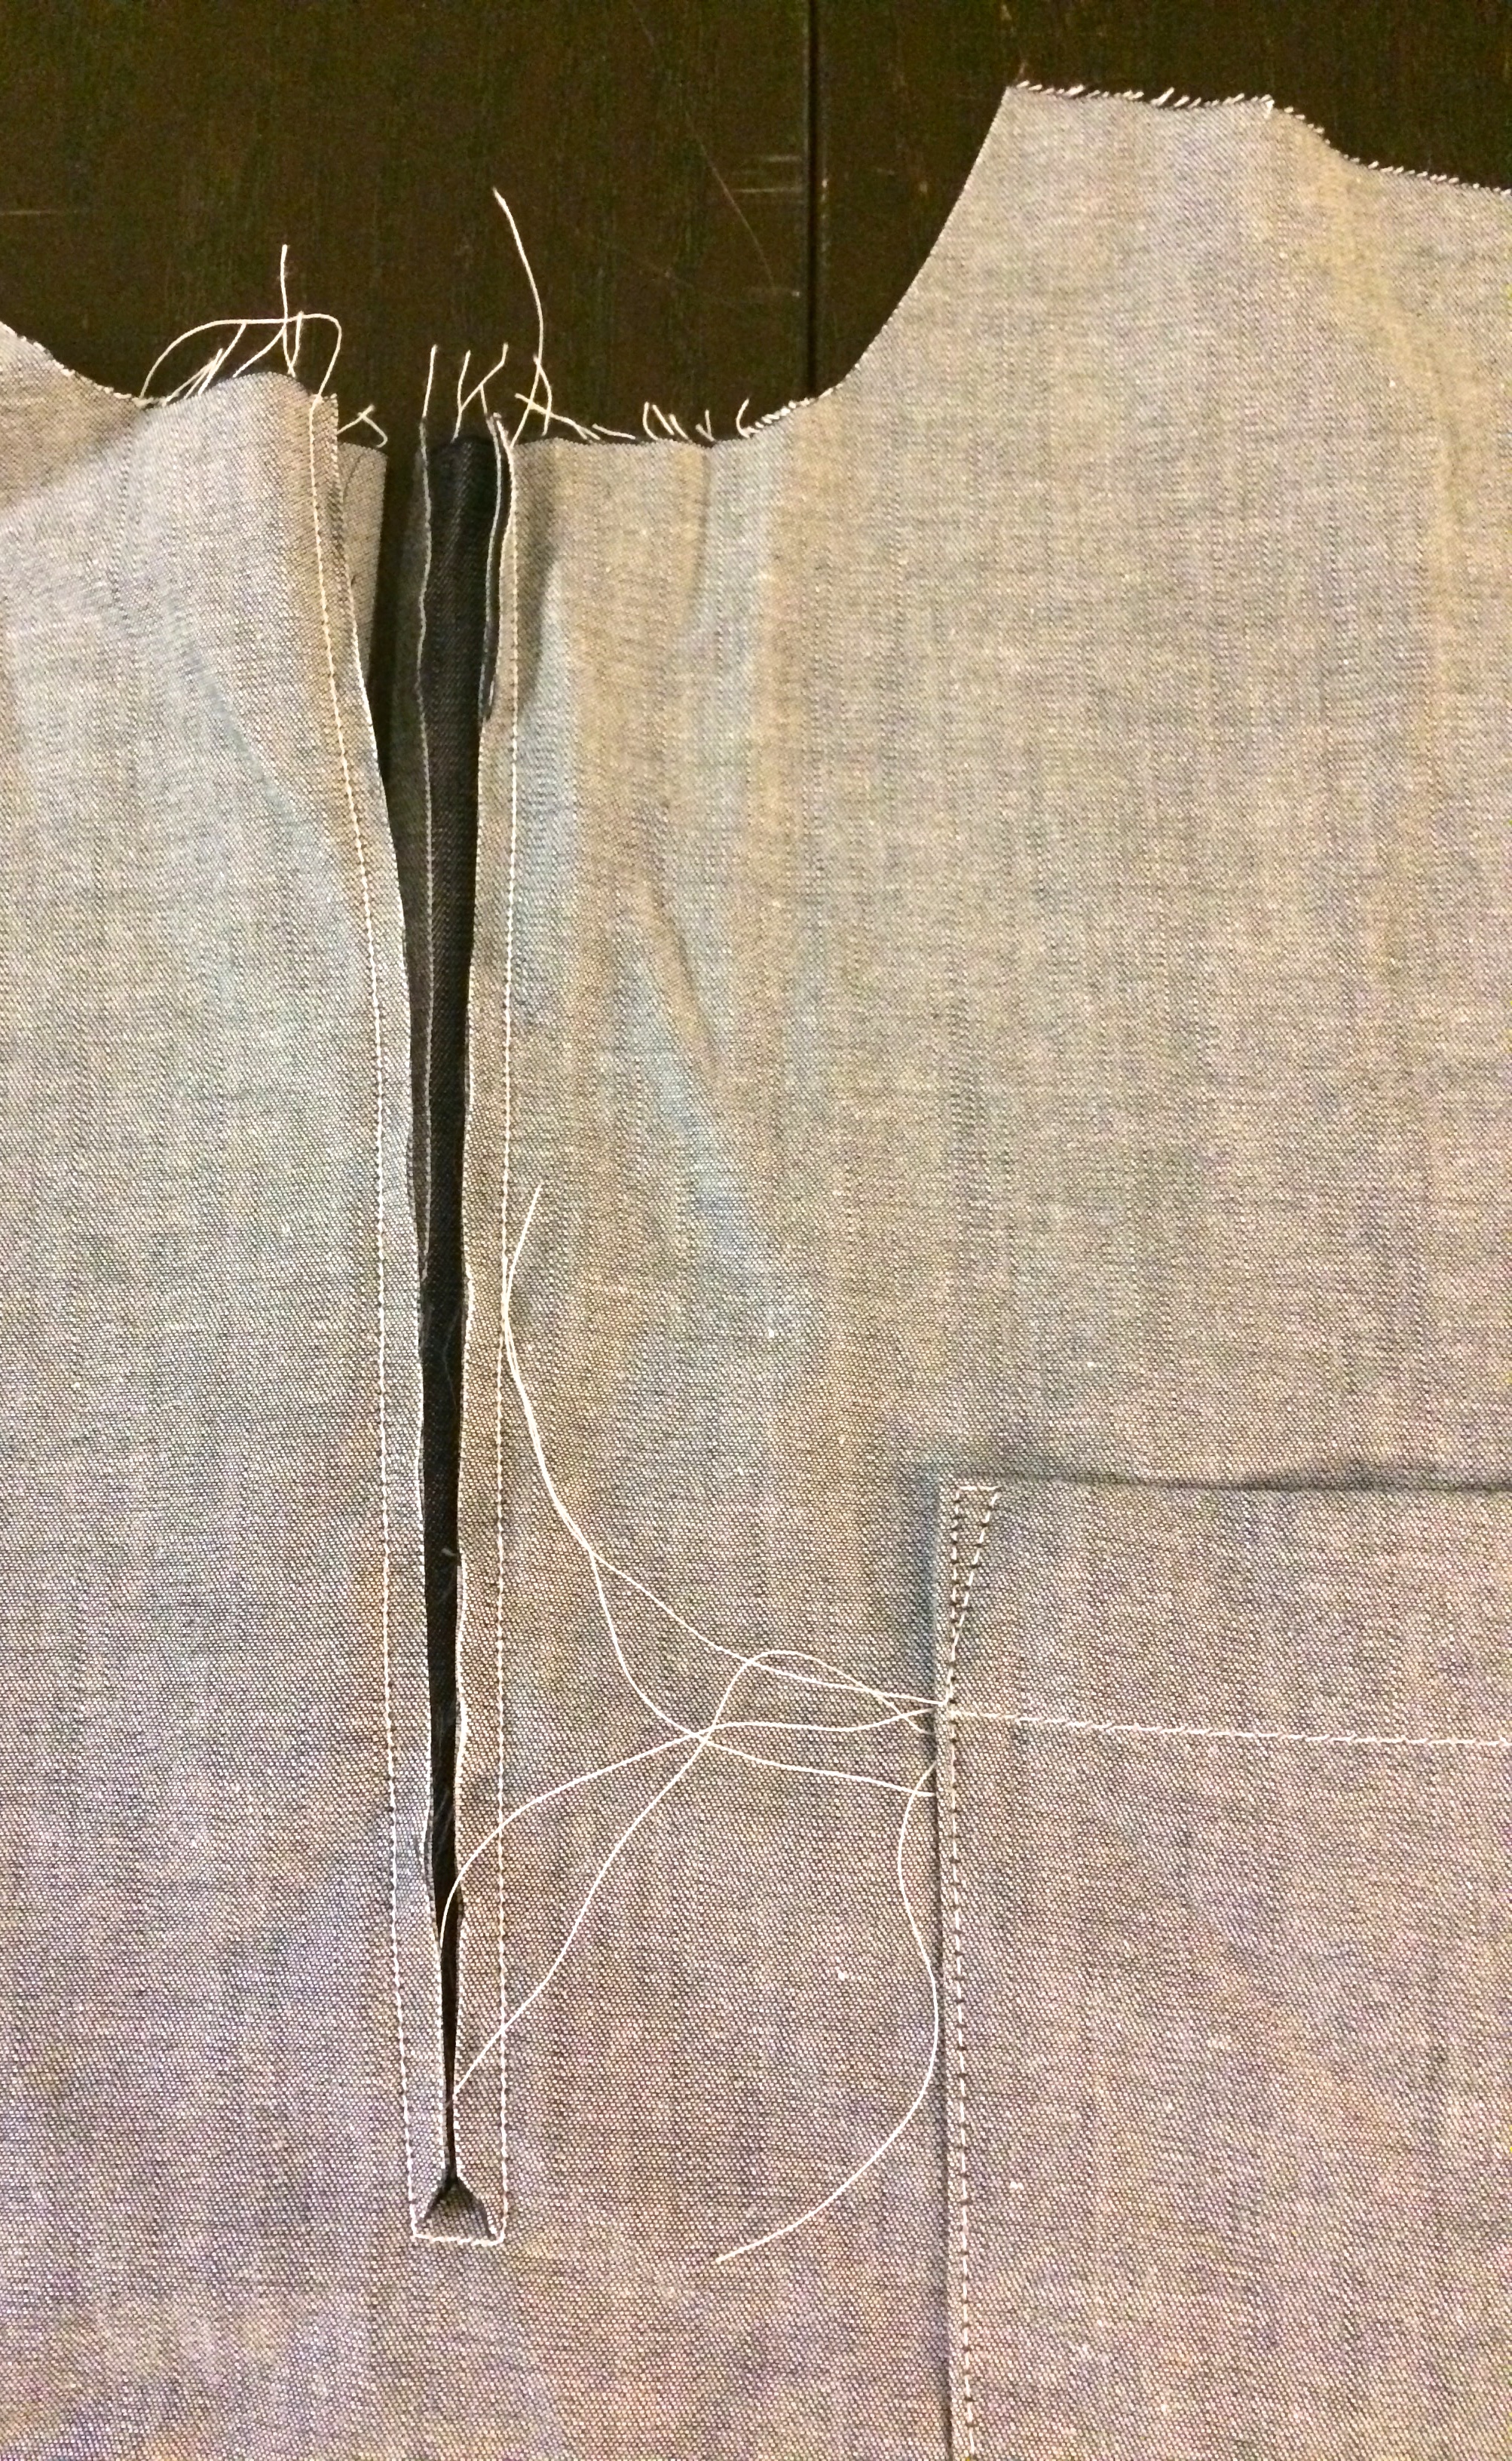
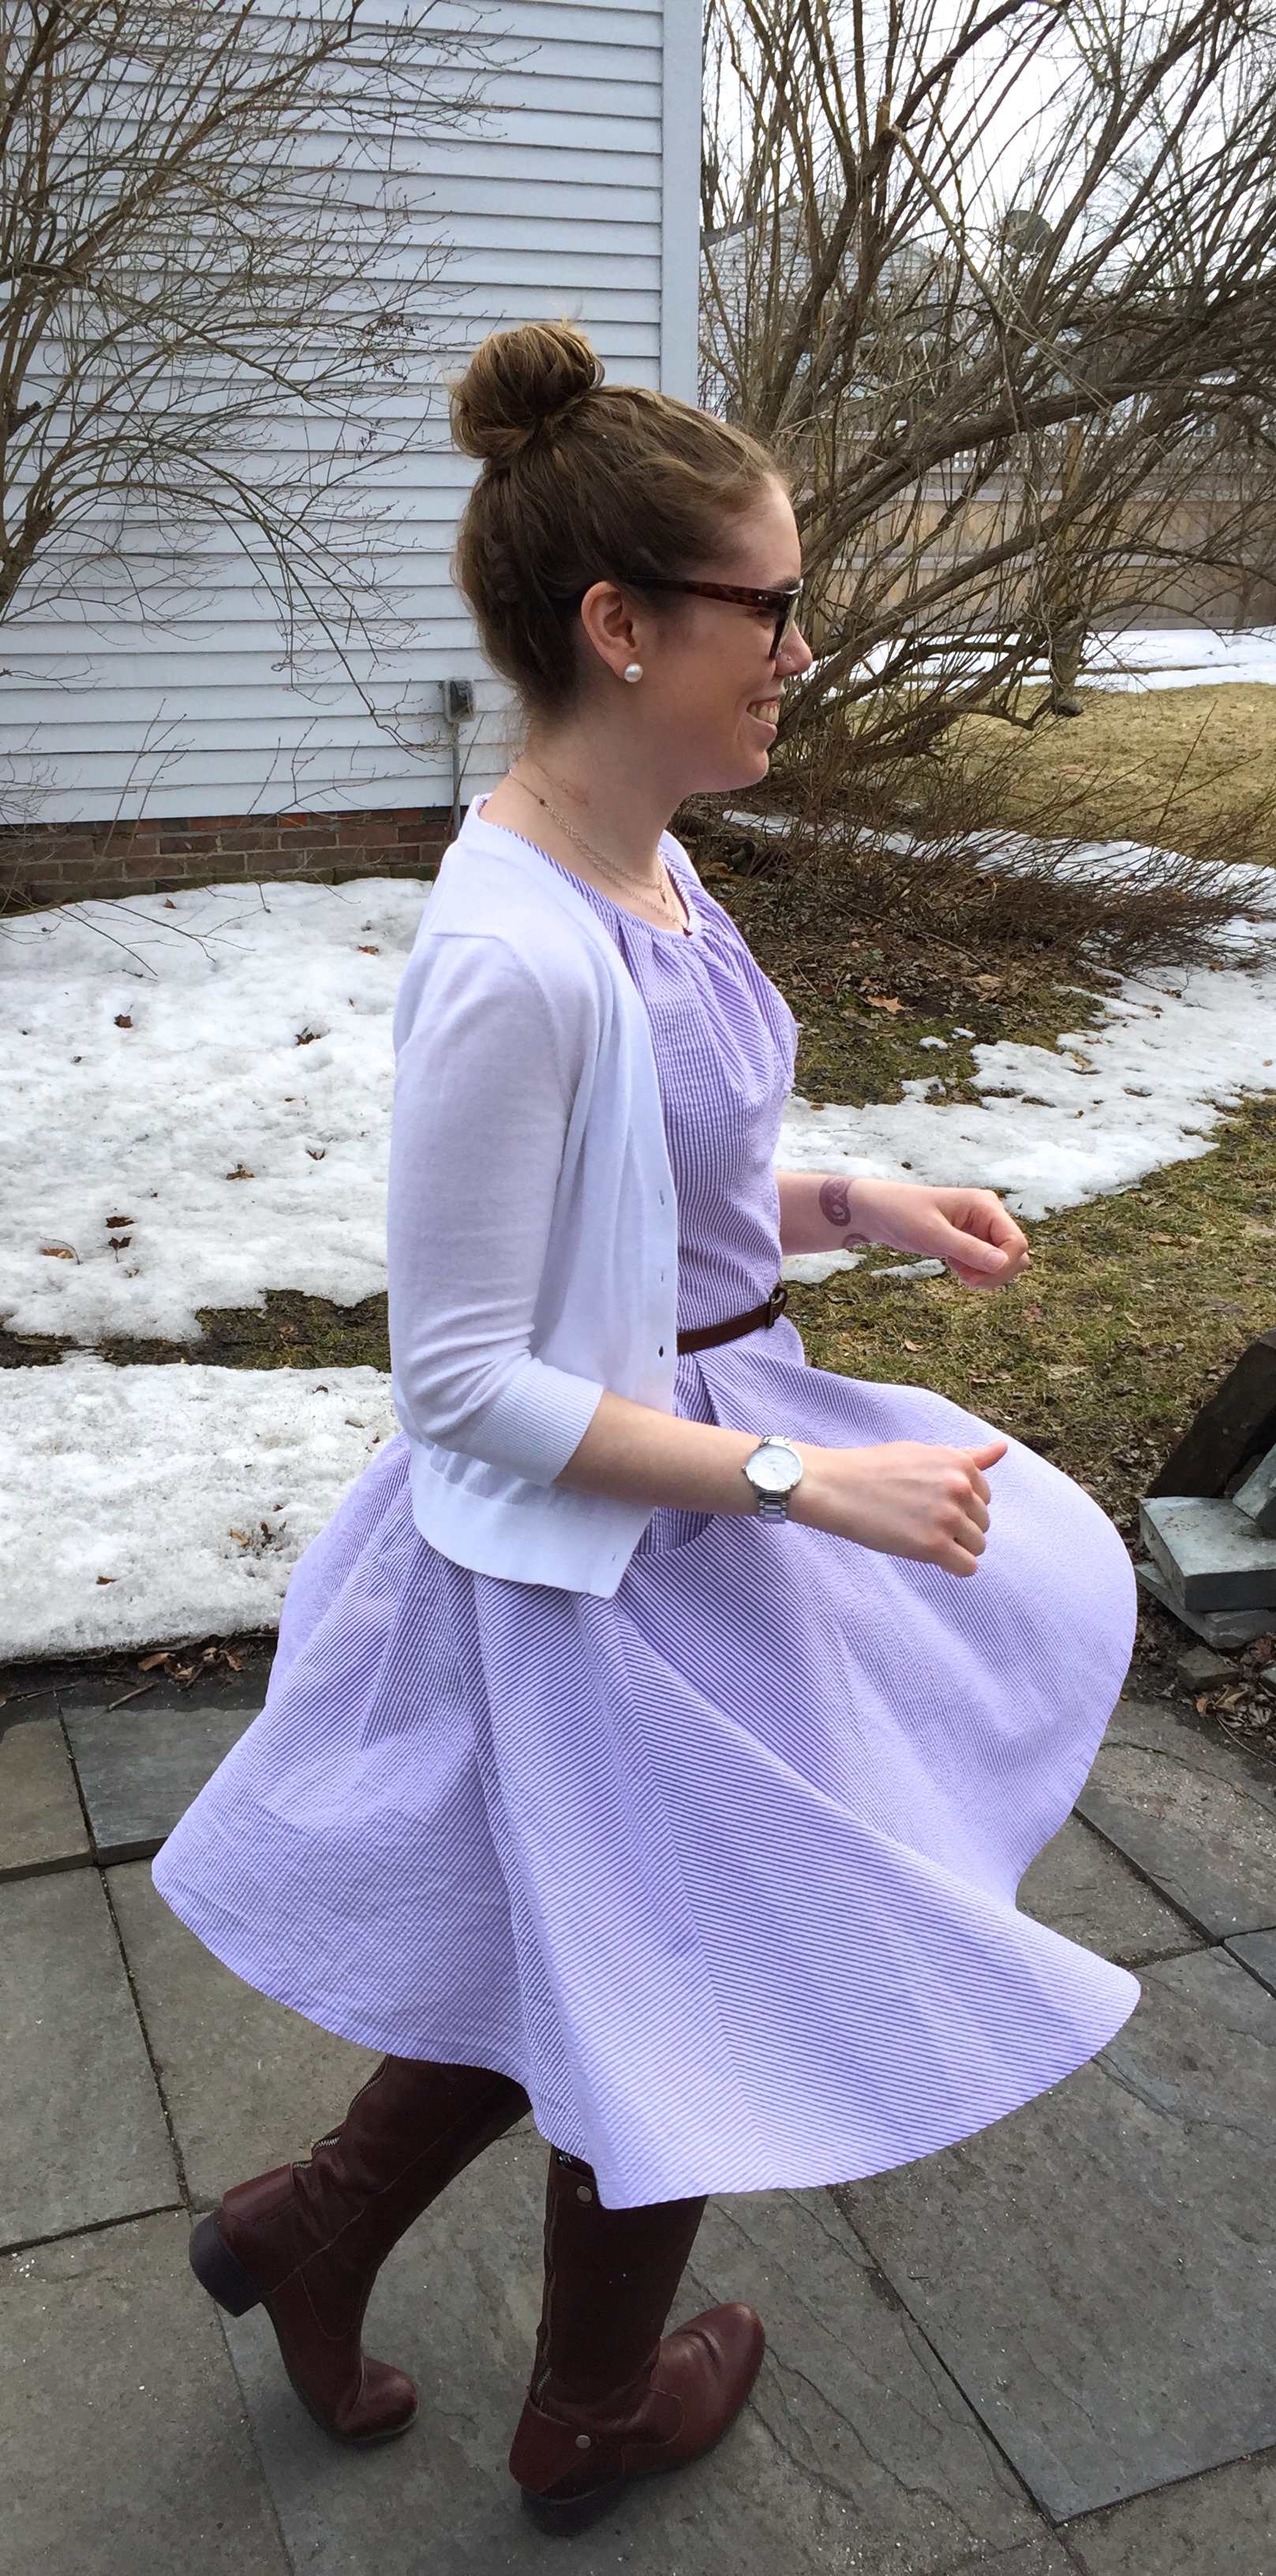
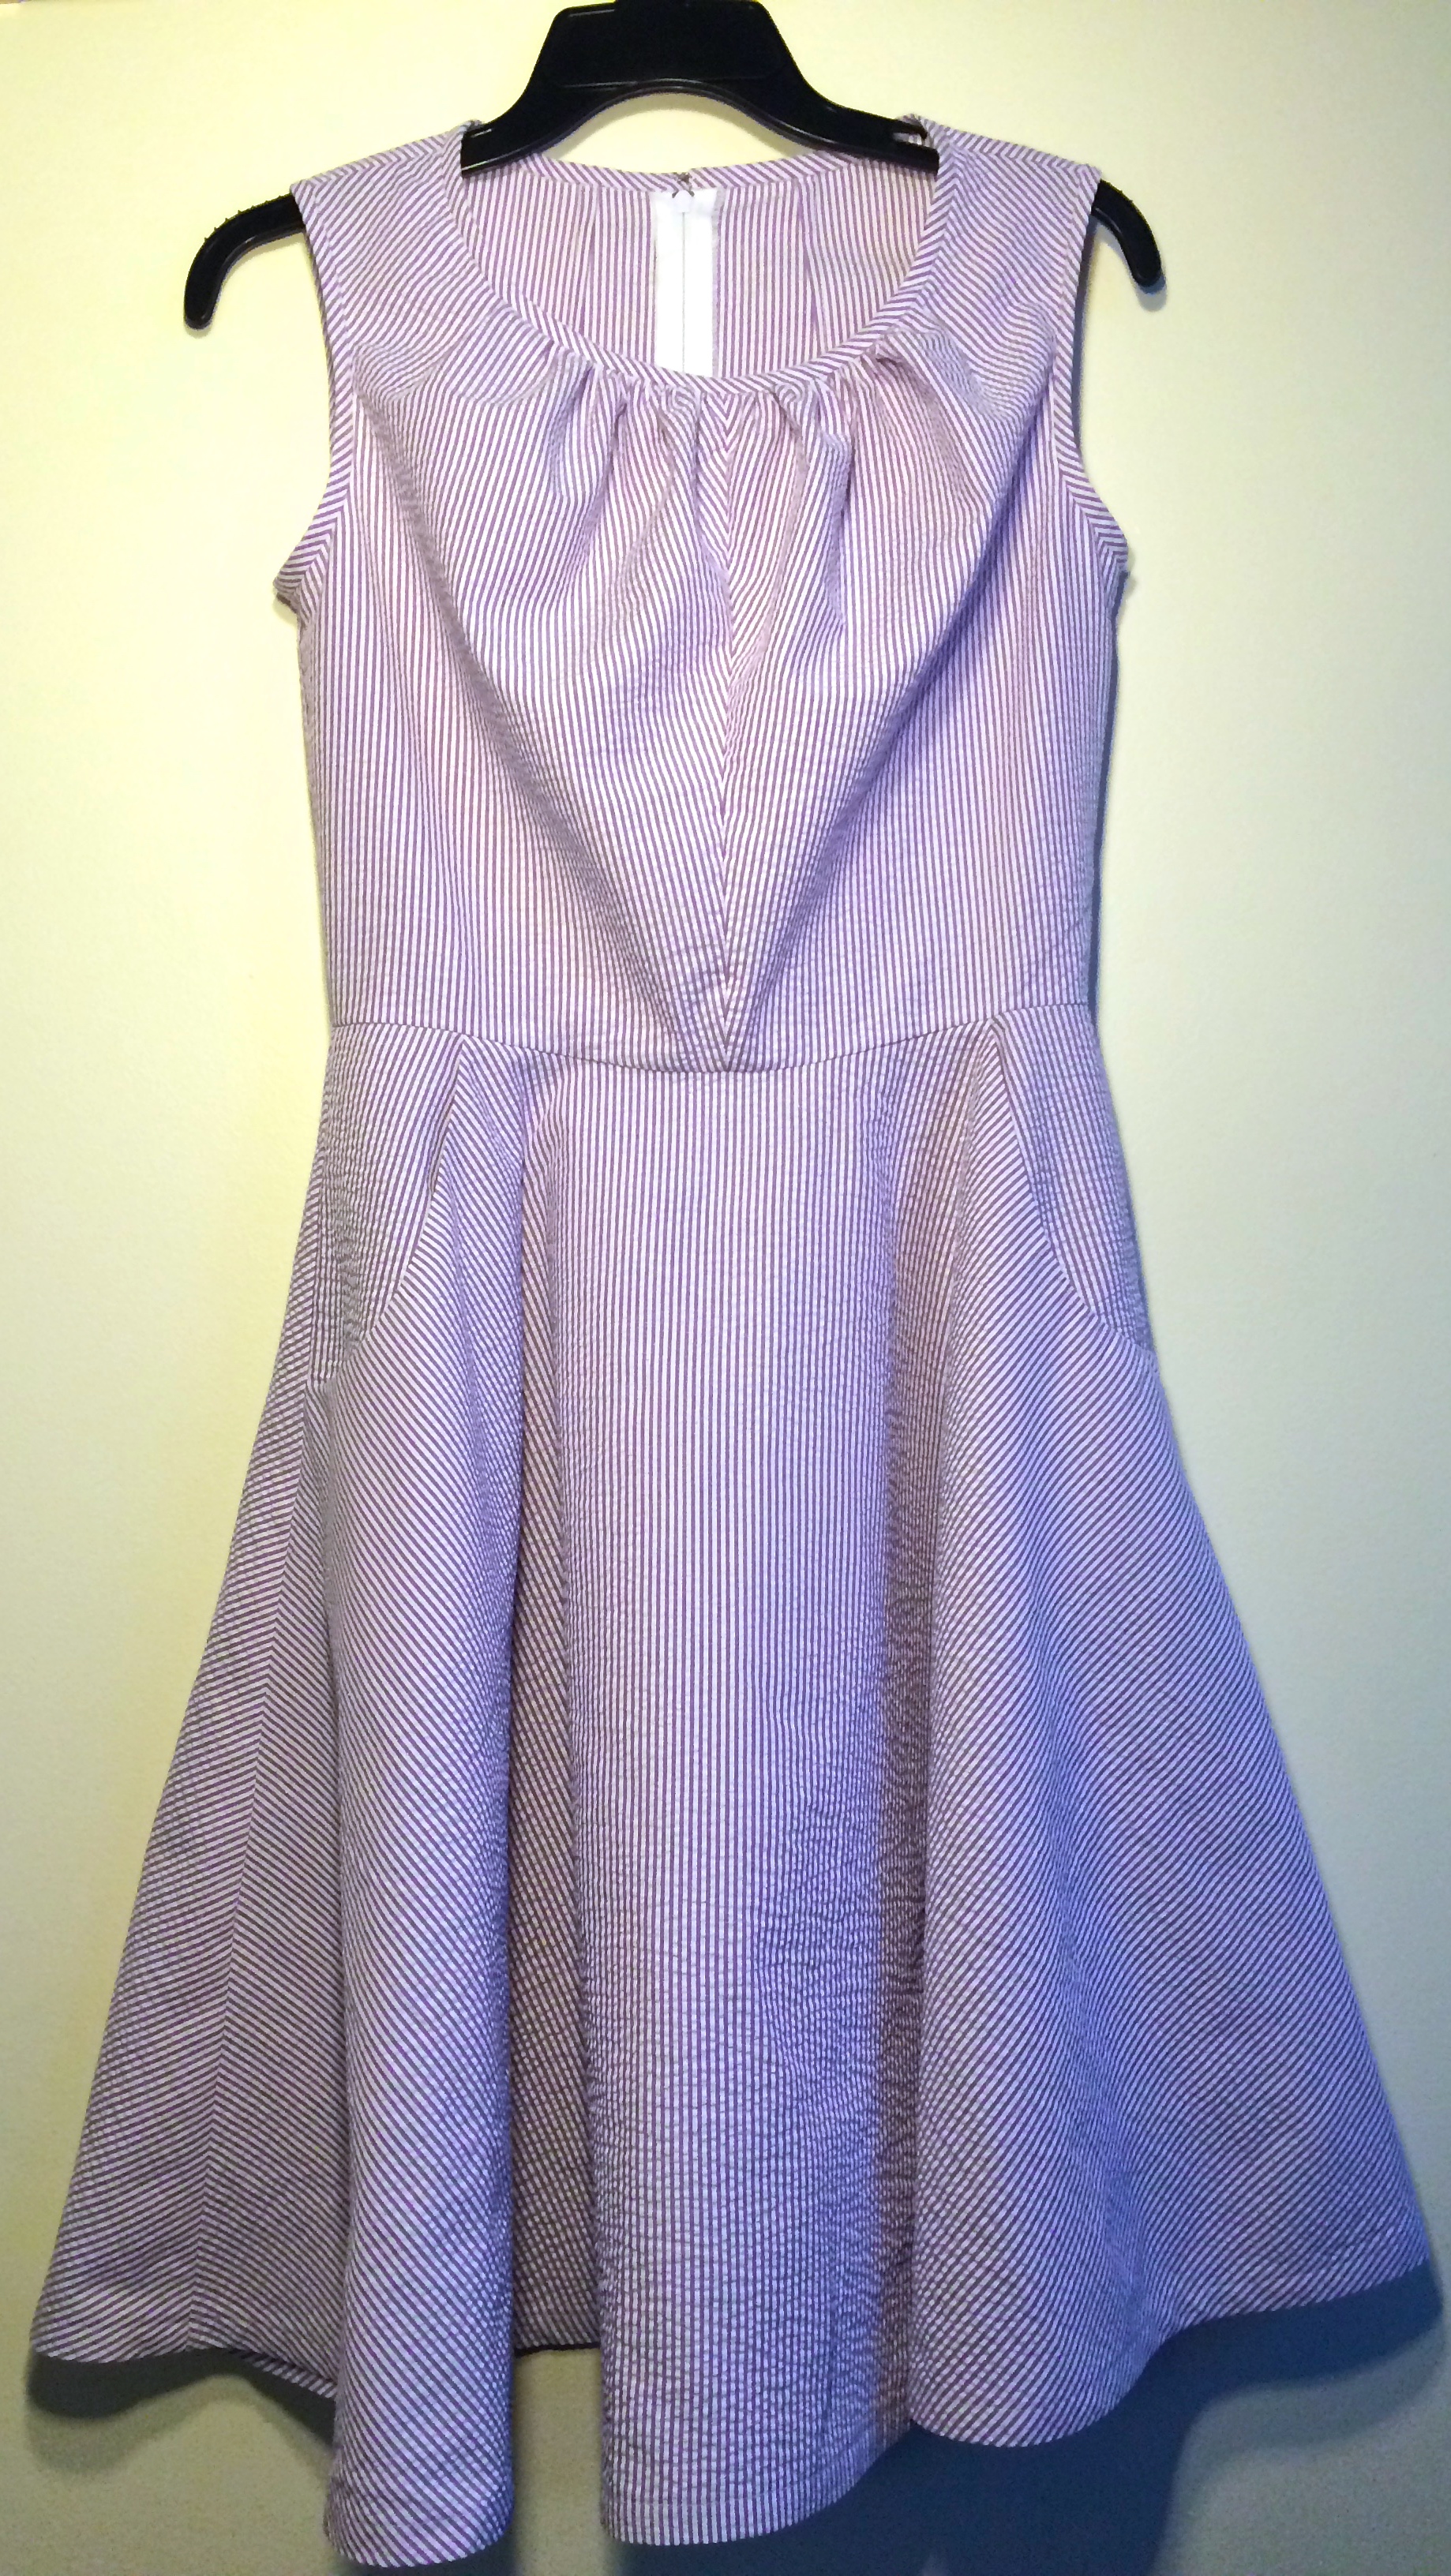
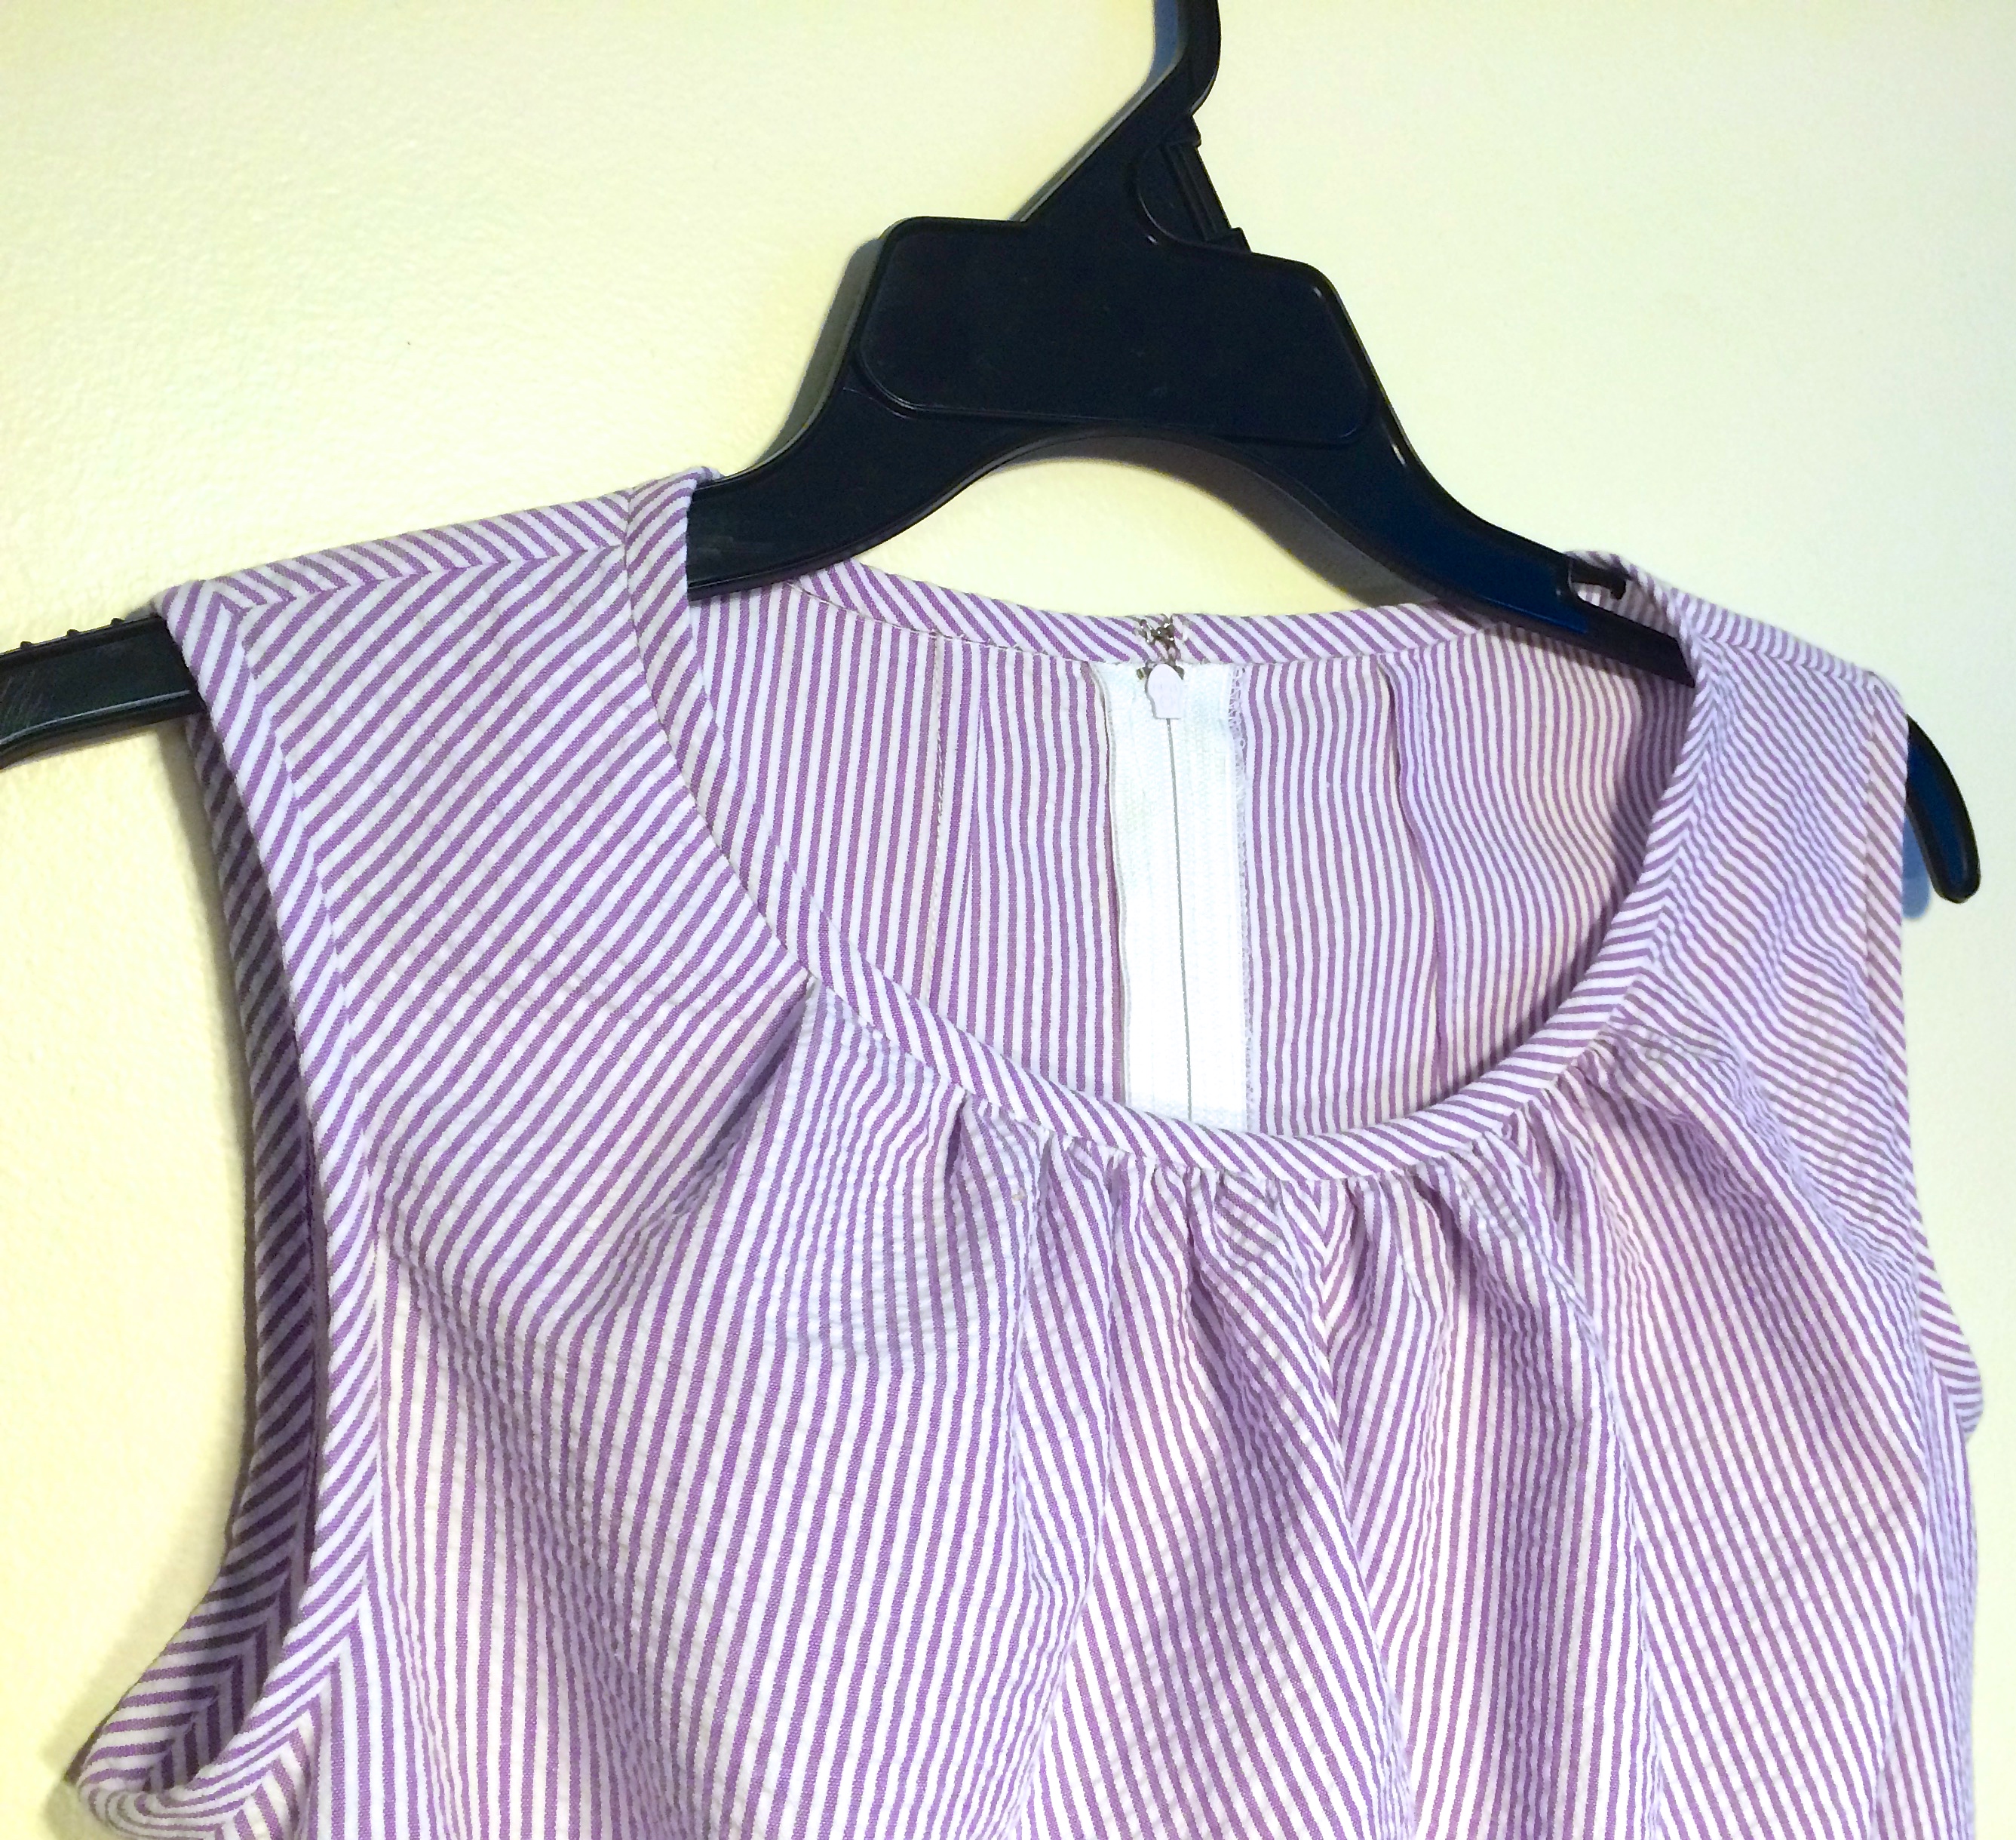
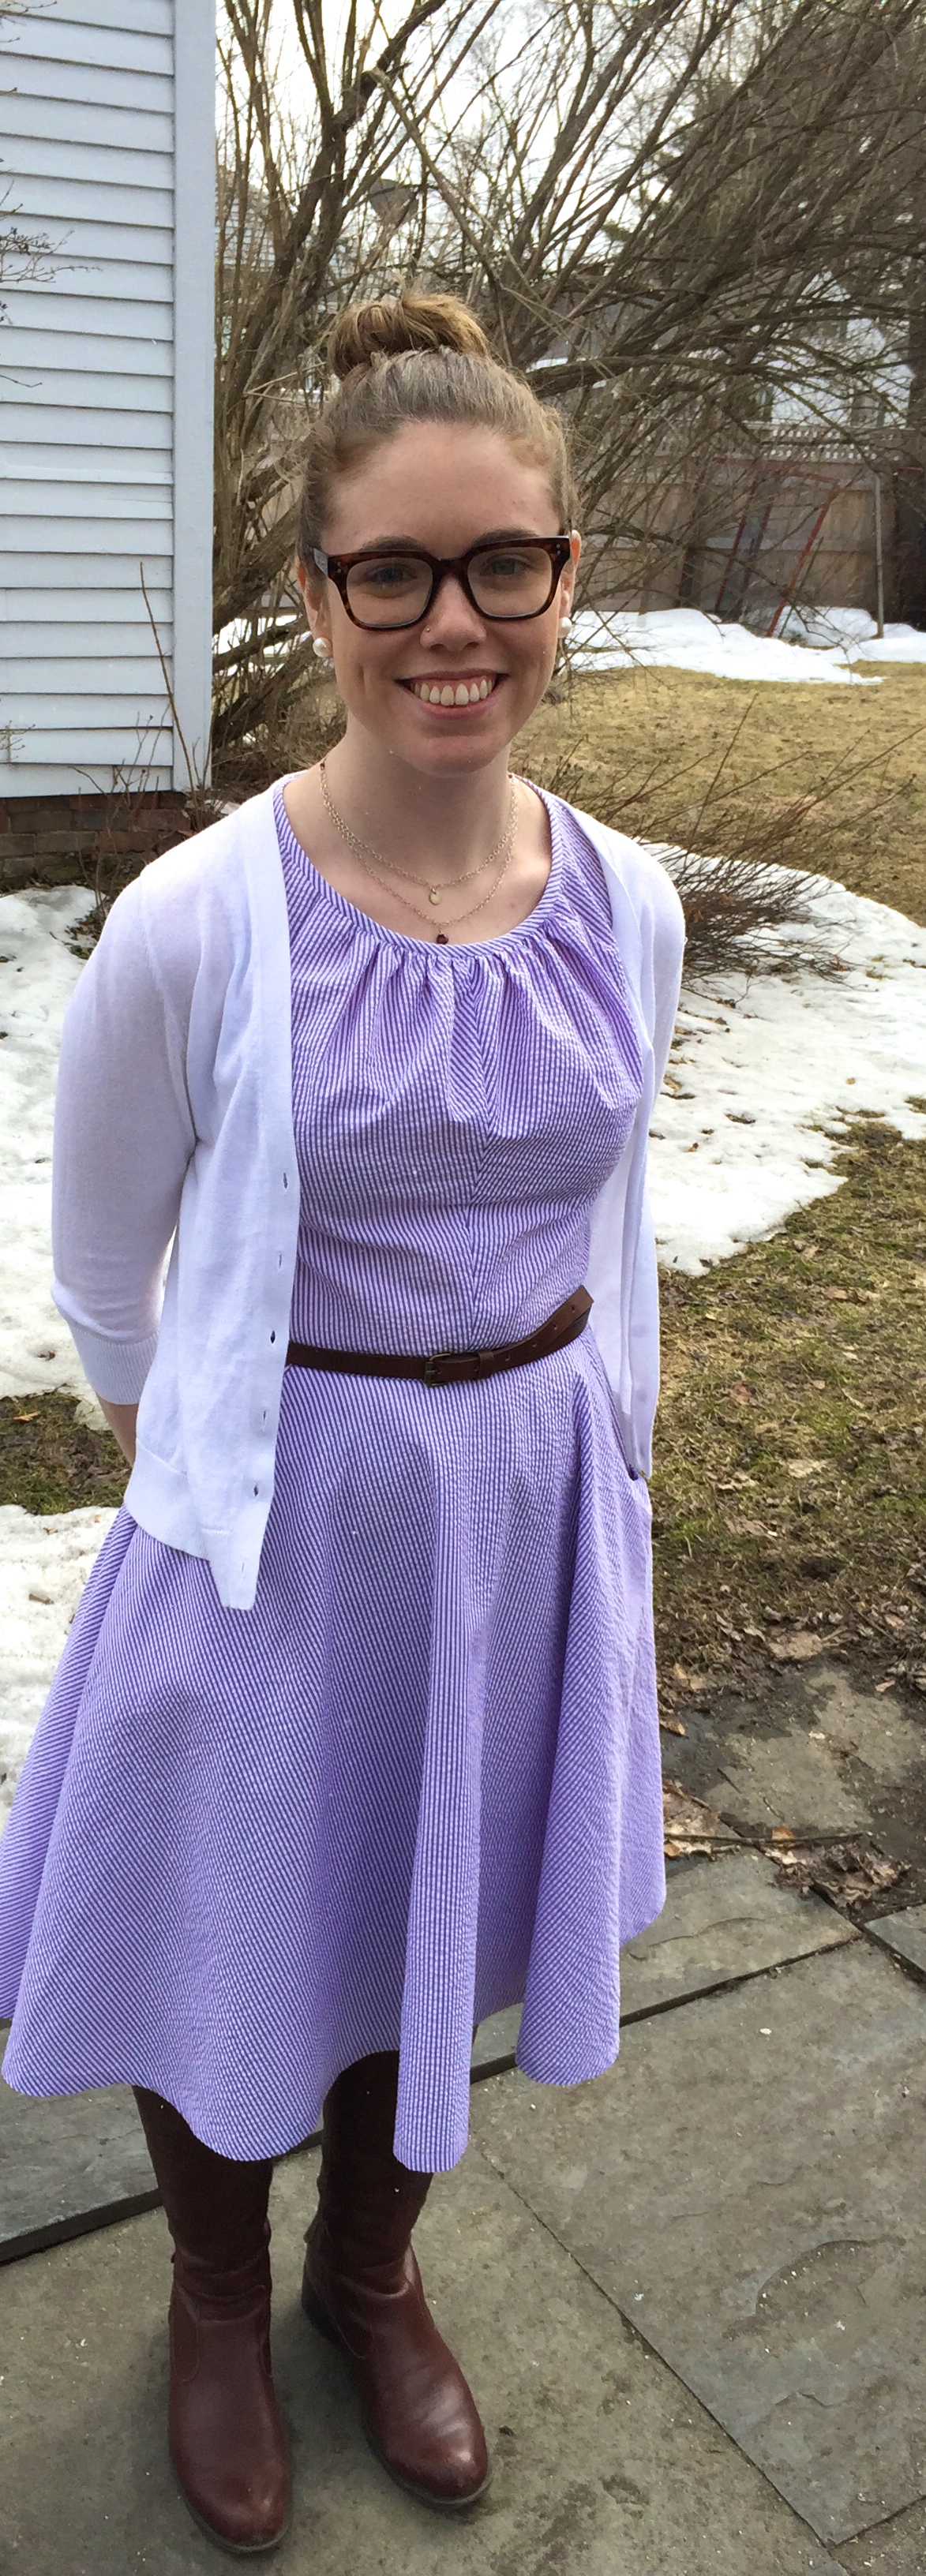
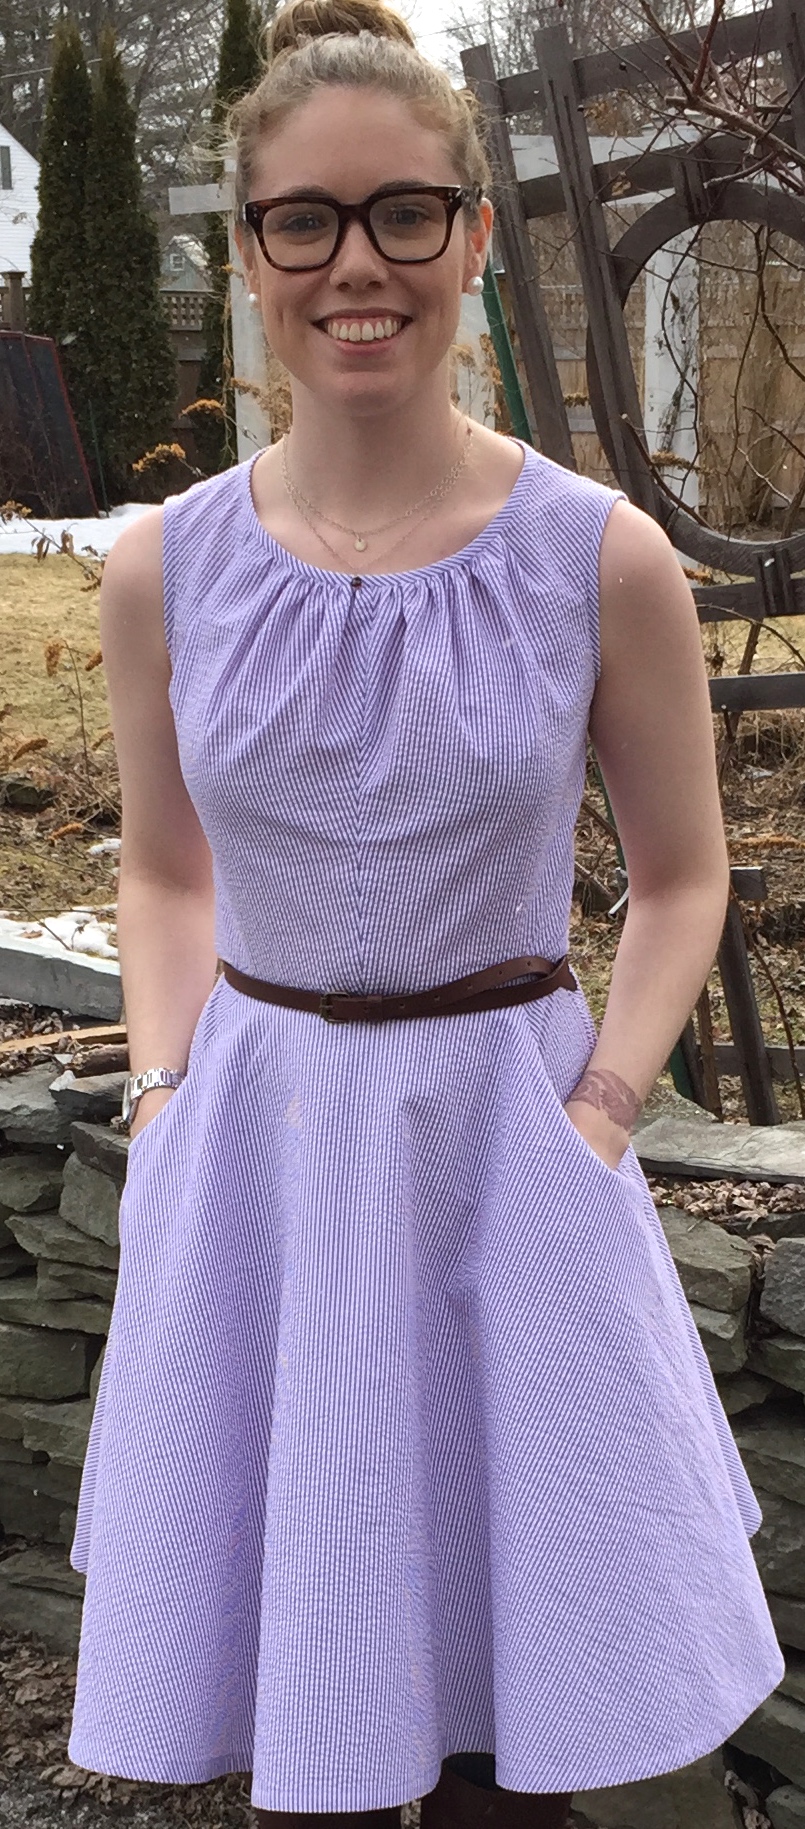
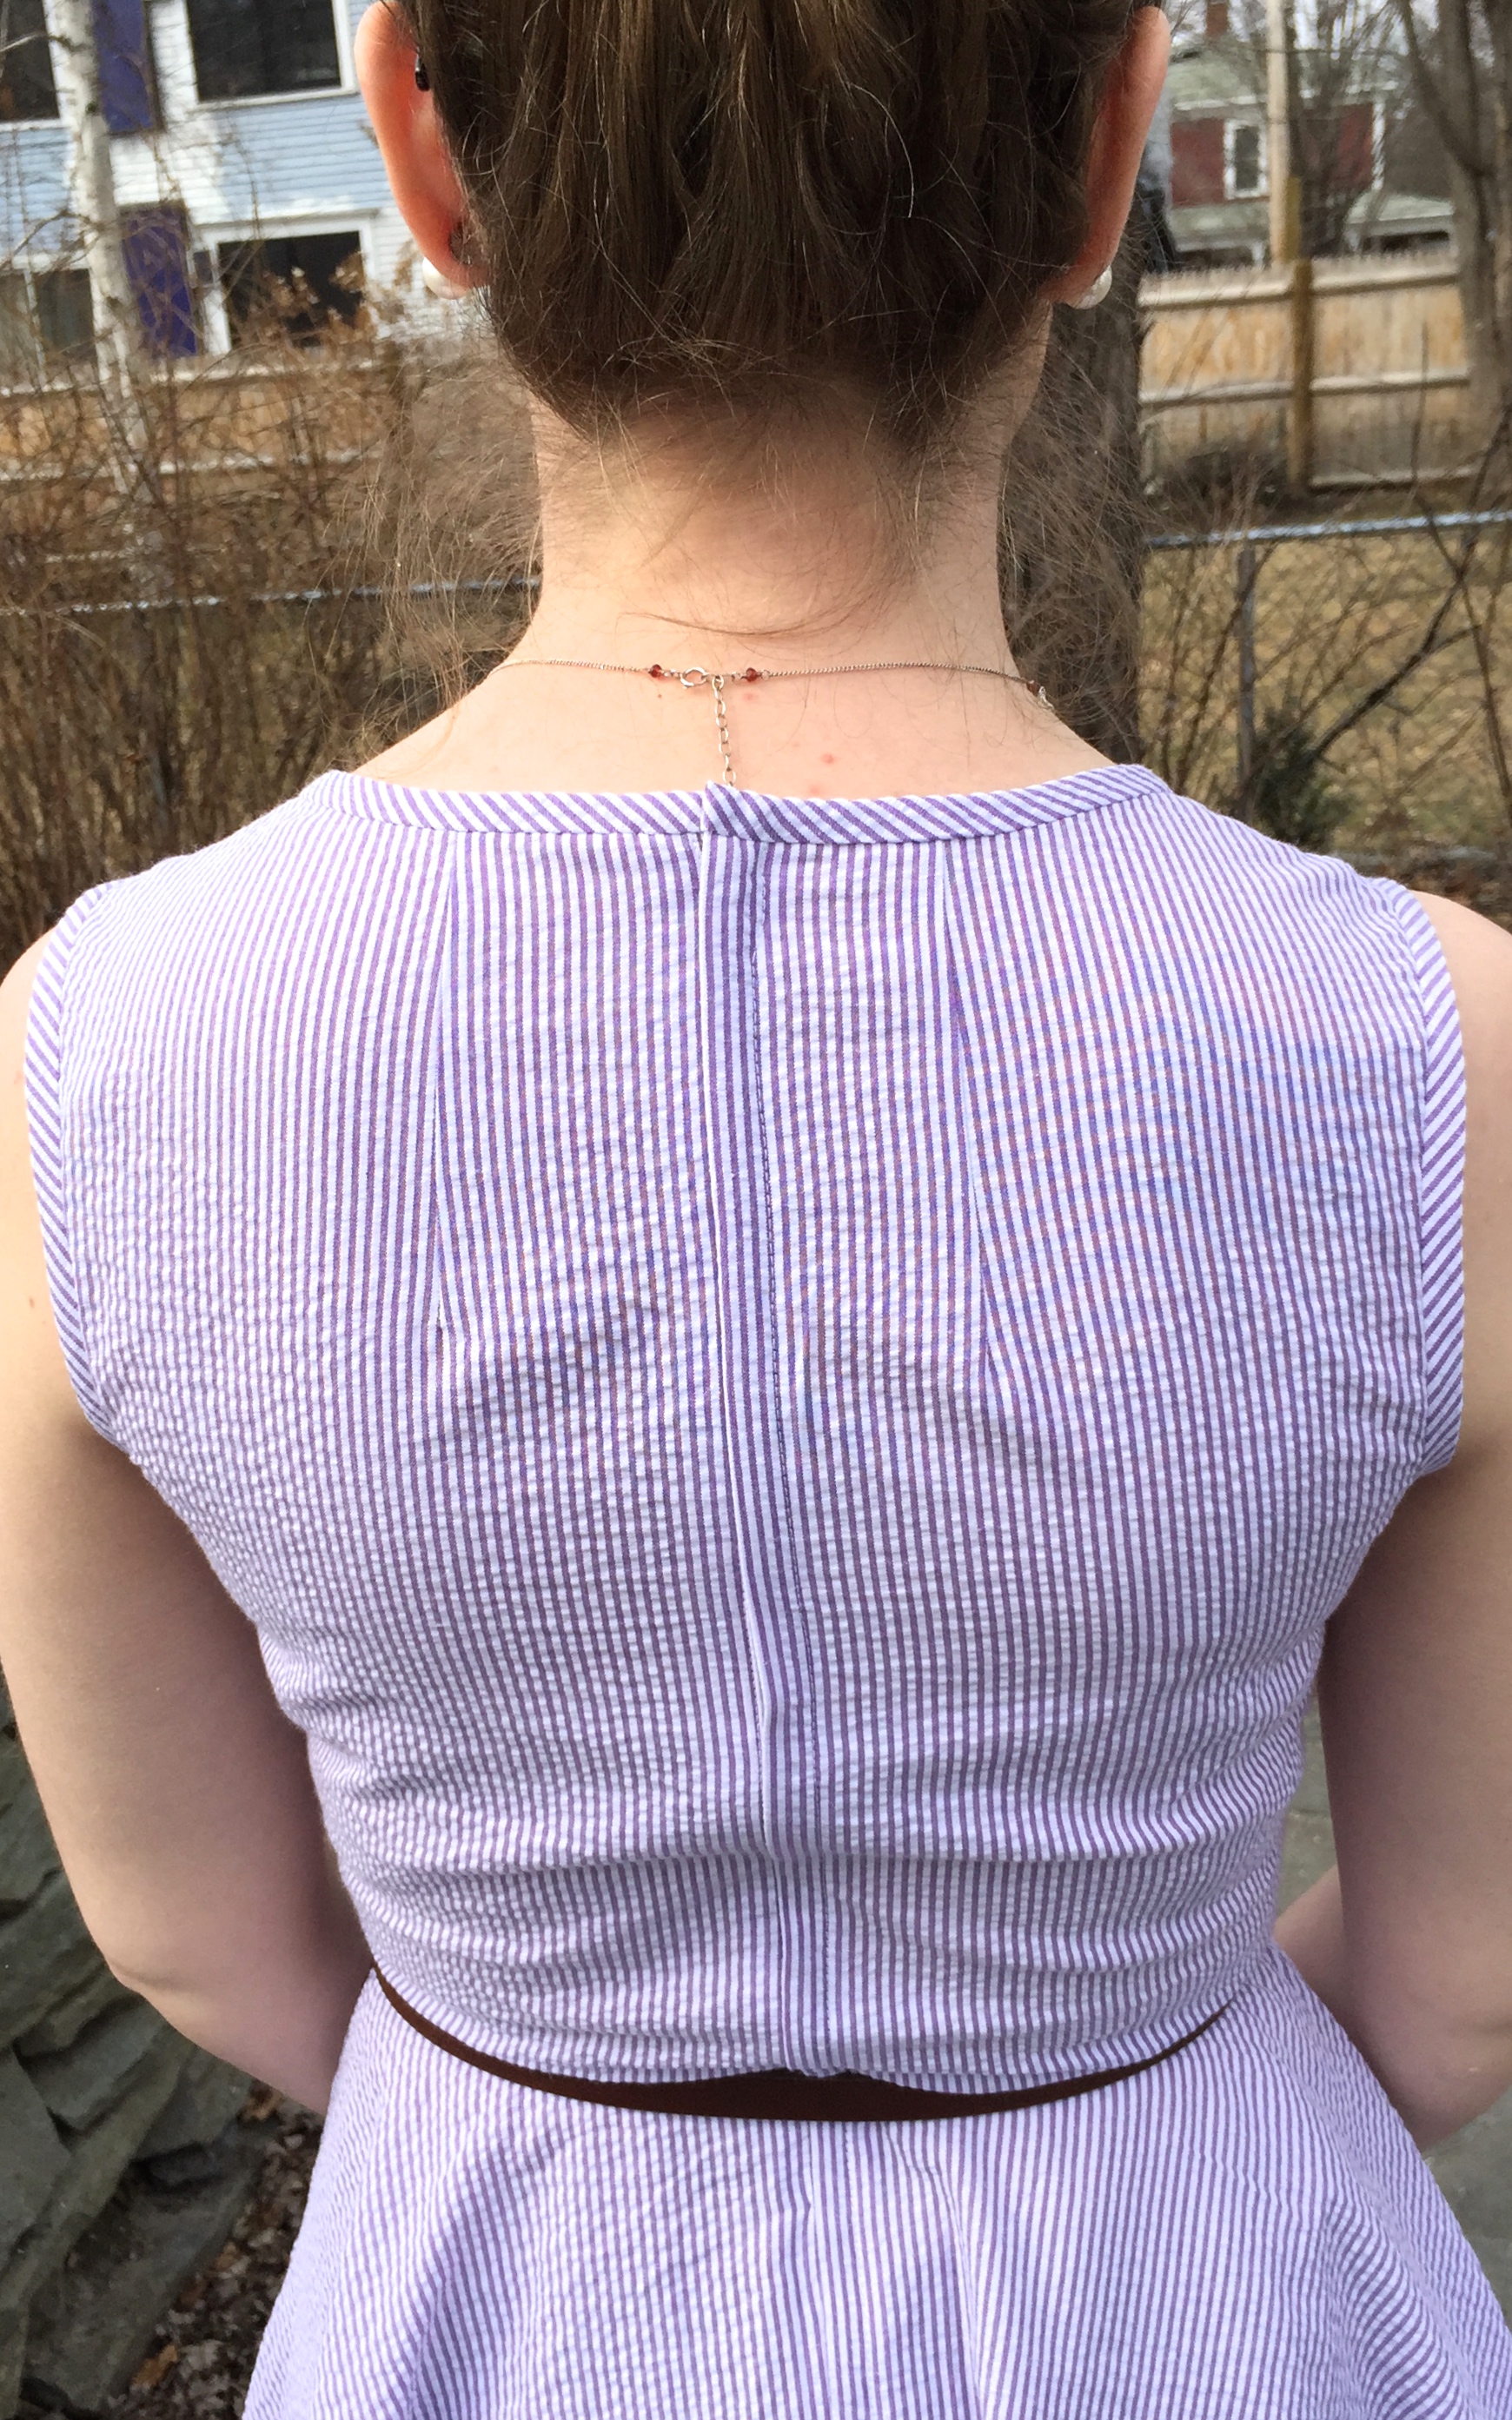
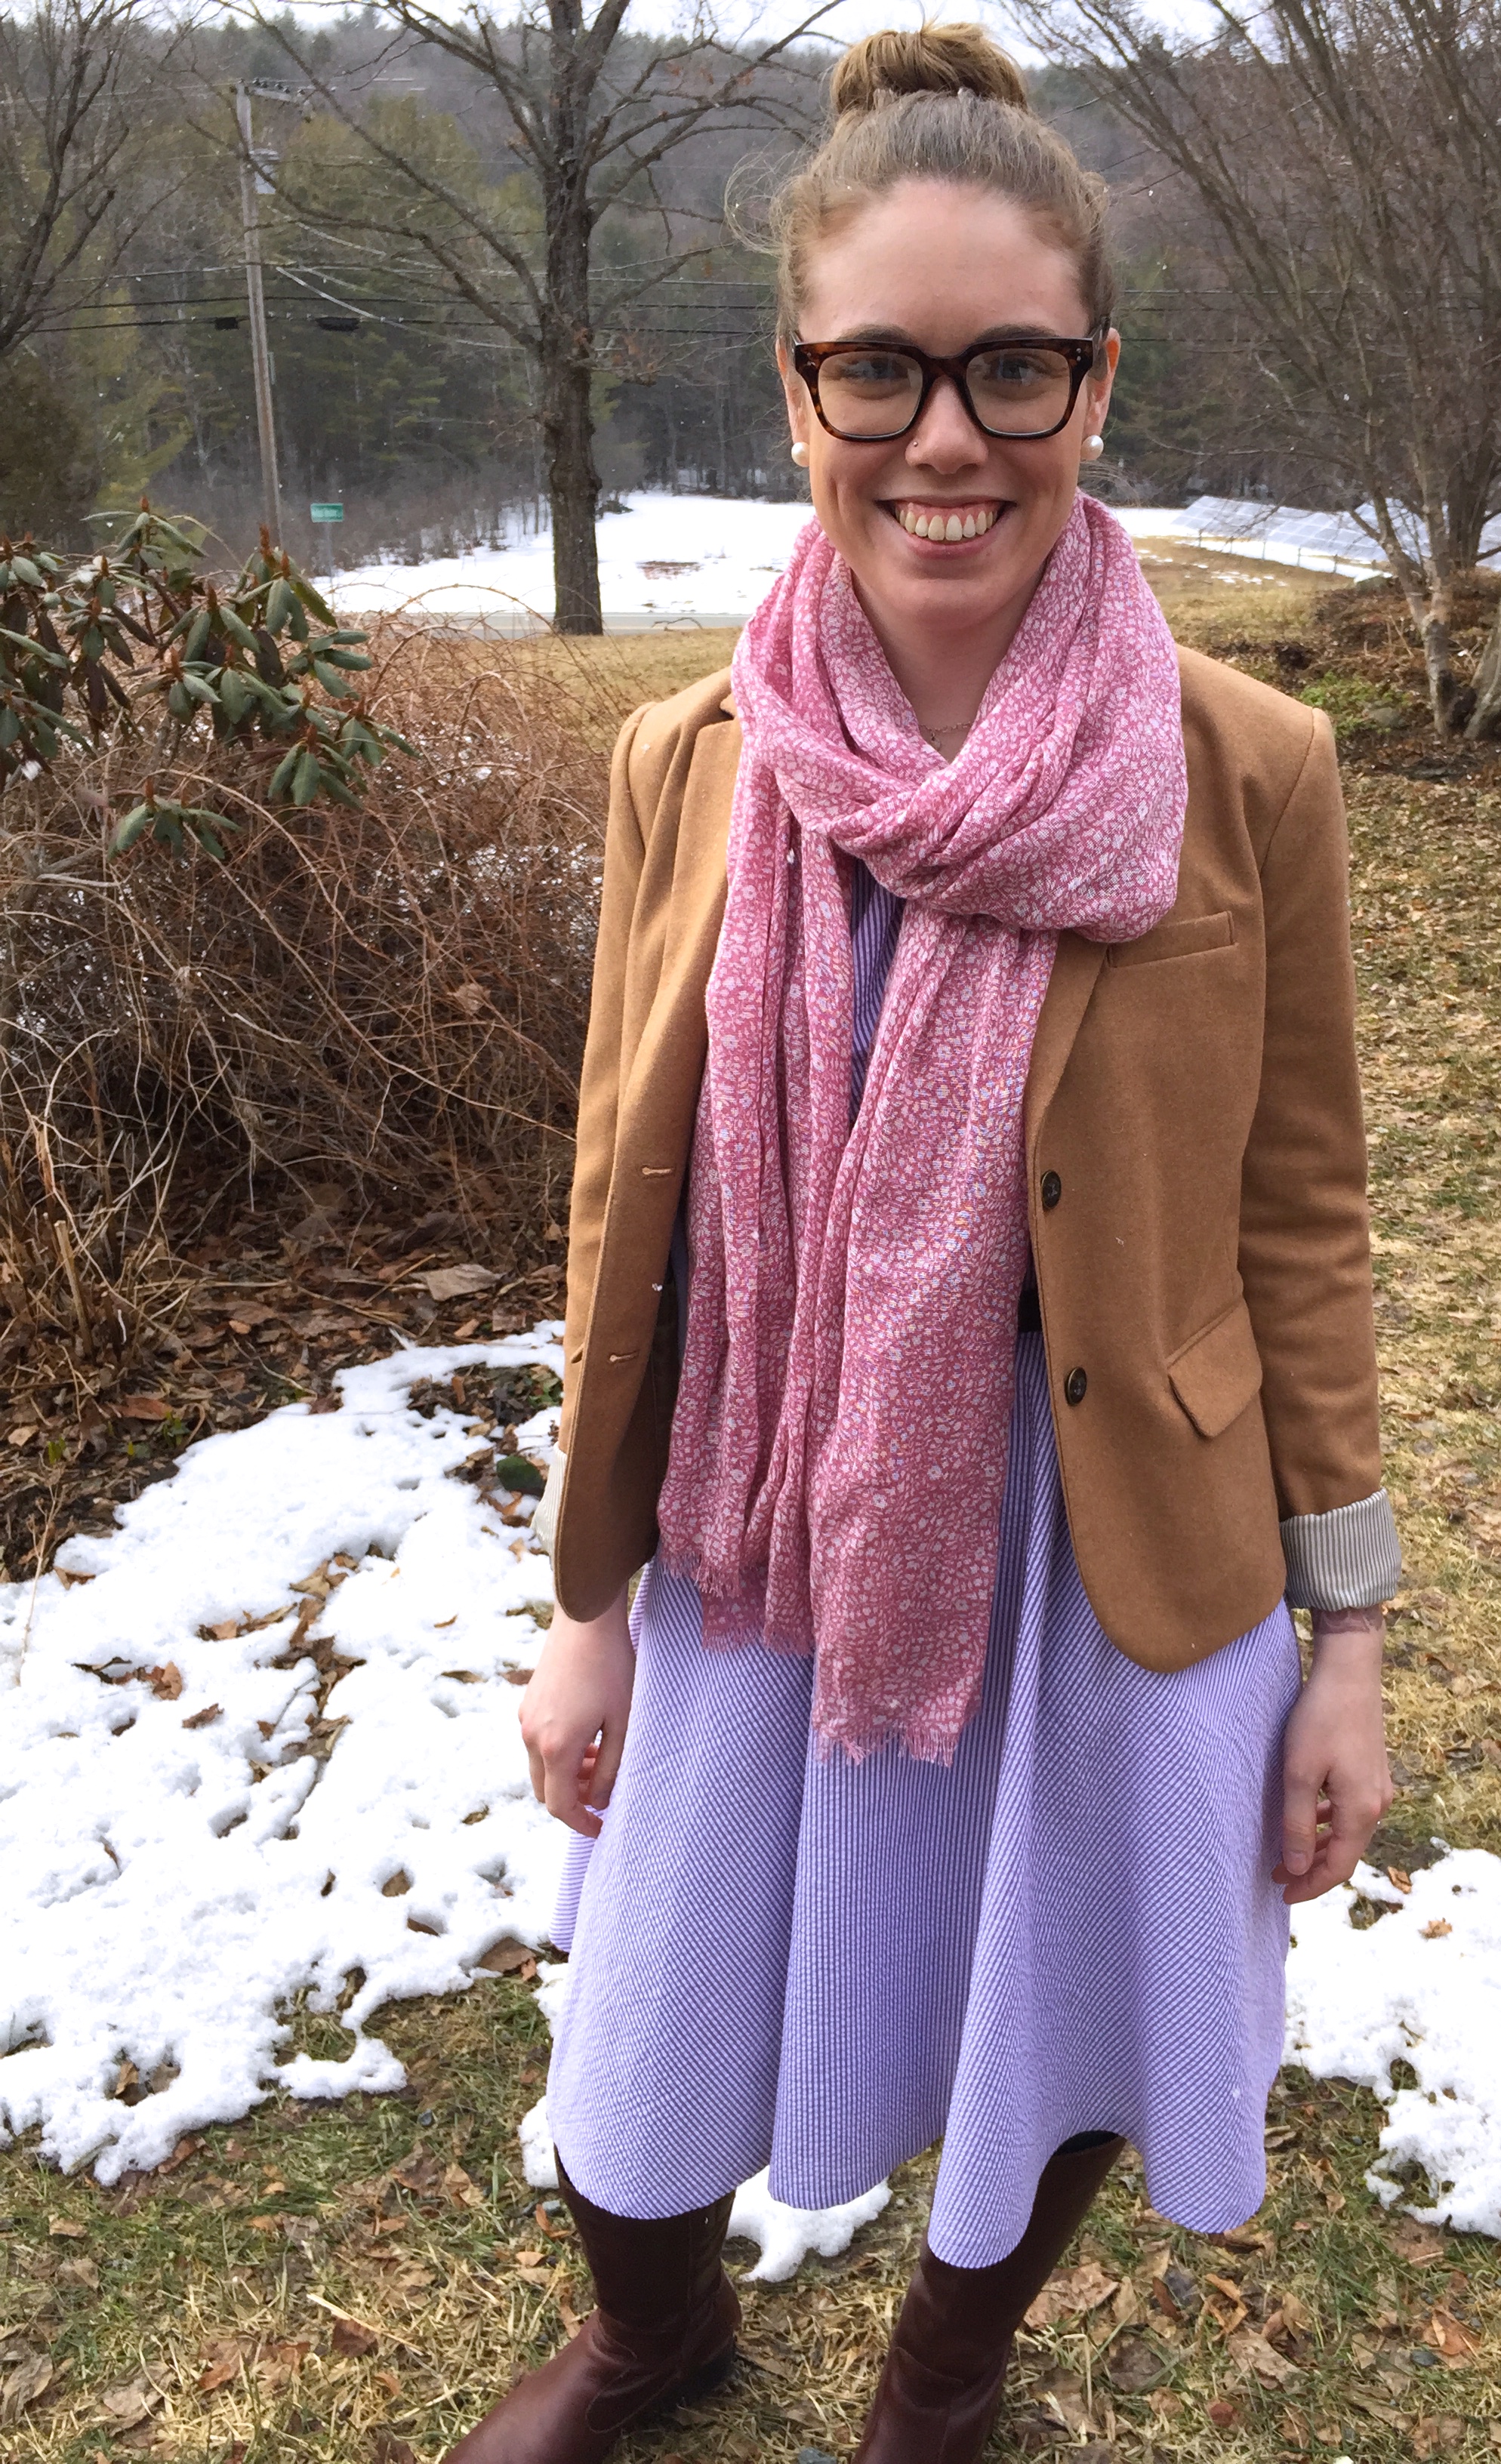
The Ginger Jeans, my Kelly Anorak, and the purple plaid Archer are among my very favorite makes of 2017. Also on the list of favorite makes are my linen Kalle Shirtdress from CCP, my Allie Olson Highlands Wrap-dress, and my Alina Design Co. Hampton Jean Jacket.

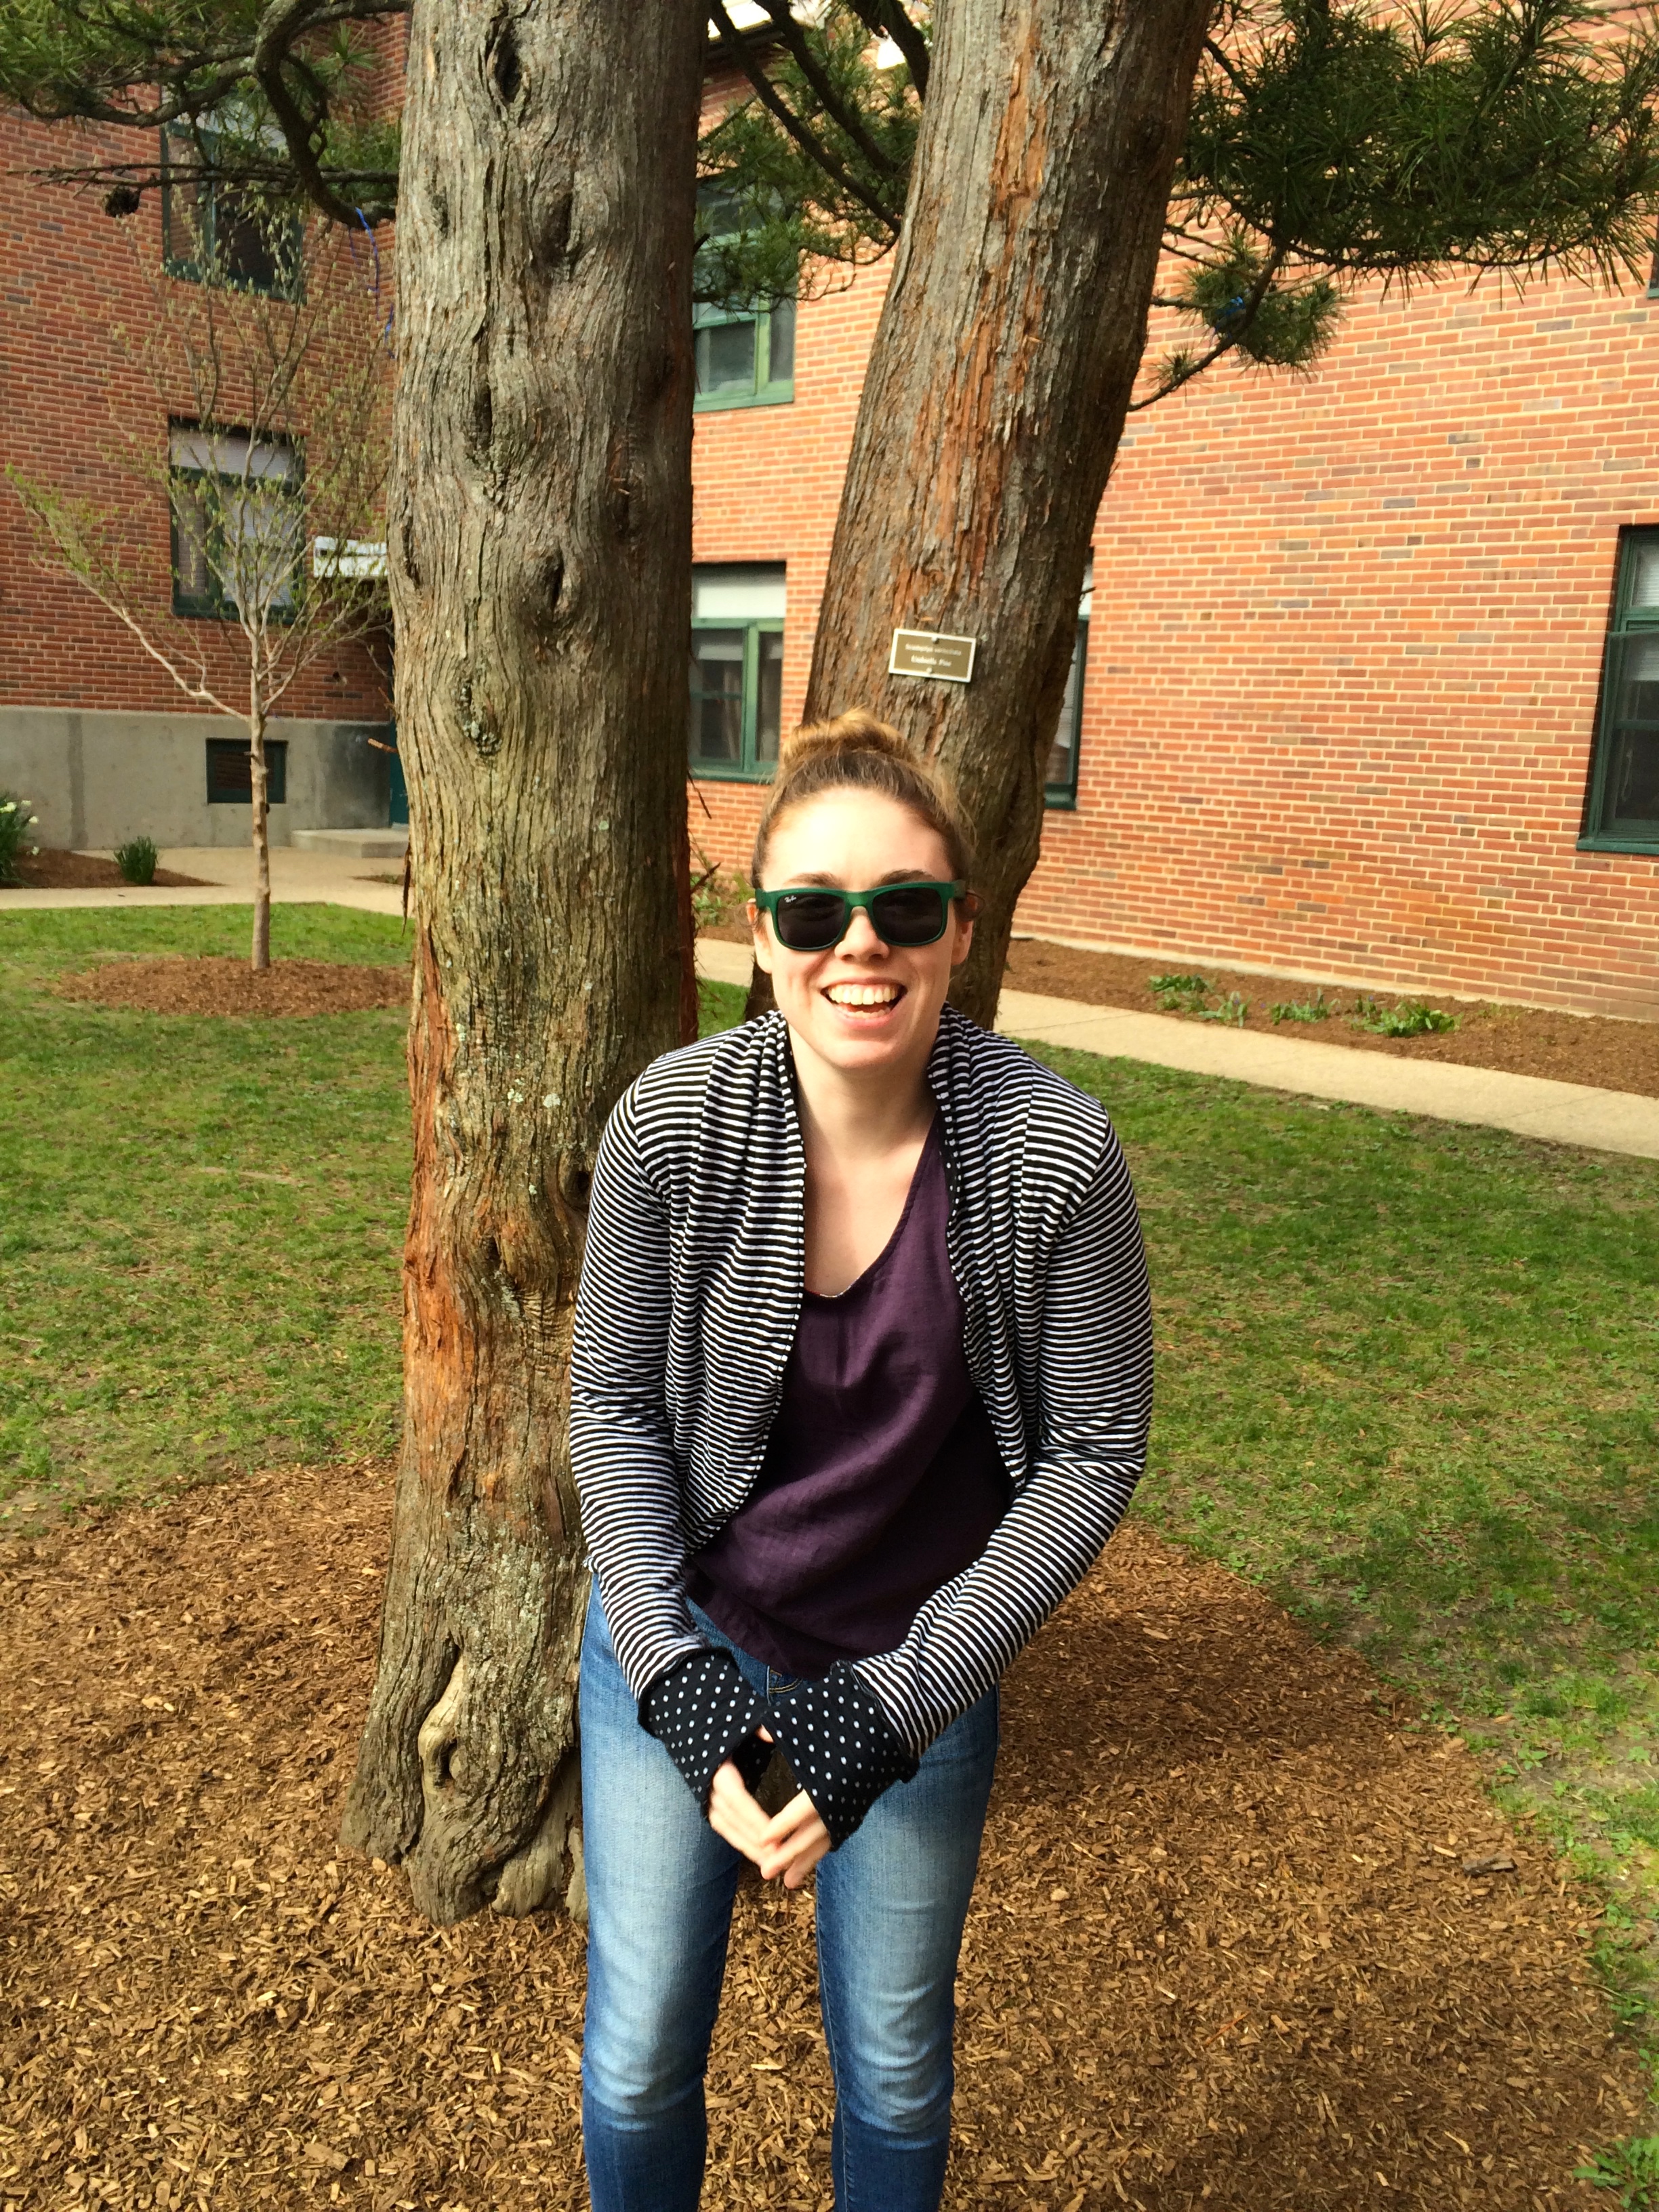
2017 felt like an evolution of my sewing focus from frosting to cake. I made a number of fun, event-focused items but I focused primarily on sewing well-fitting basics that get worn all the time. I hope to continue that focus in 2018, building a larger and more diverse collection of basics so that wearing handmade daily stays possible and fun!

Advertisement

Julia and Natalie

This post is a bit of a photo/project dump. I’ve got a two finished projects that I’m not sure I have a whole lot to say about, not necessarily because I am unhappy with them but mostly because they’re been going on for a while and I just want to get them written up and be able to move on.

IMG_3615

IMG_3582

IMG_3580

My first finished project to show you is the Julia cardigan by Mouse House Creations. This was an unplanned project. I was at Joann’s a few weeks ago and noticed that in amongst the piles of polyester grossness was this amazing reversible double sweater knit. I was excited about it when I thought it was just a cotton/rayon striped sweater knit. Imagine my amazement when I discovered it had polka dots on the other side!!

IMG_3604

Instead of making this fabric into a quick project I decided that I had to take advantage of it being reversible and then set about trying to figure out how to make the Julia cardigan pattern work that way. At first I was considering flat felling all my seams so I could just make it according to the pattern with the doubled-over collar. But trying to neatly flat fell a sweater knit seemed a bit crazy, even to me. Then I realized I could just use the technique in the Meridian cardigan, a pattern I’ve had for a while but not used yet. So I managed to squeeze two cardigans out of the three yards I’d bought. I made a version with the stripes on the outside and a version with the polka dots on the outside, adding a single collar to each. Then I just serged the outer collar edges together with the right sides of the two cardigans together.

IMG_3585

IMG_3612

I stitched in the ditch in a few key places so that the two layers were anchored together. I got stuck for a while on the cuffs. I really wanted to figure out a way to attach them with the serger, not have any seams showing, and make sure that the stripes weren’t showing on the polka dot side or vice versa. I tried a two piece cuff serged to one side and then topstitched with a zigzag on the other side but it just stretched the cuff out too much. Next try, a severely lengthened two piece cuff serged to both sides. The serged seam shows on the striped side but the cuff is long enough to be folded up. Done and done!

IMG_3581

After months of hiding the Natalie top, by Liola Patterns, in the back of my sewing cabinet, it’s finally done. Man was that a pain in the ass. I zipped through a lot of this top in one evening. But then I couldn’t get the front pleats to sew up properly. And then I managed to sew in one of the sleeves inside out. So it got put in time out for a month or two.

IMG_3623

On the fourth or fifth attempt, and after finally just hand-basting the center front seam, I got the front pleats taken care of. The sleeves went in easily.

IMG_3627

Of course my needle went straight through the first button I tried to sew on, fortunately I had an extra. And the first buttonhole I sewed was crooked. I got to try every single step multiple times with this thing. But it’s done. And guess what?

IMG_3628

I actually like it!! I’m not sure I’ll be making another any time soon but I’m so glad it’s not feeling like a waste of fabric, time, and energy.

IMG_3624

I think I’m caught up on finished projects now. On to the new ones!

-Hannah

Current WIPs

I’ve shown off several of my most recently completed projects. I thought I’d show you my last two spring sewing works in progress before I start on a post about my summer sewing plans.

My first update is that my Ginger jeans are cut out and waiting for me to get started on them.

IMG_3329

I was really good and spent a lot of time carefully tracing each piece, adding tailor’s tacks and clipping notches. I’m really trying to get better about slowing down my preparation for sewing. I know everyone says that preparation time is make it or break it time in terms of how successfully a garment will come together. I have not been so good in the past about slowing down and really getting things right the first time. I’m getting better though. And I’m noticing an improvement in my garments as a result.

IMG_3331

As I said in a previous post, the size eight muslin I made fit very well in the waist and hips but I’d taken out too much width in the legs. I’m making a combined version with a low waist and skinny legs and of course did it the hard way. So I added back half an inch on each side of both the back and front pieces. This means I’ve taken off a quarter inch. I’m going to baste the side and inseams and then we’ll see how they fit. I’m anticipating wanting to take them in a bit.

The other work in progress is a modified Archer. I’m making it a “popover” or half buttondown with a mandarin collar. I was planning to use some tutorials and try to draft my own placket. But then I realized I could just use the placket piece from the Carme blouse pattern I just purchased. I haven’t made that pattern yet, and maybe it’s dumb to sub in a pattern piece I haven’t used. I have been thinking about this project as a wearable muslin though so hopefully it’ll work well enough to satisfy that goal.

I was getting along really well with the shirt while we were in Vermont last weekend. I got the back yokes attached.

IMG_3488

And got the front pocket on.

IMG_3492

And then I promptly sewed the placket on incorrectly and didn’t realized that until I had slashed it. So my next step is to get the placket recut and see if I can unpick the one that’s on there but leave the front in good enough condition to sew on a new one. If not, that’s ok. I’ve got enough fabric to cut a new front. And it really didn’t take that long. I just feel silly.

IMG_3491

After sewing the placket incorrectly I needed to work on a different part of the shirt until I was home and had access to my remaining fabric. So I got the sleeve plackets sewn on and basted the pleats.

IMG_3487

I’d never made plackets this way before. The first one didn’t turn out great but the second one was definitely better. The only other time I’ve done sleeve plackets were on the Negroni shirts I made for Christmas presents and those are done differently, the way the Carme placket is done.

As I’m typing this I’m realizing that it may look weird to have two different types of plackets on the same garment. Perhaps I should do a larger version of the sleeve plackets on the neckline. That’ll also be much easier to sew with the slash I’ve already made. Alright, new game plan, awesome!!

There’s one other project that had been on my spring sewing list and that’s my Minoru jacket. I’ve been planning a lot of modifications to that pattern and at first had been holding off on starting it because I wanted to do some more research on how to manipulate the neckline gathers. And now that spring has finally arrived, hopefully I didn’t just jinx it, I’m having a hell of a time imagining myself working on a coat. I’m still excited about the pattern, the fabric, and the plans I’ve made so I’m not dropping this project at all. I just have too many fun plans for summer sewing to spend my time on a jacket right now. I think my new plan is to work on it bit by bit with the end goal being to have it ready to go for the fall.

Be back soon with some more finished garments!

-Hannah

Finished Sutton Blouse

Just dropping by briefly to show you a project I finished a couple weeks ago. This is the Sutton blouse by True Bias. I’ve mentioned before that I have really mixed feelings about this make. This has nothing to do with the pattern, this shirt is actually really loose and comfortable. The problem has everything to do with the fabric that I chose.

The seersucker is unfortunately too stiff and just doesn't drape well.

The seersucker is unfortunately too stiff and just doesn’t drape well.

I’m honestly feeling a little dumb about this one because I feel like I should’ve known better. I thought the mix of voile and seersucker would make for such a nice little summer top but unfortunately it just does not work with the boxiness of the pattern. I also think that the neckline, which probably would work well with a much drapier pattern, just adds to the boxy, bubbly chest look that this has on me.

IMG_3469

It looks decent hanging up.

The color-blocking is also really bothering me. I’ve never had a lot of color-blocked clothing but when I started this project I was worried that the seersucker would be too stiff on the shoulders and thought the lightweight voile would work well. Perhaps if I’d done two layers of the voile it would feel a bit more equal to the seersucker and would flow into it more easily.

All in all, this top is just feeling a bit like medical scrubs. Not the look I was going for.

IMG_3343

I’m not sure I’ve ever put in a better bias facing.

I’m still on the fence about what to do with it. The finishing on it came out so well so I’m feeling frustrated and reluctant to just give up on it.

At first I thought that fixing the boxiness of the sleeves would be sufficient. I did notice someone on Instagram made the pattern with a heavier fabric and modified the sleeves a bit to make the boxiness less dramatic. So I thought I’d just give it a couple wears and try pulling some boxiness out of the sleeves if necessary. But having worn it once, I’m feeling like the color-blocking is also bugging me a lot. And that’s a lot less simple to fix. Also this top just didn’t take that long to make so it feels a little crazy to spend a lot of time trying to fix it.

So for right now I’m just going to let it hang in the closet. Maybe I’ll figure out a way to fix it, or perhaps someone will see it in there and look a lot better in it than I do. I’m sure I’ll try making the Sutton blouse again at some point but right now I’ve got other projects to focus on. It’s always a bummer when something I’ve spent time on, even if it’s not a lot of time, doesn’t come out the way I want it to. But it’s certainly helping me to continue learning about the fabric choices I make.

On to more successful makes!

-Hannah

Felicity Dress

When the Felicity Dress pattern was released by Jennifer Lauren Vintage in February I snapped it up right away. I think perhaps this was partly a desperate, “if I start making spring and summer clothes this blizzard will stop,” moment. But I was also really attracted by the gathered neckline and the swingy skirt. While I haven’t been a circle skirt kind of lady in my adulthood, there’s really something about being able to spin in such a delightfully ripply circle that feels so playful and fun and childlike in the best possible way.

IMG_3360

I apparently can’t spin quite as much as I could as a child, I spent the next five minutes after this photo gripping Mr Match’s arm and trying not to throw up. Whoops!

IMG_3333

I’d originally planned to make this dress during the sew-along and hoped to have it done for a wedding we were planning to attend this summer. But it was such a quick sew that it only took me a weekend. I made View 1 without any alterations.

IMG_3337

I ended up slip-stitching the neckline and armhole binding on the inside. I wasn’t sure at first that I would do it this way but as I was turning it under I was just loving how clean the binding looked on the outside and didn’t want to risk ruining it with top-stitching so I went for the slip-stitching. It took a little while but really not that long and totally worth it for high-quality finish.

IMG_3373

I made up a muslin of the bodice and was happy with a straight size 8. It turned out that the seersucker didn’t gather quite as easily as the muslin, not much of a surprise there, so I ended up adding a tuck on either side of the neckline to pull it flatter against my chest. I think the tucks helped enormously. I probably should’ve used Jennifer’s instructions for a smaller bust adjustment, she drafts her patterns for a D-cup which I’m definitely not. But that post hadn’t come out by the time I was working on this and I think I made it work. The gathers are pretty forgiving although I think if you have an A or B-cup a small bust adjustment would be necessary unless your fabric is light enough that it really gathers well.

IMG_3378

The pockets on this turned out really well. I’m a firm believer in pockets in dresses. I put them in the very first dress that I made and they’re just not that hard to do so I can’t imagine making a dress without pockets unless it really doesn’t work with the fabric. Even my wedding dress had pockets, major selling point! I think it’s possible that I didn’t cut the fabric on the right direction for the pockets, it certainly doesn’t match the direction of the skirt fabric. But I think it works. The nice thing about the narrowness of these seersucker stripes is that it looks great when they match up but it also doesn’t detract from the look if they don’t match up.

IMG_3391

I’d never put in a lapped zipper before making this dress. When I was first looking through the pattern I couldn’t make sense of the zipper directions for the life of me. As usual, at least for me, as soon as I actually had the fabric cut out and was working on that part it made total sense.

IMG_3377

All in all a really satisfying make. The pattern comes together easily and the sewing is quick work. I got to wear it for Easter dinner last weekend. It layered well with a cardigan, blazer, tights and boots. Oh New England, will you ever warm up again!! Can’t wait to wear this in real spring/summer weather. The seersucker I used is so yummy and will make for such a nice dress in the hot humid summers we get here in Boston. I’m looking forward to making another one soon!

Details:

Pattern: Felicity Dress by Jennifer Lauren Vintage

Fabric: Robert Kaufman Seersucker in Lupine from fabric.com

-Hannah

Project Plans

The Making Goals page on this site lists several dozen projects I’ve dreamed up in addition to lists of patterns I have and patterns I’d like to have. But there’s no real order to that list. It includes some actual planned projects (projects for which I have the pattern and the materials), some projects that were loosely dreamed up in the hopes of using fabric that I bought without any real plans, and some patterns that I have and really want to use but don’t have the materials to make yet. There’s a fourth category too, and one I’m just starting to explore, garments that I’ve seen, either in person, on TV or the internet, or in catalogues, that I want to recreate. This is new for me because it’s really just in the last few months that I’ve started to think about the garment I want to create and then the pattern I would use in that order as opposed to what can I make with this pattern. This is not to say that I’m about to branch out into making patterns, I’m not ready for that step, but I am thinking more about how to use the patterns that I have to create totally new garments.

This is all a very longwinded way of saying that, in addition to a catch-all list of everything I can imagine wanting to make, I think it will be useful to focus my sewing ambitions on a few particular goals. So here are the next four things I’m planning to work on, along with a rough timetable.

Ginger Jeans by Closet Case Files

Ginger Jeans–I’ve got black Theory denim from Mood and purple topstitching thread set aside for this project. I’m planning a mashup of views A and B, low-rise with skinny legs.

Minoru Jacket by Sewaholic

Minoru Jacket–I couldn’t believe how much I liked this jacket when I saw Andrea’s version. I’ve ordered hunter green twill and a loud plaid for the lining. I’m planning on making the hooded version, omitting the inside pockets and adding either welt pockets or inseam ones.

Felicity Dress by Jennifer Lauren Vintage

Felicity Dress–As soon as I saw this dress I knew I wanted to make it for a wedding I’ll be attending this summer. I’ve ordered a white and medium purple seersucker and right now am planning to make the circle skirt version without any modifications.

Archer Button Up by Grainline Studio

Archer Button Up–This one I have less distinct plans for. I’ve been dreaming up all sorts of variations on the Archer. My first thought was a half button down, which apparently is called a popover? I guess that explains why I couldn’t find much info on transforming a button down into a half button down when I used the Google to search for tips. But magically today I came across this version from Dixie DIY, which is exactly what I was going for and she has some good links on how to pull it off. Jen at Grainline also has a tutorial on adding a placket to the Tiny Pocket Tank that I might use. My second thought was entirely based on seeing this version of the Archer on Four Square Walls, v-neck without sleeves and with a mandarin collar. Also, check out this version over at Design by Lindsay with the same modifications and elephant seersucker!! I knew I should’ve grabbed some of that fabric when I had the chance. So I have lots of ideas about ways to modify the Archer, but I haven’t ever made one straight from the pattern. I think my first step should be a muslin, possibly a wearable one, and then I can try out some of these ideas.

I’m planning to jump into muslins this week. I’ll make muslins for Minoru and Ginger and probably just a bodice muslin for Felicity. A wearable muslin for Archer will follow as well. Hopefully by the end of next week I can cut into my Ginger denim while I wait for fabric for Felicity and Minoru to arrive. Since I’m planning on a wearable muslin for Archer I’m going to work on the other projects first. Be back with progress photos soon I hope!

-Hannah